Reversible seat back
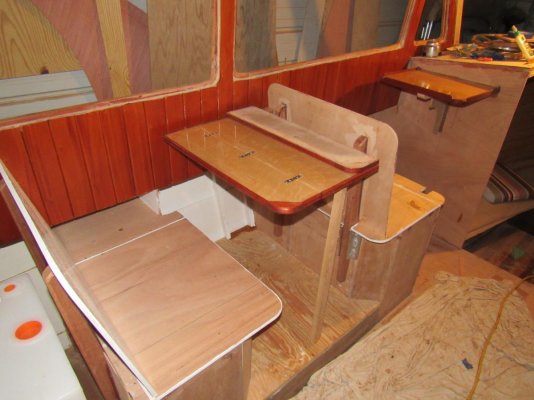
That reversible seat is unique, and looks like it will be much more comfortable than the flip-back-and-forth seat backs that are so prevalent these days. Did you come up with that overhang & notch design yourself? I am really admiring it!
That reversible seat is unique, and looks like it will be much more comfortable than the flip-back-and-forth seat backs that are so prevalent these days. Did you come up with that overhang & notch design yourself? I am really admiring it!


 Man with a plan!