That is amazing!
Great to know. Thanks!
Bruce
That is amazing!
Great to know. Thanks!
Bruce
Try this tub surround material from Home Depot. It's thick enough to hide rough surfaces
if you don't mind the texture.

Thst stuff is great for a lot of things.
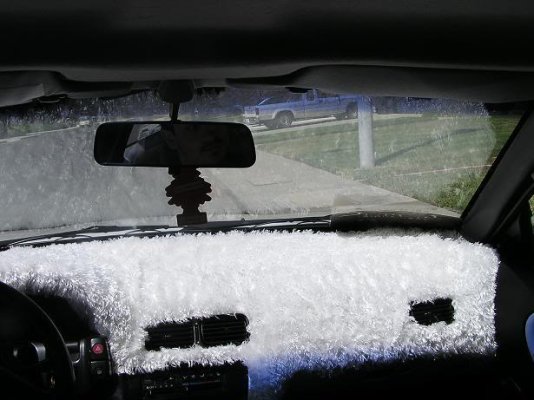
But it's about the last stuff you'd want to use on the dash of a helm where you'd be running the boat at night.
White and shiny!
Krylon plastic paint from Home Depot also ... any colour .... make it look like low gloss leather if you want.
The (likely) problem with suggesting Luan door skins for anything is that most, if not all, cheepie Luan hollow core doors these days are made with Luan veneer on a very soft grade of Masonite-like cardboard. Sheesh. However, the 1/4" underlayment plywood sold at the Despot and all is vaguely Birch and both cheap and useful for pattern making.
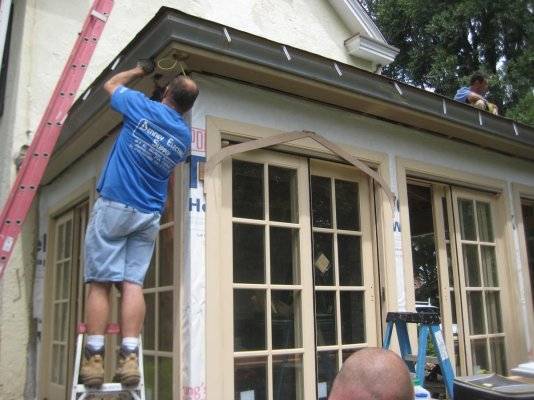
Pics below show: Luan-cardboard doorskins used for modelling arch trim; it survived until the first rain, and Despot underlayment used to pattern a Flying Dutchman deck.
The (likely) problem with suggesting Luan door skins for anything is that most, if not all, cheepie Luan hollow core doors these days are made with Luan veneer on a very soft grade of Masonite-like cardboard. Sheesh. However, the 1/4" underlayment plywood sold at the Despot and all is vaguely Birch and both cheap and useful for pattern making.
Pics below show: Luan-cardboard doorskins used for modelling arch trim; it survived until the first rain, and Despot underlayment used to pattern a Flying Dutchman deck.
I'm not suggesting one use the actual luan (with cardboard) door. That would be pretty bumb... We buy sheets of thin wood (luan wood) that's maybe 3/16" thick at most. Rip it into 2" wood strips. There is no cardboard! Pretty standard shipwright template material. And, it cuts easy with razor knife and the thin edges easily sand to scribed marks to form an exact fit template. 1/4" ply is so thick it can't easily tuck into narrow spaces. Seems to me a very unwieldy material for some templates. When you just need the outline luan is great. I'll get a used template off the boat tomorrow so I can include a picture. Sheesh...

Either someone here a few years back or on another forum described using a "system" to renew an old formica top.Slightly off topic, but somewhat related.
Has anyone successfully painted Formica? What was the process? How did it hold up over time?
Either someone here a few years back or on another forum described using a "system" to renew an old formica top.
I think it was a 2 part epoxy that you stirred in whatever look you wanted...like marble chip or whatever.
It supposedly looked very good as some commented they too had seen it, and like most 2 part epoxies with a decent thickness, it probably held up as good as any new surface.
You might try a few Google searches...sorry I can't be more specific with name or brand.
I have to redo my galley...while the surface is bad...it is the peeling up that is the real trouble. I found out when redoing my head that a heat gun hot enough to get the formica too hot to touch, was enough usually to make the contact cement lose its grip and the whole sheet could be pulled off in one piece unless already compromised. So you have ready made patterns.