So update on my progress.
It's sllooowwwww.
I'm going to be at this for a while!
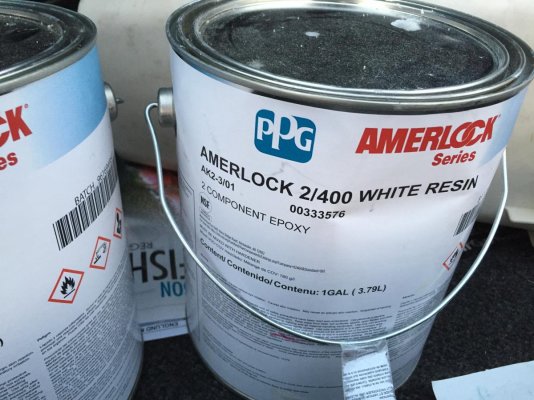
What I've found that works the best for removing the old paint is a razor blade.
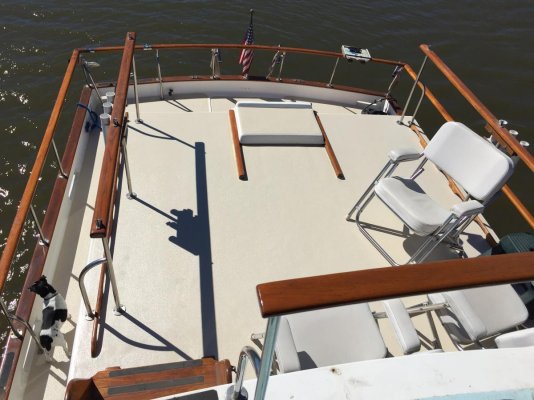
I'm literally scraping off paint in sheets. Comes off sooo easy in places where there was no sanding done to prep for the paint. The gelcoat under in these places is smooth and shiny. Mostly in areas that were somewhat protected like in the cockpit.
Places where they had made repairs and whatnot, the razor blade doesn't work so great.
Corners are a pain in the butt.
Still having fun though. I work on it when time allows.
Also, I don't think the PO even washed the boat before he slapped the paint on. It's filthy under the paint.