Keith
Guru
- Joined
- Oct 5, 2007
- Messages
- 2,715
- Vessel Name
- Anastasia III
- Vessel Make
- Krogen 42
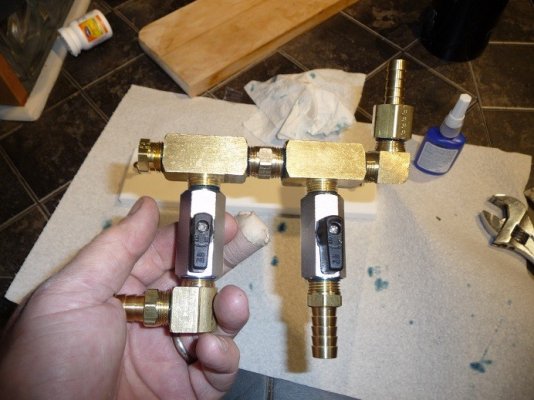
All the way around. I use Permatex #2, but someone else mentioned Rectorseal. I don't remember which number for that one though.

")


GonzoGonzoF1 wrote:
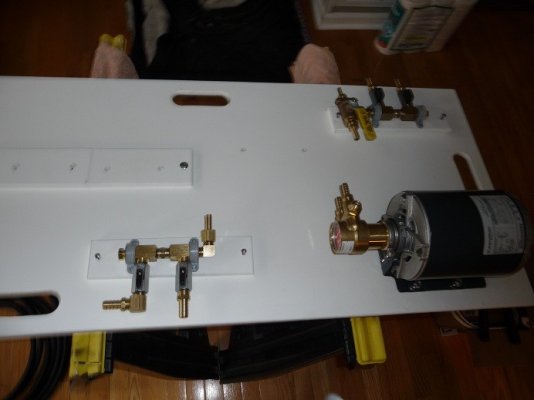
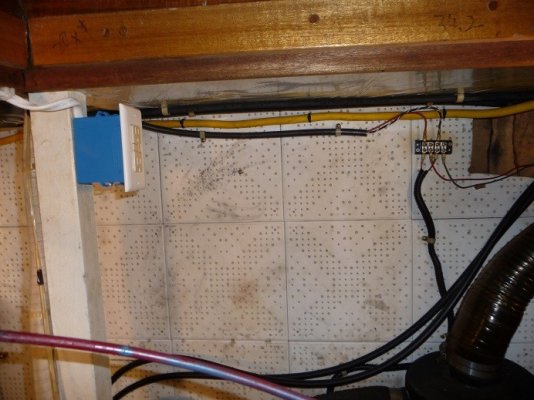
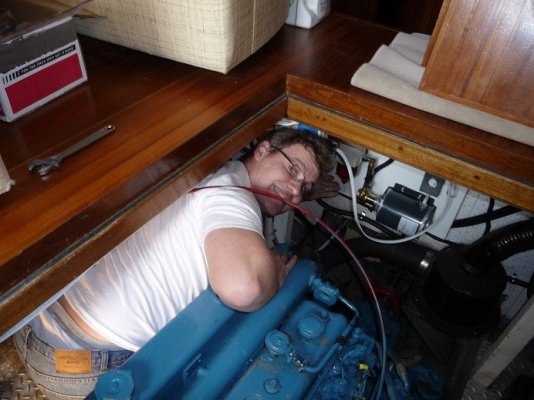
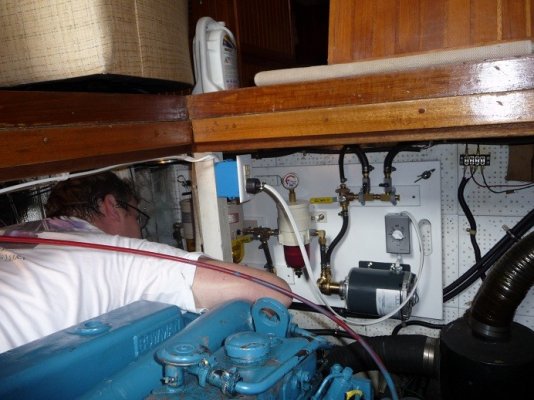
Ya' know... I KNEW you guys would drill me about the power cord.I totally plan on putting it up... You think I'd go this far trying to be neat about it only to leave the cord dangling like that?lol I had just grabbed the camera after the big step of a successful electric motor wiring test and I was taking a rest from bilge yoga.
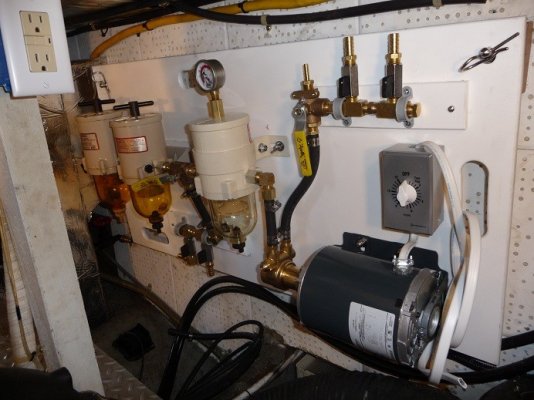
Thanks guy... I hope to finish the plumbing today... maybe. Might have to take the first mate for a bike ride for steamed OYSTERS. So maybe sunday
Was there ever any doubt?Larry M wrote:
*
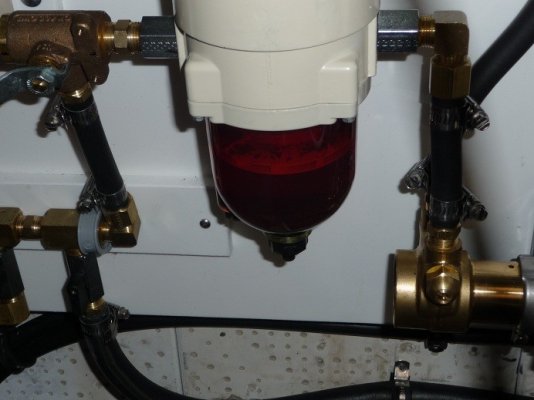
GonzoF1 wrote:
...But good to know... it works!