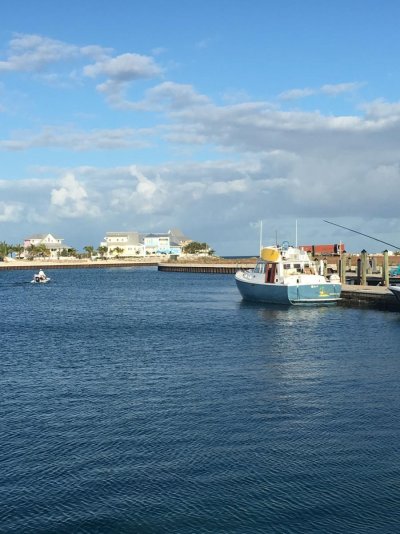
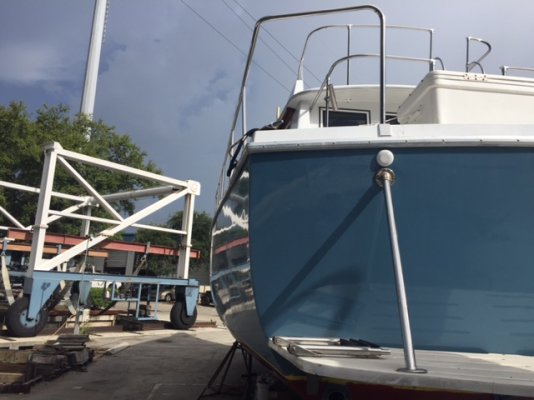
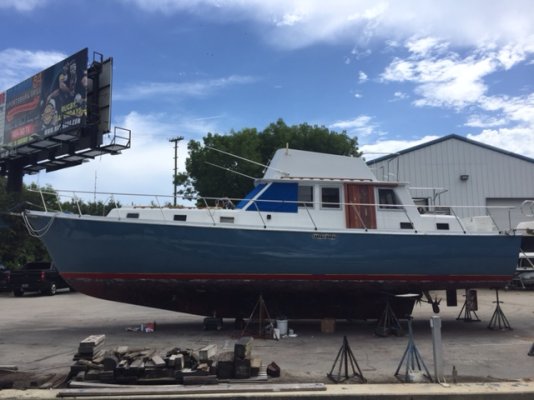
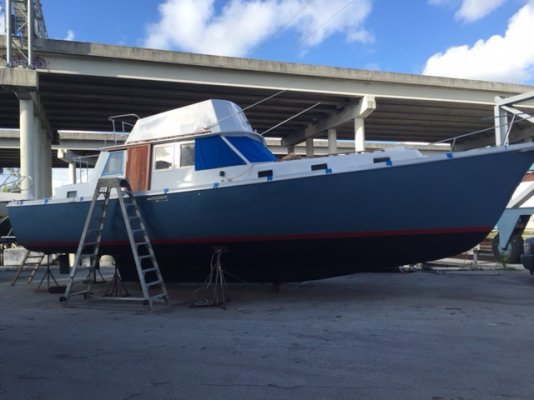
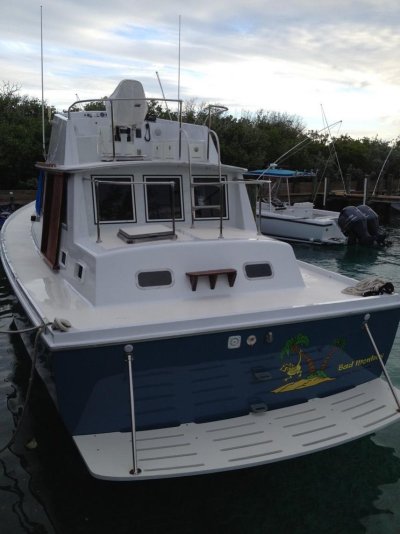
How much was the custom rail bid? I am in need of new railing and would like to pick up the Three inches lost to my walkway by using the toe rail to anchor the railing to.
Hi Bob,
It's not straight forward but I can tell you that if he were to quote for this boat, same size, same job it would be approx. $13,000
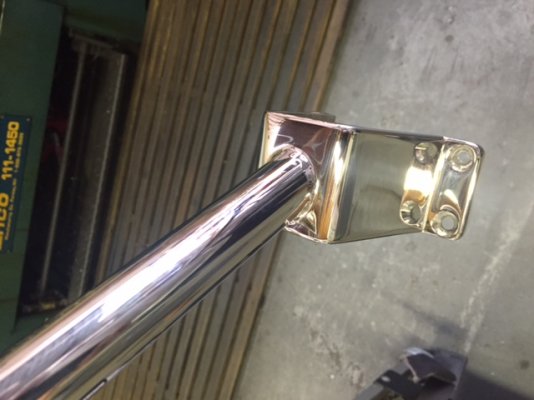
The amount of time is mainly taken up with the polishing. So if you don't want finished product the price would be significantly lower.
Also the yards in Lauderdale make contractors carry huge insurance etc.
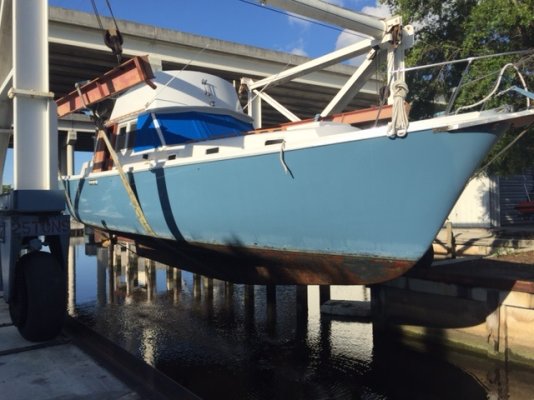
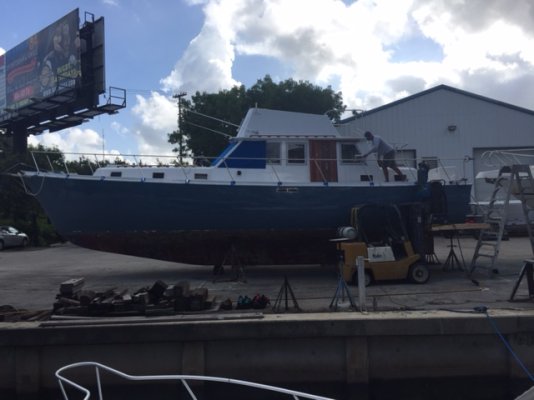
My boat is right next to his workshop, which makes a huge difference, and this yard only charges a daily fee so there are no extras for contractors.
Not sure what is happening at the yard as I believe it was sold at the beginning of this month so I am sure changes are a coming!
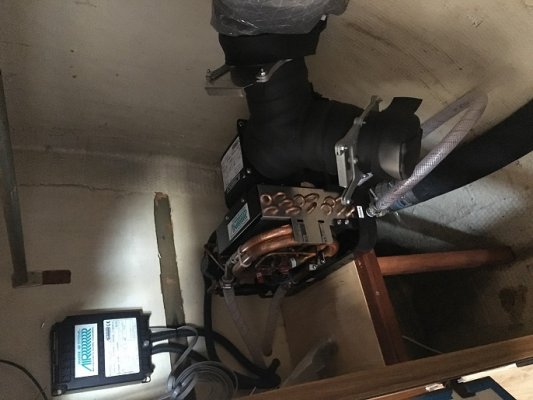
A and R Marine is a small outfit but there work is very, very good.
They do a lot of S/S cabinetry on the Mega yachts which is where I 1st employed them. They built the underwater VW for Shark week and so on.
Andre is extremely good at solving a problem before it becomes an issue.
For instance:
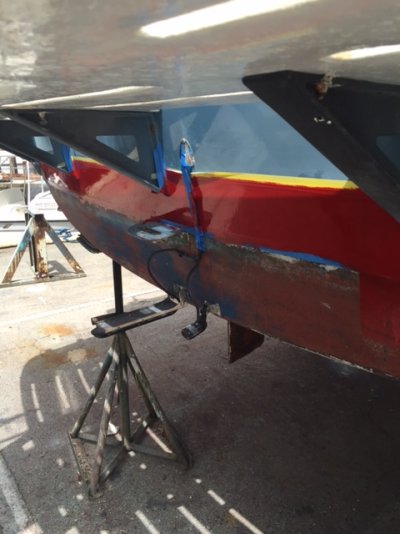
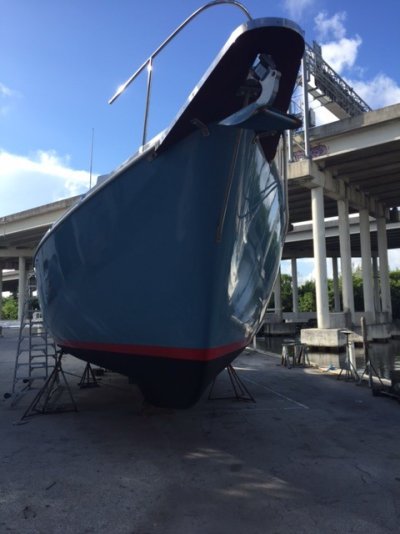
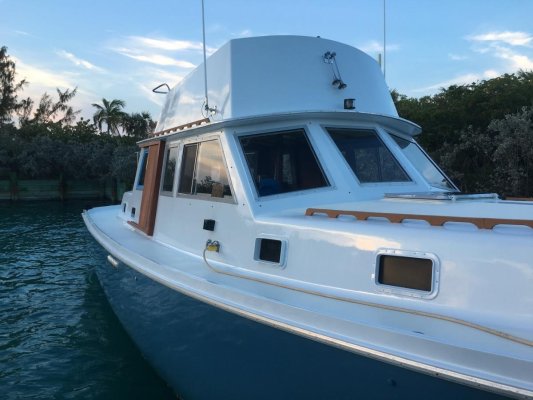
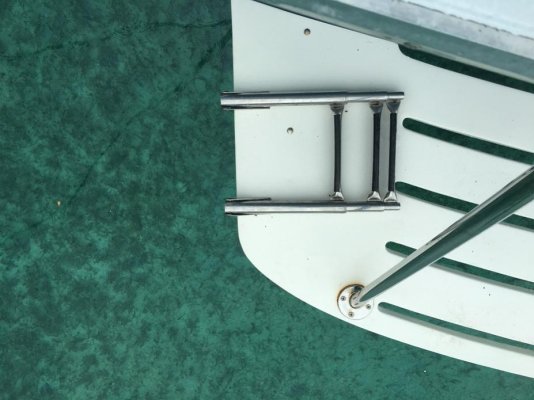
the transom was to incorporate the ladder to the swim platform and he "suggested" to make the ladder independent and out of oval Aluminium (Yes I'm Australian and we mine the stuff so we know the correct spelling

) so in the unlikely/unlucky event of being run into or backing into something/someone the damage would only be confined to the ladder not the rest of the railing - being twisted, ripping the bases out and so on.
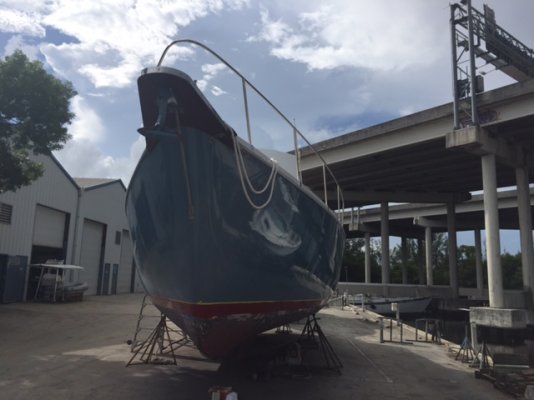
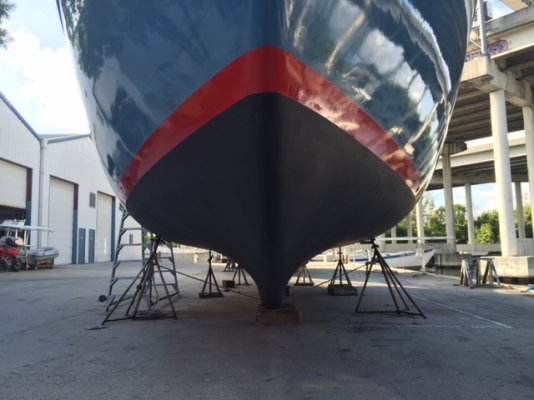
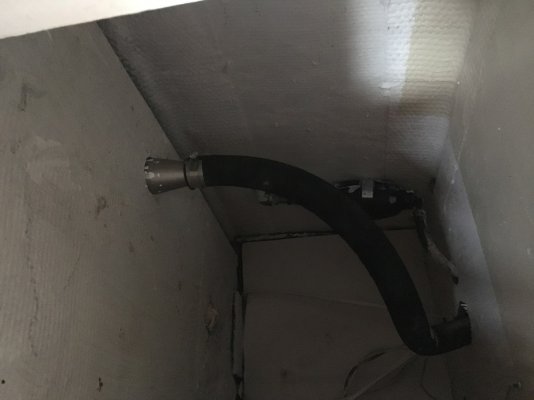
I did a rough calculation a few months ago & for me to have bought the materials, 1" S/S tube, stanchion bases, railing/stanchion connectors, which is just to do a screw together S/S version, would have been around $2,000 that is before any bending, cutting, removal of overheads, base plates, bits and pieces and transom ladder made!


")