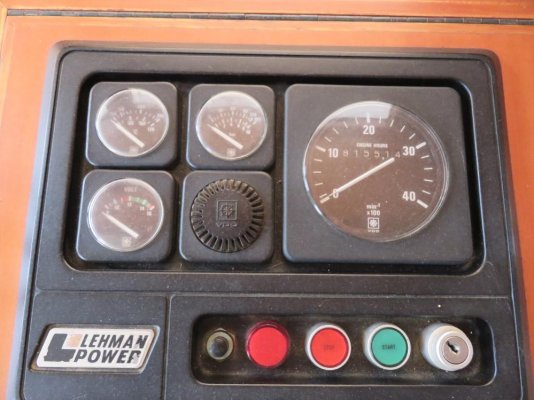
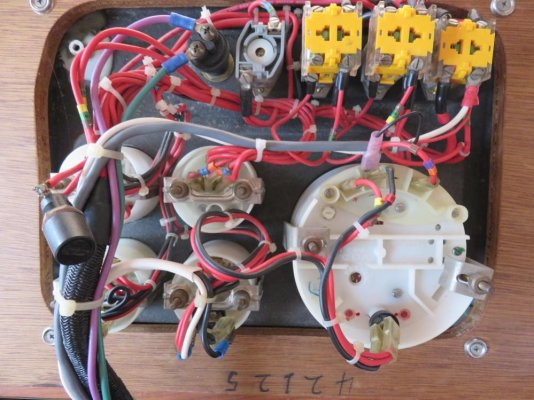
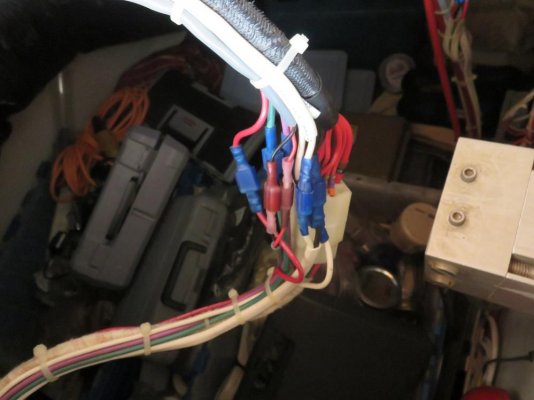
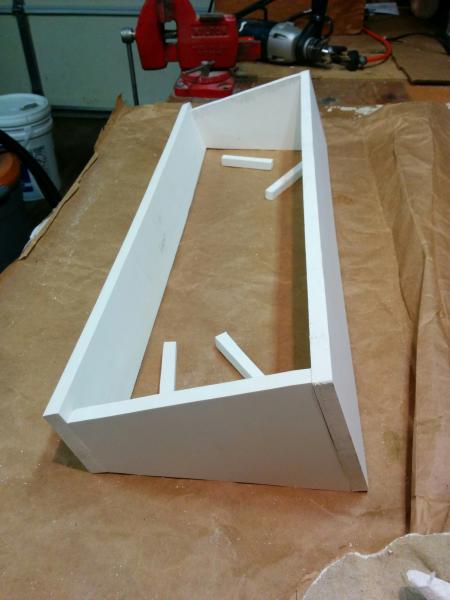
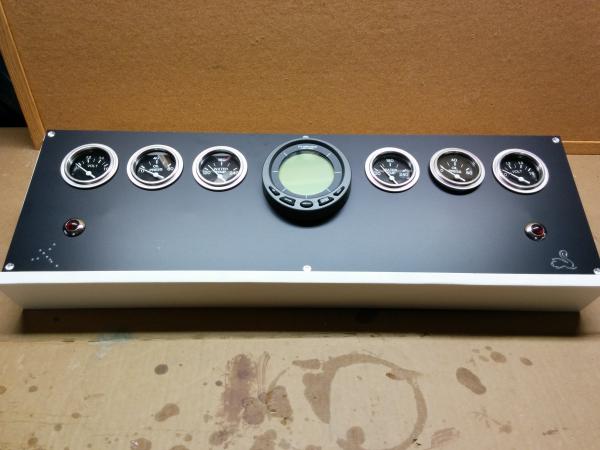
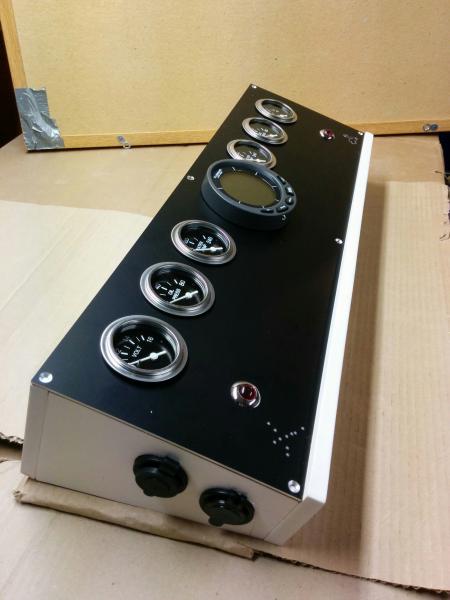
My new helm console is on the way, and I've pulled the old console and all the gauges. What a rat's nest that old wiring was! Next will be to wire all the gauges into the new console. But I have a big decision to make.
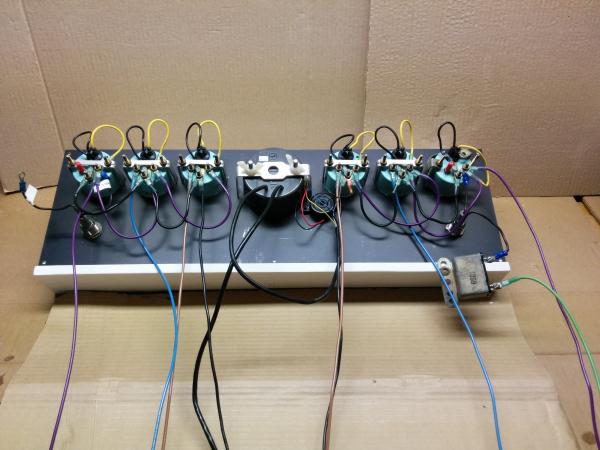
Each gauge has a ground. And each has an "Ignition" (positive) terminal. Each gauge has a lamp with two wires, positive and ground. Electrically, all positives and all grounds are the same. The only question is where to connect them.
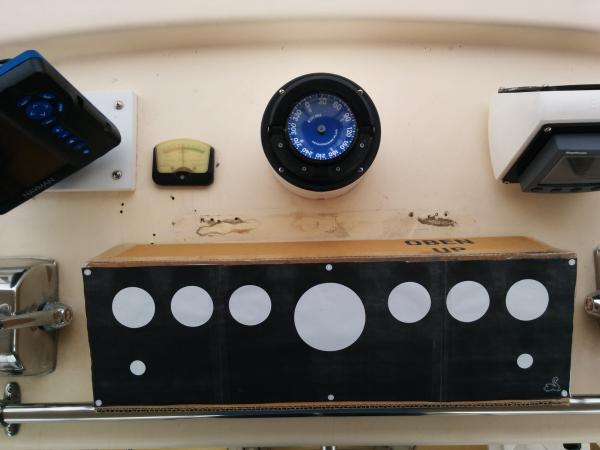
Do I run two separate wires from each gauge and each lamp to a pair of common terminal blocks (One +, one - )? Or do I daisy chain each positive to the previous one, and likewise for ground? Or, maybe two wires for each gauge, each of which connects to both the gauge and the lamp for that gauge?
I have enough wire, heat-shrink ring terminals and terminal block screws for any of those options, so it's not a resource question. It's a reliability and neatness question.
Wondering what opinions might be out there on this.
Each gauge has a ground. And each has an "Ignition" (positive) terminal. Each gauge has a lamp with two wires, positive and ground. Electrically, all positives and all grounds are the same. The only question is where to connect them.
Do I run two separate wires from each gauge and each lamp to a pair of common terminal blocks (One +, one - )? Or do I daisy chain each positive to the previous one, and likewise for ground? Or, maybe two wires for each gauge, each of which connects to both the gauge and the lamp for that gauge?
I have enough wire, heat-shrink ring terminals and terminal block screws for any of those options, so it's not a resource question. It's a reliability and neatness question.
Wondering what opinions might be out there on this.
")