Forkliftt
Guru
- Joined
- Oct 6, 2007
- Messages
- 2,450
- Location
- USA
- Vessel Name
- KnotDoneYet
- Vessel Make
- 1983 42' Present Sundeck
Ok it's time. My old cheap/ broke ass has bubble gummed/ studied and repaired freon leaks and electrical connections and recharged my 15 yo front unit for the last time. And this determination was at the hands of a true professional.. More on that later.
And the only thing more embarrassing than my dragging out the inevitable verdict- are some of my approaches to maximize what I did have to work with. Case in point:
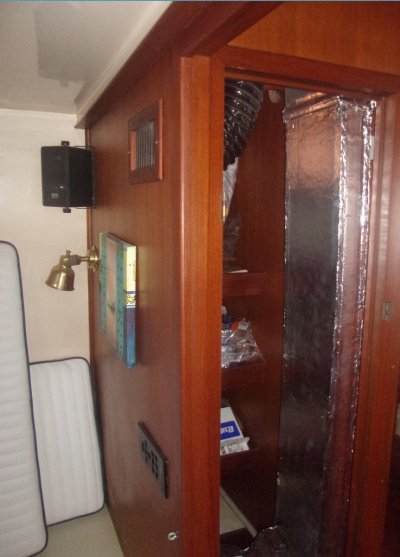
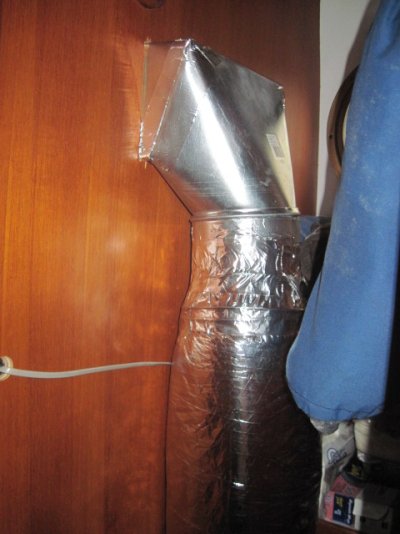
The original installation (I'm thinking about halfway through PL2's lifespan) by a marine service provider in the North East was very shoddy. And the worst portion of the install was the ductwork.
So... A couple of years ago I ripped out the crushed/ failing original flexible ducting and resolved to minimize any bends- as I had studied an installation guide and straight runs are what you need for the best airflow. The front cabin had one small vent over the bunk and the balance of the cool air ran through the ductwork to a register in front of the lower helm... Ineffectivley participating in cooling the salon. So my attempt at getting the best air flow resulted in the 1/2 full bed of sheet metal ducting and God knows what else in the back of my Ford truck.

Did I mention that the two 100 gallon water tanks below the fore cabin sole restricts me to a height of 2 1/8" inches maximum duct height?? That's right. Less than 2 -1/4".
So I'm plumbing in an upper/ lower bunk circular vents. This should keep the front cabin cool, and the remainder will feed a plenum (we are galley down) that will be placed where I can add a small register to the front head and then either one large register facing the sink (port side) about knee high and the plenum I have built will also allow for second large register if deemed needed. More later as this story unfolds...
Forky
1983 Present 42 Sundeck
Twin Lehman 135's

And the only thing more embarrassing than my dragging out the inevitable verdict- are some of my approaches to maximize what I did have to work with. Case in point:
The original installation (I'm thinking about halfway through PL2's lifespan) by a marine service provider in the North East was very shoddy. And the worst portion of the install was the ductwork.
So... A couple of years ago I ripped out the crushed/ failing original flexible ducting and resolved to minimize any bends- as I had studied an installation guide and straight runs are what you need for the best airflow. The front cabin had one small vent over the bunk and the balance of the cool air ran through the ductwork to a register in front of the lower helm... Ineffectivley participating in cooling the salon. So my attempt at getting the best air flow resulted in the 1/2 full bed of sheet metal ducting and God knows what else in the back of my Ford truck.
Did I mention that the two 100 gallon water tanks below the fore cabin sole restricts me to a height of 2 1/8" inches maximum duct height?? That's right. Less than 2 -1/4".
So I'm plumbing in an upper/ lower bunk circular vents. This should keep the front cabin cool, and the remainder will feed a plenum (we are galley down) that will be placed where I can add a small register to the front head and then either one large register facing the sink (port side) about knee high and the plenum I have built will also allow for second large register if deemed needed. More later as this story unfolds...
Forky
1983 Present 42 Sundeck
Twin Lehman 135's
") . And insulation needs to be considered as well.
. And insulation needs to be considered as well.