OP
OP
She-Kon
Senior Member
Son of a Bubble!

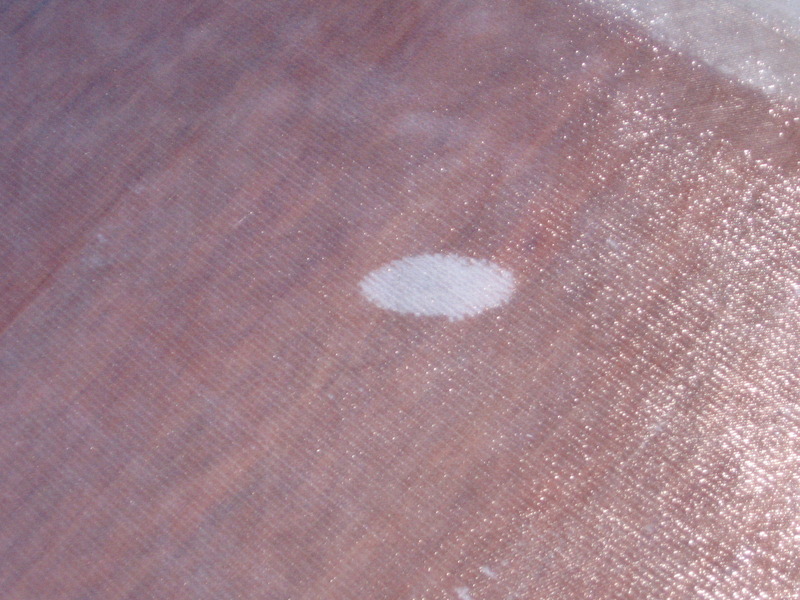
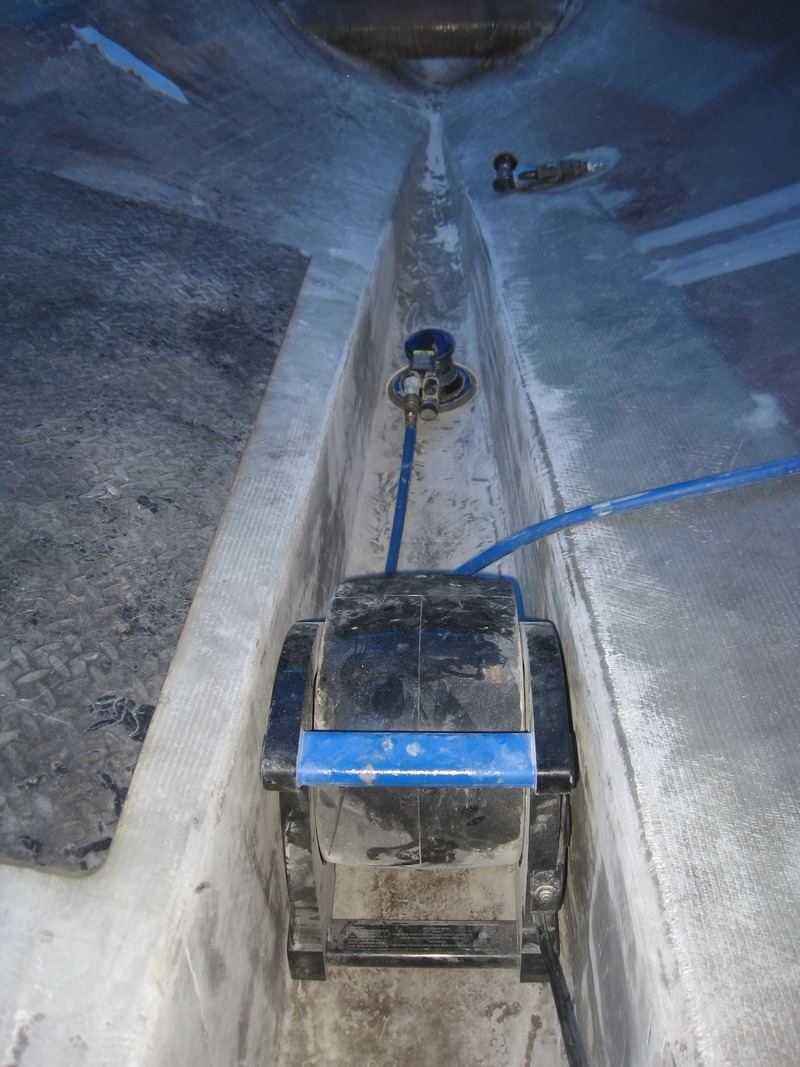
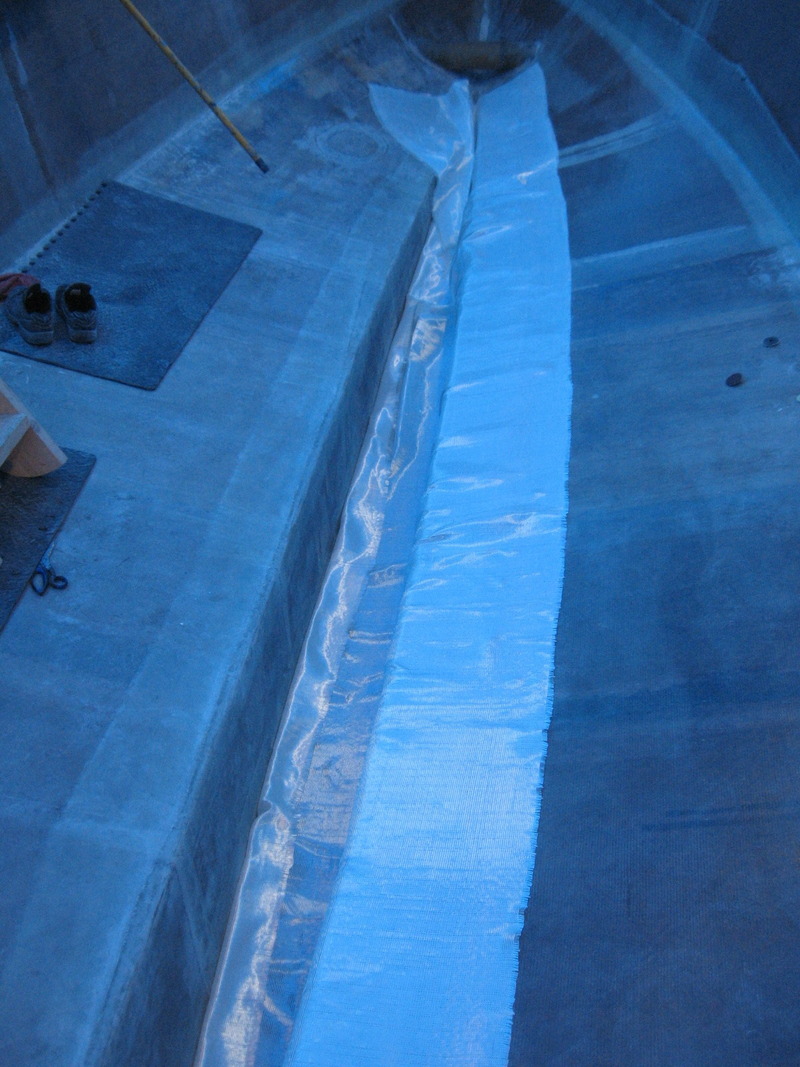
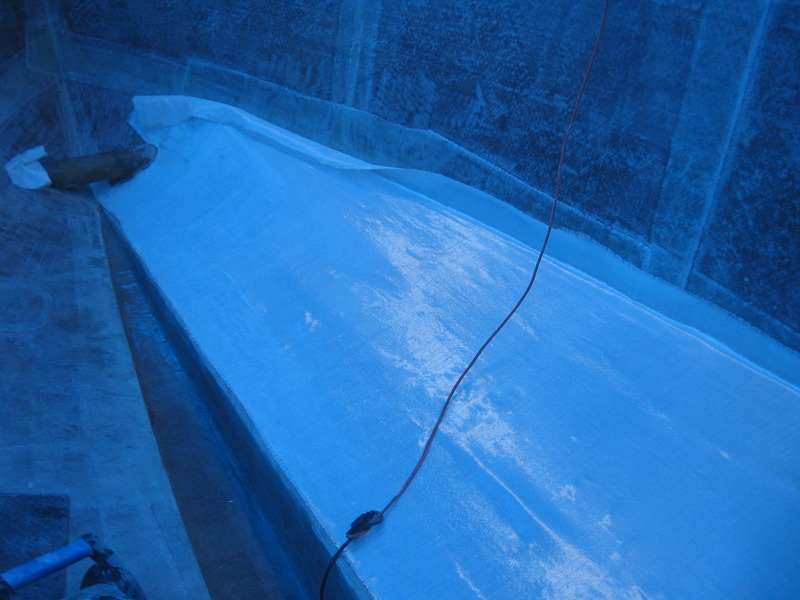
Fixed that lil' b*stard!") Sat there and watched it growing from about 3" across to 6" before I nailed it with the bubble buster.
Sat there and watched it growing from about 3" across to 6" before I nailed it with the bubble buster.

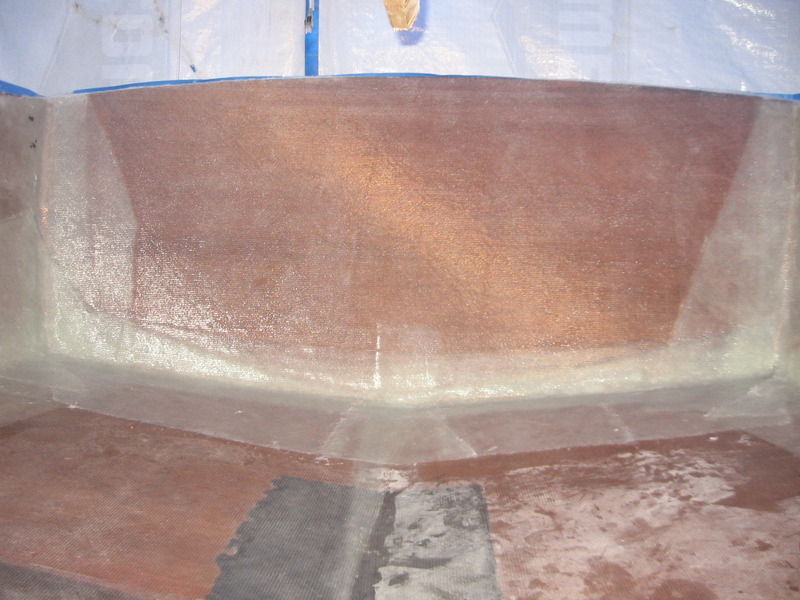
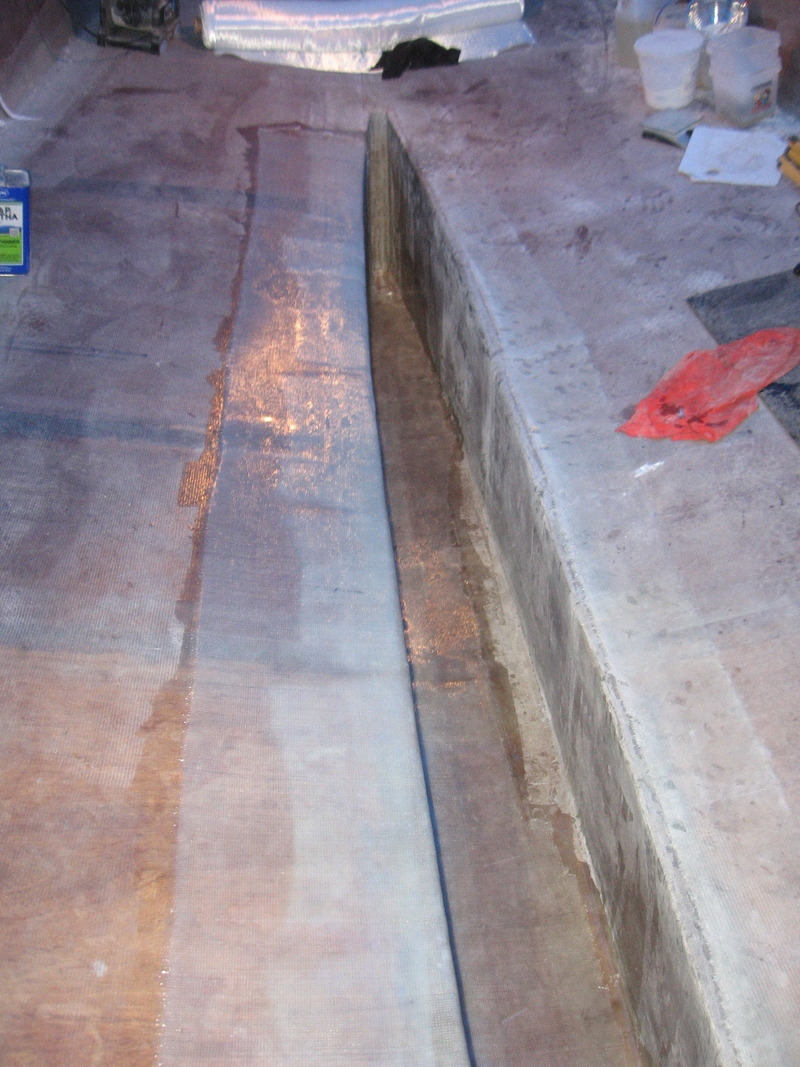
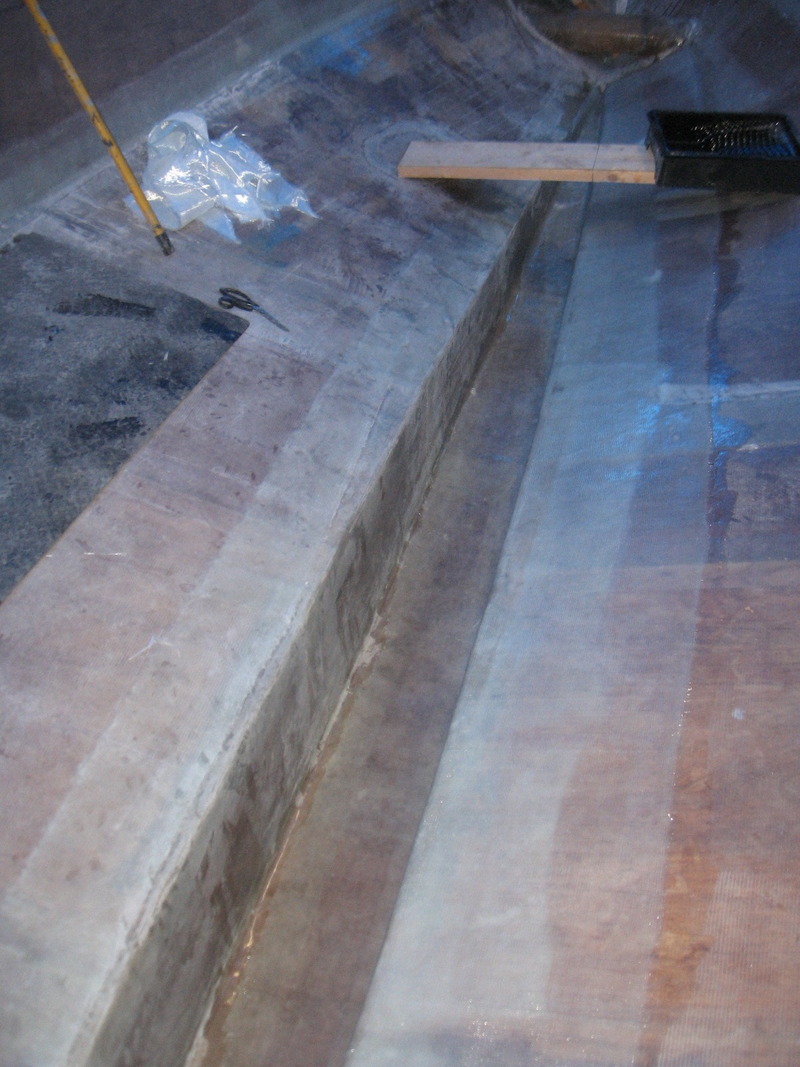
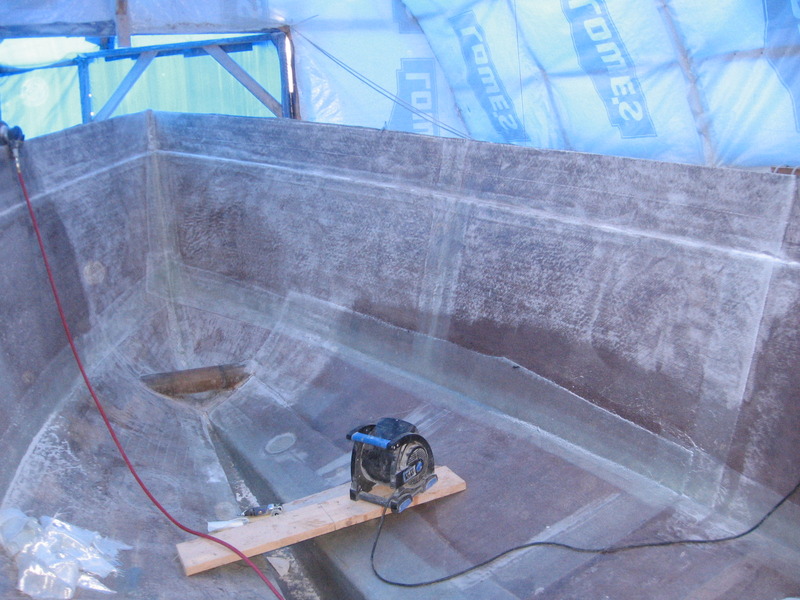
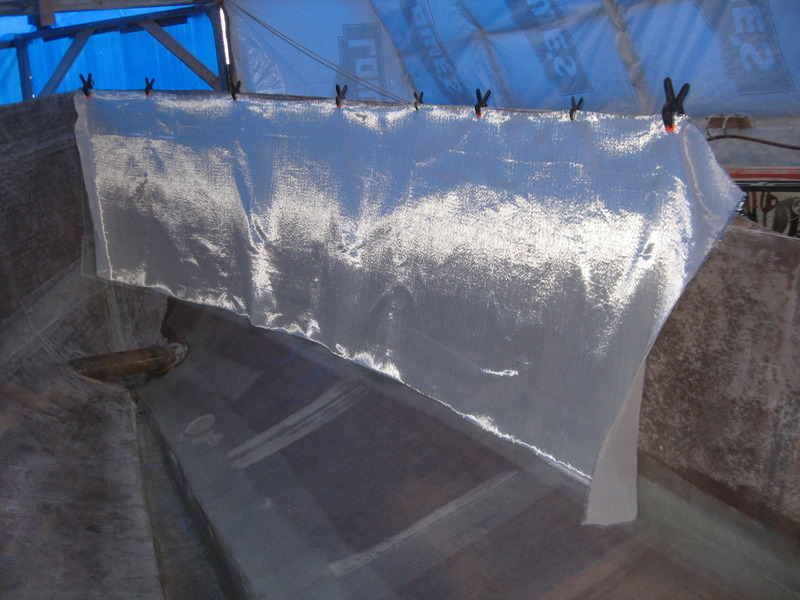
Got the glass for the transom laid up and trimmed but the carpal tunnel syndrome kicked up again. My hands are Sore! Sore! Sore!
M/V She:Kon: Son of a Bubble
There's always tomorrow.
Standby...
Fixed that lil' b*stard!
Sat there and watched it growing from about 3" across to 6" before I nailed it with the bubble buster.
Got the glass for the transom laid up and trimmed but the carpal tunnel syndrome kicked up again. My hands are Sore! Sore! Sore!
M/V She:Kon: Son of a Bubble
There's always tomorrow.
Standby...