OP
OP
Capthead
Guru
- Joined
- Mar 17, 2013
- Messages
- 956
- Location
- USA
- Vessel Name
- Heads Up
- Vessel Make
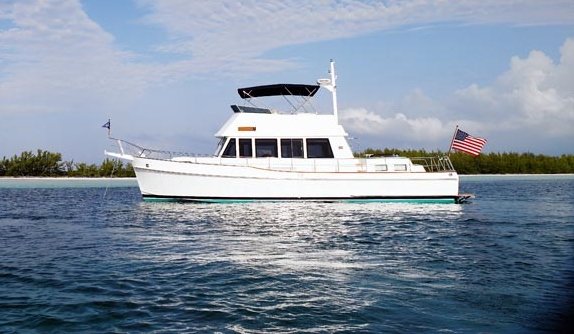
- Grand Banks 42 Classic
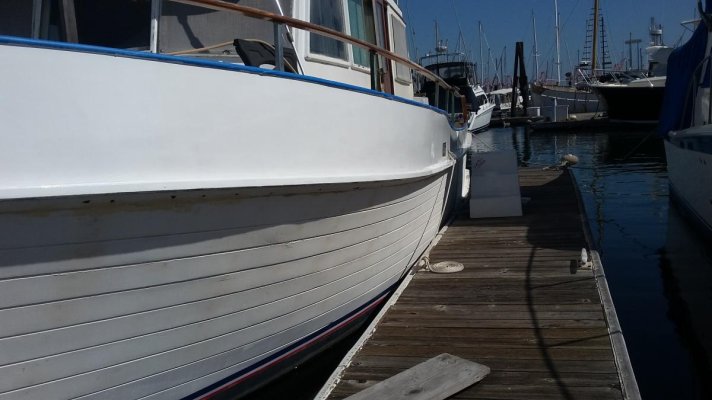
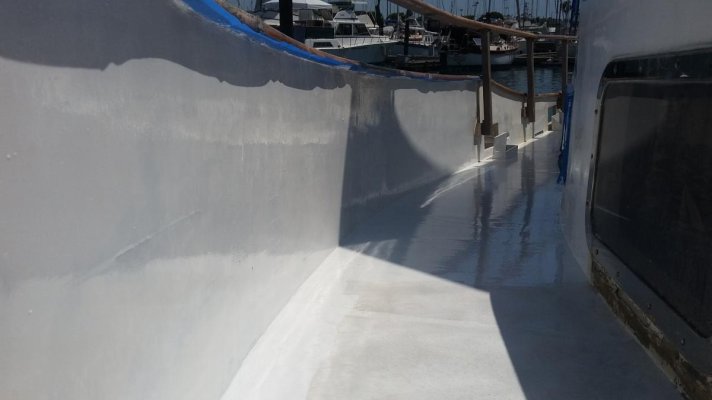
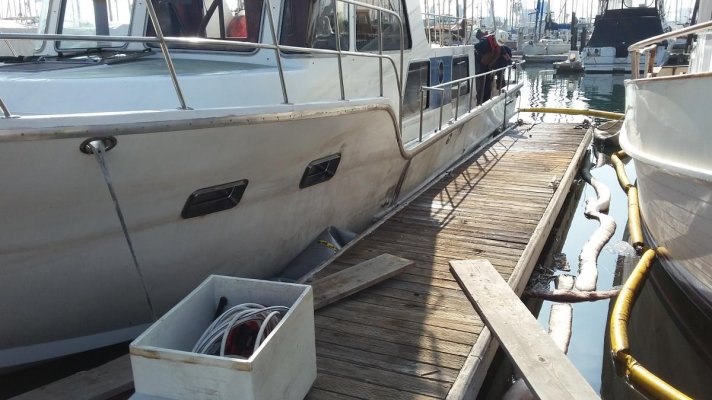
Thanks Don, I appreciate it. I know owners of glass boats might not have leaks but having a walk around deck that leaked almost all over was a nightmare.
I'm glad it's sealed and I have saved my boat. Now to completing that job.
I'm glad it's sealed and I have saved my boat. Now to completing that job.


 It's a boaters life.