psneeld
Guru
I've got a bottle of this to test, pure tung lil no additives. How did you apply it ? It says thin the first coat with white spirit.
just rubbed t on with a rag..no thinning..it soaked right in...
I've got a bottle of this to test, pure tung lil no additives. How did you apply it ? It says thin the first coat with white spirit.
I was considering pure tung oil. I know there are many different solutions. What's your view?
I attended a seminar today at the Defever rendezvous in Palm Beach. The advice was never to use anything coarser than 120 or 150. The coarser the paper, they said, the deeper the grooves you're cutting and the more you have to sand to return to perfectly smooth. If you're a member of the Defever forum, there are several guys who have done a lot of teak work who can share their techniques.
Also mentioned was watch how close the heat gun gets to the glass you wouldn't be the first to crack a pane of glass from the heat.

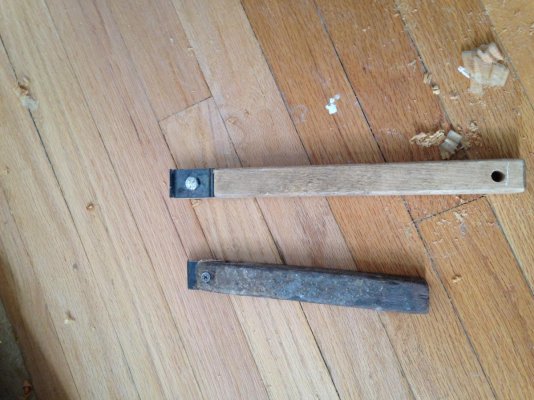
I suggest you check out Lee Valley (leevalley.com). Great source for all kinds of woodworking tools. They have a large selection of scrapers - card, straight, curved, with or without handles... Good company to deal with and a little slice of heaven for hand tool fanatics.
_______________
Dick


FW you're in trouble now . You will start getting lee valley catalogs in the mail . Lee valley is for the distinguished wood worker . The kind that wears a leather apron , safety googles and keeps a clean shop . A wood hacker like me is not worthy to shop there .Thanks alot, Dick! That post just cost me $100 in scrapers and supplies!
Thanks alot, Dick! That post just cost me $100 in scrapers and supplies!


Greetings,
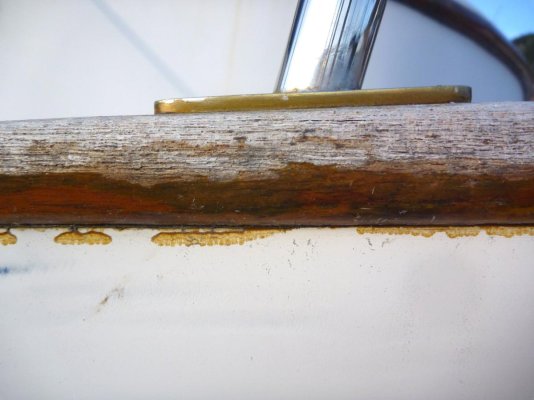
Mr. MM. If it were me, I'd scrape and prep the areas and feather in a number of coats of varnish finishing with 1 overcoat along the whole rail. Could be an exercise in futility if the varnish keeps cracking at those seams but it WILL get protection while the new varnish is intact.
... About the only thing to totally eliminate this particular problem is too rout out the crack and fill it with a suitable seaming compound similar to what is done for teak deck seams.
Yup. That's we did. I used a Dremel tool with a cutting bit to open the seam(s) up to about the size of 1/2 dollar, filled with TDS and then refinished over it.