Much to our delight, when we went to Alameda, CA in 1998 to inspect, sea trial, and have surveyed the boat we ultimately bought, we found its windows had Venetian blinds instead of curtains. The boat we chartered prior to buying our own had curtains and we'd learned to detest them.
But... the blinds were old when we bought the boat, and while the blinds themselves have held up fine all these decades, the ends that clip into the brackets screwed to the lower window trim have not. The rims of the end pieces go around the lower bar and are very thin. Over the years these had started to split and deteriorate to the point where when we bought the boat half of them (there were 28 of them) had tape wrapped around the rims to hold them together and onto the bar ends.
Since we've had the boat the situation has only gotten worse. The end fittings have not been available from Levalour for decades (they told my wife) and there was not even a dusty box of them on the top shelf of the warehouse.
We came up with various schemes to create another method of holding the bottom of the blinds in place from metal rods run through the lower bar to wood ends with pins fitted into the bar ends, but we didn't feel any of them were really the right way to solve the problem.
Then the videographer in our department who shoots with me all over the world told me that his son, at the time just ending his freshman year at the University of Washington, was going to build, from scratch, a 3D printer over the summer (this past summer). His parents felt this was a very worthwhile project that would help him far more in the long run than stacking boxes in a supermarket, so they picked up the tab for his expenses living at home and not getting a summer job.
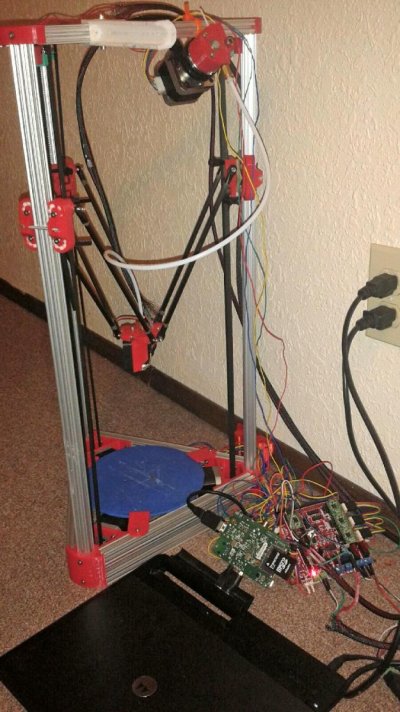
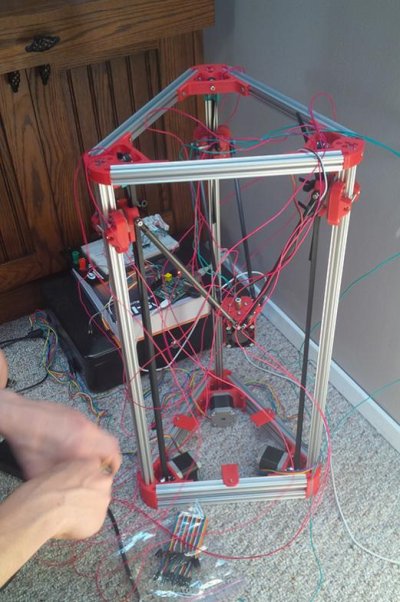
He designed the thing, ordered the necessary parts, and wrote the programming. And at the end of the summer, he had a fully functioning 3D printer. It's a pretty amazing piece of equipment to watch operate.
When my co-worker brought in a sample "block" his son's printer had turned out, I realized it was about the same size as the end pieces we needed for our blinds on the boat.
By now the son had started his sophomore year. I brought one of the parts in for the son to see and determine if he could replicate it on his printer. He not only did, he came up with three potential designs. One of them, a piece that fits inside the bottom bar on the blind instead of wrapping around it, was obviously the best, strongest way to go.
What was interesting is that one of his designs exactly replicated the original piece, complete with the pin that on the original is a separate piece that projects both out and back inside from the flat end. But the 3D version was one solid piece of plastic.
Last week he ran off 30 fittings, which was an automated process-- he read a book while the printer was cranking them out--- and our 16-plus year problem is solved once and for all.
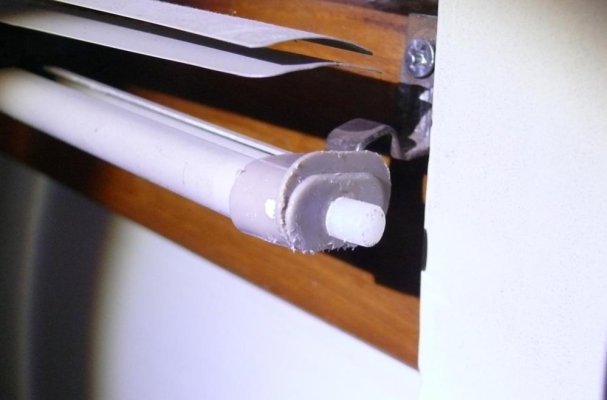
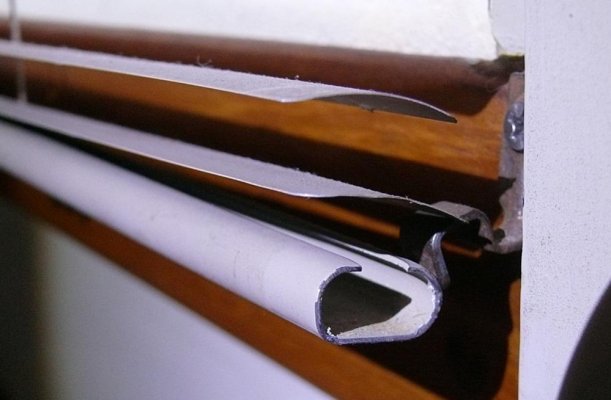
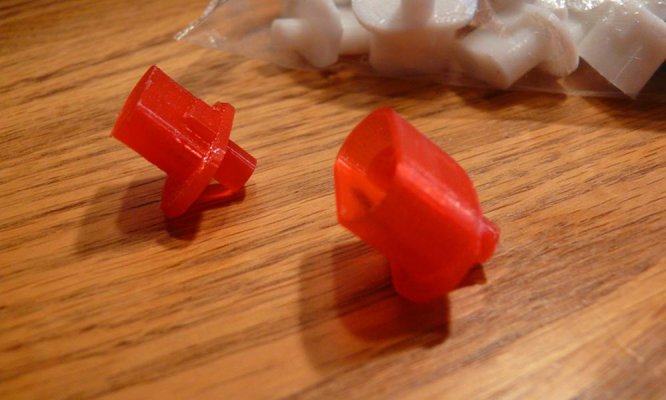
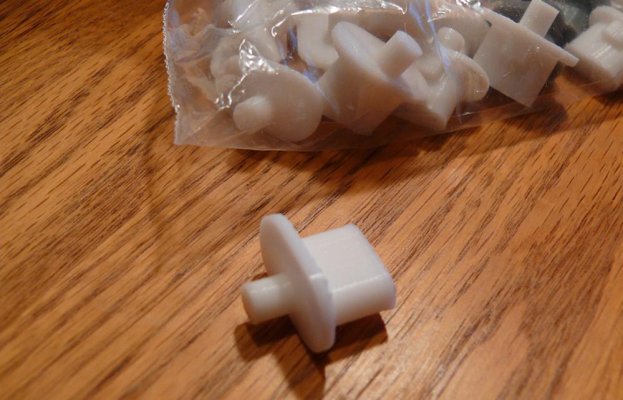
The photos below pretty much tell the story. The red pieces are the original test pieces for some of his designs. The far one is the one we selected, the near one is the exact replica of the original. The red plastic is used for testing purposes for some reason. The last photo is one of the final, production parts.
But... the blinds were old when we bought the boat, and while the blinds themselves have held up fine all these decades, the ends that clip into the brackets screwed to the lower window trim have not. The rims of the end pieces go around the lower bar and are very thin. Over the years these had started to split and deteriorate to the point where when we bought the boat half of them (there were 28 of them) had tape wrapped around the rims to hold them together and onto the bar ends.
Since we've had the boat the situation has only gotten worse. The end fittings have not been available from Levalour for decades (they told my wife) and there was not even a dusty box of them on the top shelf of the warehouse.
We came up with various schemes to create another method of holding the bottom of the blinds in place from metal rods run through the lower bar to wood ends with pins fitted into the bar ends, but we didn't feel any of them were really the right way to solve the problem.
Then the videographer in our department who shoots with me all over the world told me that his son, at the time just ending his freshman year at the University of Washington, was going to build, from scratch, a 3D printer over the summer (this past summer). His parents felt this was a very worthwhile project that would help him far more in the long run than stacking boxes in a supermarket, so they picked up the tab for his expenses living at home and not getting a summer job.
He designed the thing, ordered the necessary parts, and wrote the programming. And at the end of the summer, he had a fully functioning 3D printer. It's a pretty amazing piece of equipment to watch operate.
When my co-worker brought in a sample "block" his son's printer had turned out, I realized it was about the same size as the end pieces we needed for our blinds on the boat.
By now the son had started his sophomore year. I brought one of the parts in for the son to see and determine if he could replicate it on his printer. He not only did, he came up with three potential designs. One of them, a piece that fits inside the bottom bar on the blind instead of wrapping around it, was obviously the best, strongest way to go.
What was interesting is that one of his designs exactly replicated the original piece, complete with the pin that on the original is a separate piece that projects both out and back inside from the flat end. But the 3D version was one solid piece of plastic.
Last week he ran off 30 fittings, which was an automated process-- he read a book while the printer was cranking them out--- and our 16-plus year problem is solved once and for all.
The photos below pretty much tell the story. The red pieces are the original test pieces for some of his designs. The far one is the one we selected, the near one is the exact replica of the original. The red plastic is used for testing purposes for some reason. The last photo is one of the final, production parts.


 :lol:
:lol: