Restitution
Senior Member
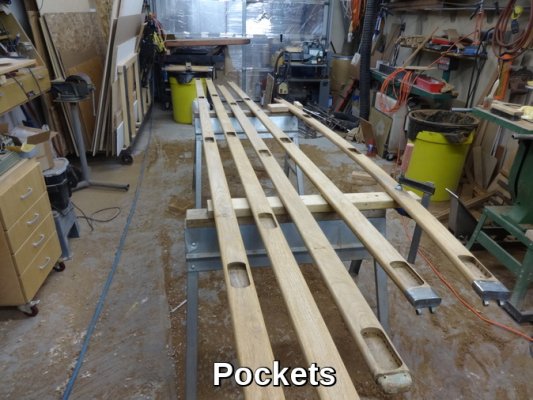
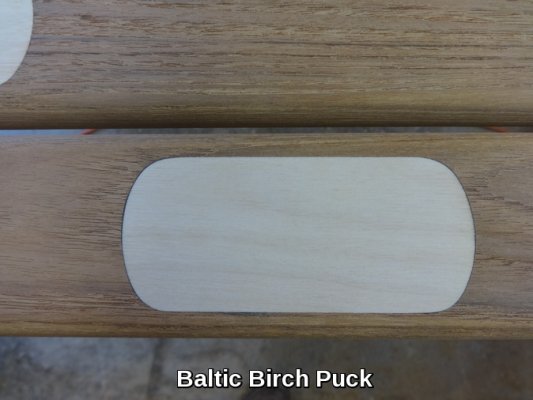
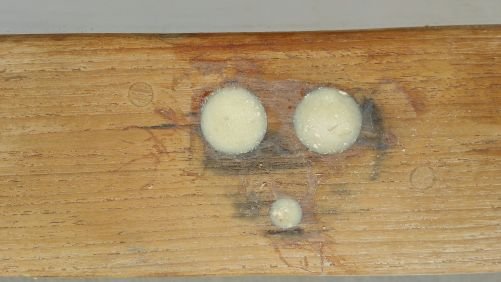
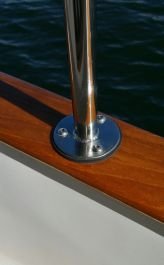
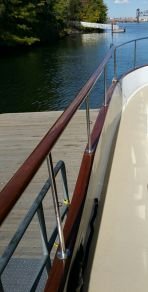
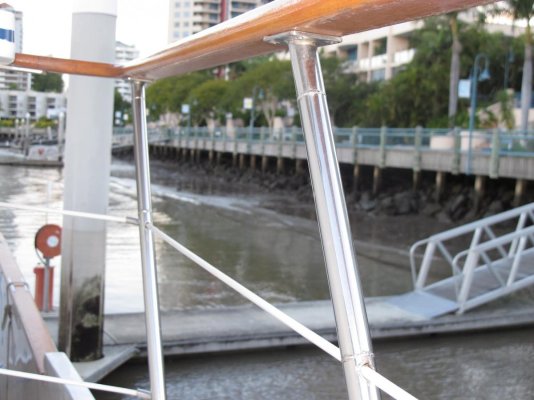
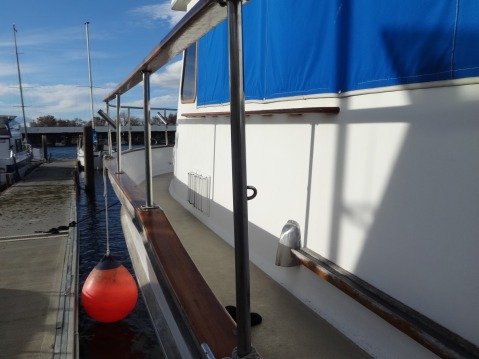
I have a 38 Californian trawler. I'm interested in raising the wood rails 4-6". I then want to install a bracket midway between rails and gunwale to run stainless cable through. I've seen this done before. Is there any sort of bracket that will do the trick by cutting the 1" stainless tubing midway and then inserting? Or are new stainless posts available? Do I need to manufacturer?
Any advice or pics would be helpful. Presently rails are a bit too low for off shore fishing safely.
Thanks
Sam
Any advice or pics would be helpful. Presently rails are a bit too low for off shore fishing safely.
Thanks
Sam

 ) on these things but don't anticipate having to address this issue again.