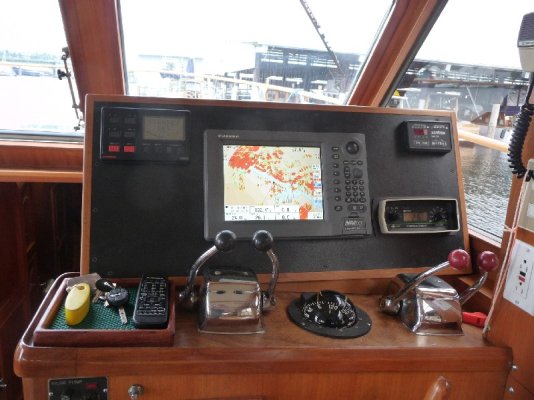
I used a textured 1/4" ABS product from my local plastics supplier (Clear Cut) when I upgraded the electronics after buying Tonic. It seemed to be the very same material that was used before. Very easy to cut and drill using normal woodworking tools. It has held a MFD without any distortion for 4+ years so far. The nice thing with the light pebbling is that it doesn't glare or show fingerprints. Note that this is my inside helm. Outside, I do not know how it would stand up to UV, but your local plastics dealer should have that information.
 Works great! Recommended by Industrial Plastics.