twistedtree
Guru
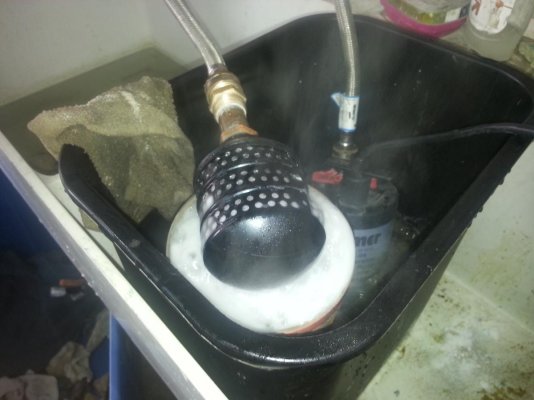
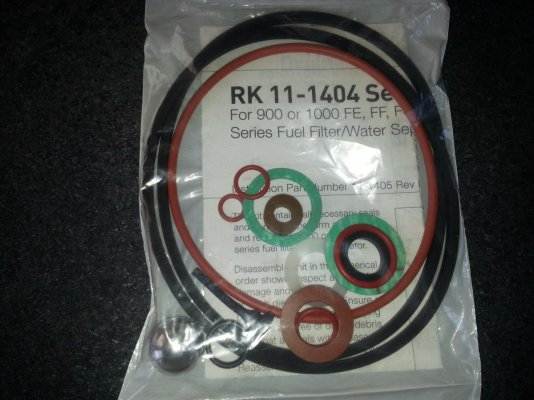
That after cooler looks like it will cleanup just fine. Then lots of grease, o-rings, and a pressure test and you should be good to go.
By the way, when I did mine i bought two rubber plumbers plugs for the seawater openings, and made up an air fill and gauge assembly out of off the shelf fittings that screwed into one of the zinc plug holes. That allowed for pressure testing overnight to verify everything was good. It was probably $20 or $30 worth of parts.
By the way, when I did mine i bought two rubber plumbers plugs for the seawater openings, and made up an air fill and gauge assembly out of off the shelf fittings that screwed into one of the zinc plug holes. That allowed for pressure testing overnight to verify everything was good. It was probably $20 or $30 worth of parts.


")