Bustlebomb
Senior Member
- Joined
- Feb 2, 2014
- Messages
- 147
- Location
- USA
- Vessel Name
- Snooker (for now.....)
- Vessel Make
- 1981 34 Californian LRC
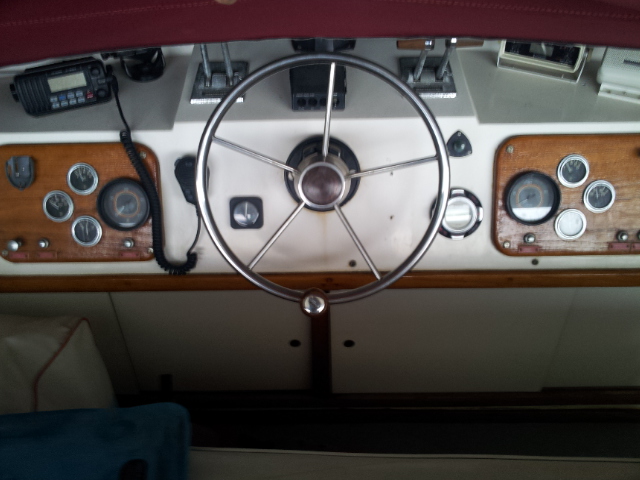
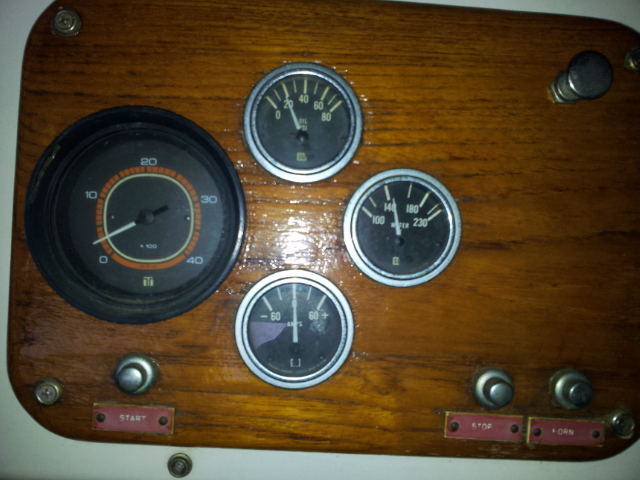
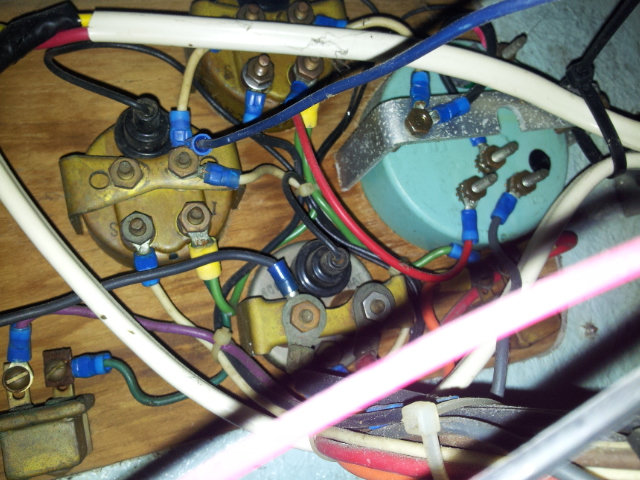
I'm headed back to the boat today to try to install gauges. It seems the p/o was in the process of redoing the FB and getting ready to do the varnish work when he sold the boat - actually, he's deceased and the estate sold the boat. All the gauges are out and in a box with the wiring labeled (sort of). I'm trying to figure it out. Seems very straightforward but there's a bunch of wires under there that belong to other stuff . It's like a jigsaw puzzle without the final picture and that may be missing a few pieces.
Looks like the ground runs in some type of a loop and several of my lower helm gauges aren't working either - my water temp gauge on my starboard engine pegs to max as soon as it is energized. I'm hoping they're related and will start working when I hook up the top ones if the sensor wire is somehow grounded (or open, whichever is opposite of what the gauge is looking for). Has anyone else seen this or are they two separate problems?
Also, none of the oil pressure alarms are sounding. Is there any relation to the gauge being out of the boat or is this a separate issue?
Any suggestions will be graciously accepted.
Thanks,
Matt
. It's like a jigsaw puzzle without the final picture and that may be missing a few pieces.Looks like the ground runs in some type of a loop and several of my lower helm gauges aren't working either - my water temp gauge on my starboard engine pegs to max as soon as it is energized. I'm hoping they're related and will start working when I hook up the top ones if the sensor wire is somehow grounded (or open, whichever is opposite of what the gauge is looking for). Has anyone else seen this or are they two separate problems?
Also, none of the oil pressure alarms are sounding. Is there any relation to the gauge being out of the boat or is this a separate issue?
Any suggestions will be graciously accepted.
Thanks,
Matt