OP
OP
- Joined
- Apr 15, 2008
- Messages
- 13,731
- Location
- California Delta
- Vessel Name
- FlyWright
- Vessel Make
- 1977 Marshall Californian 34 LRC
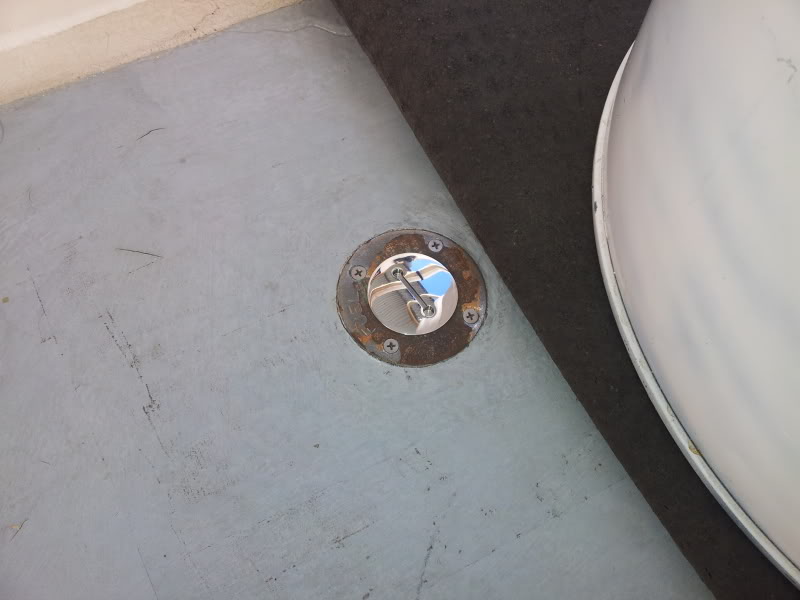
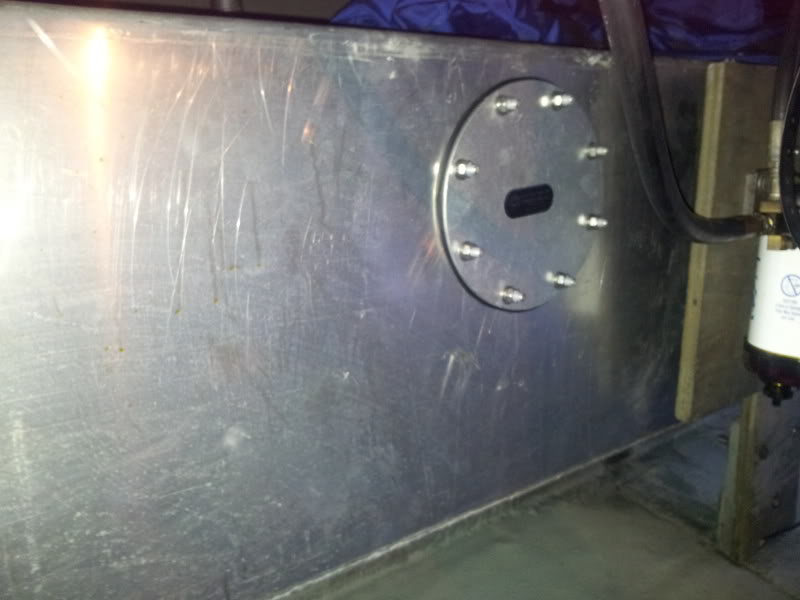
Oops...That 2nd shot of the fuel cap should have been this one...


Al - I'm pleased to hear you keep winning every fuel war!
Ditto!
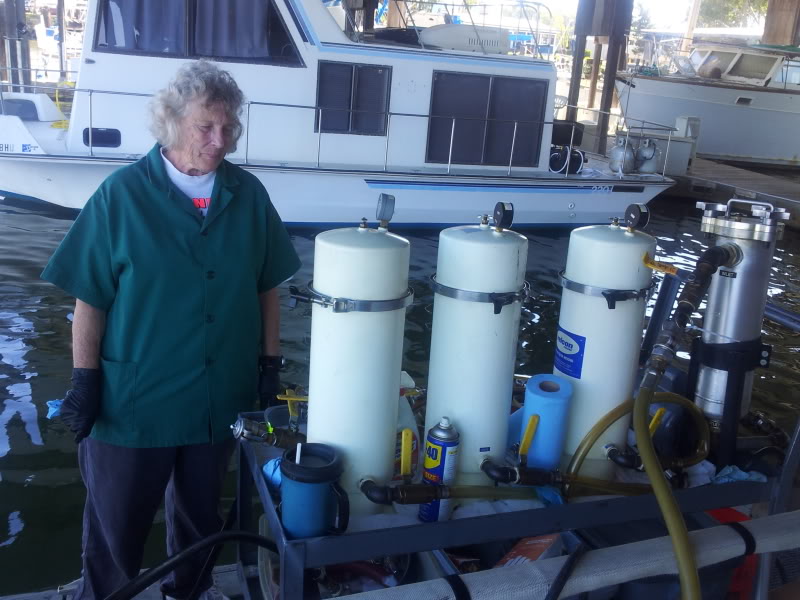
Al, why didn't you switch off the broken filter and continue your trip with the good filter since you have two filters for each engine?
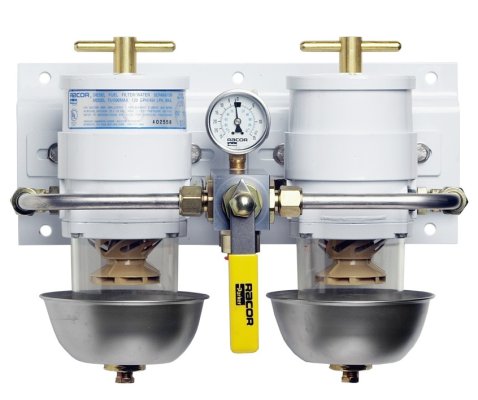
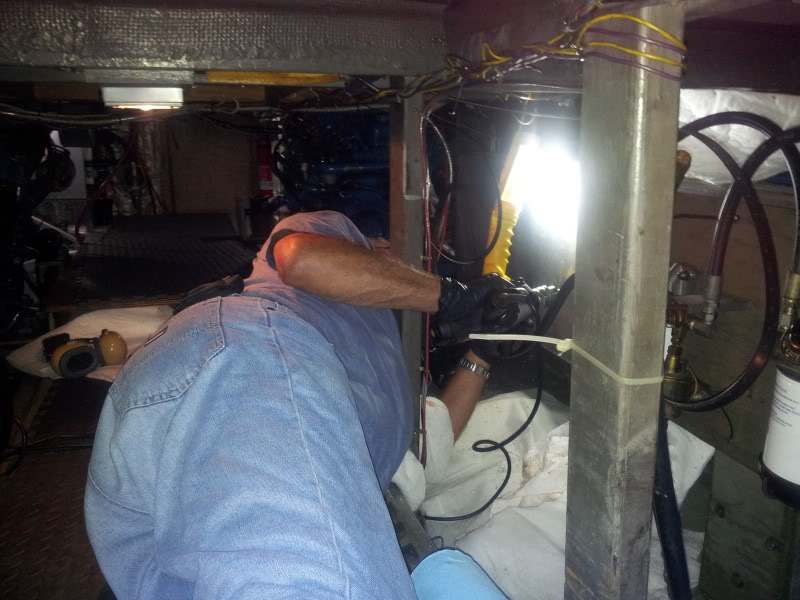
 May I recommend a replumbing of your fuel circuits? (I'm available most days for handing out your tools.) I see the advantages of a few appropriately placed check valves, ball valves to replace my current shutoff valves, a crossfeed/transfer line with associated valves and electrical hookups and switching for the transfer pumps.
 Maybe Santa will put two of these under the tree this year.Mark, I might be tackling some modification to my fuel system in the future, but only after much study, analysis, contemplation and prayer.

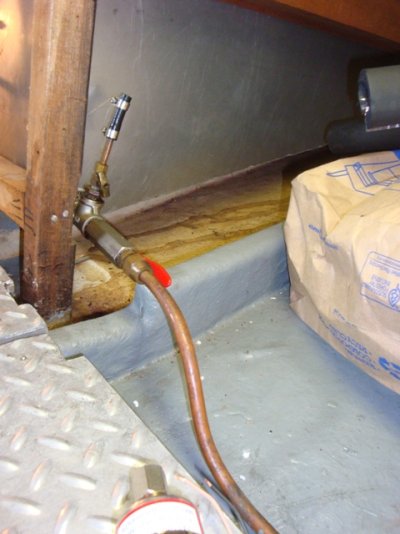
shouldn't have to drain the tube...it should seek the selected tank's level...I too will have to study my fuel system. I have 1 sight tube for both ot all 4 tanks??? I am assuming that you open one tank and it fills and gives you a reading. Close the valve, drain the tube, then open for the other tank and so on.
FlyWright, With a bronze filler neck and new SS filler caps, is there any concern with respect to dissimilar metals corrosion? gts1544 - retired airplane driver
Interesting....My fuel tank (single) on my 54 sport fisher was baffled and held 1365 gallons. Right on the center line of the boat..It was made of fiber glass...... according to my fuel polishing guy, aluminum is a very good material for the purpose. Steel is also good he said. .