Kiwi Grip - the wording caught my attention !!
I was referring to a paint product for a boat mate. Not the term thats used when kiwi's put on velcro gloves and go after the sheep
 ...
... 
Kiwi Grip - the wording caught my attention !!
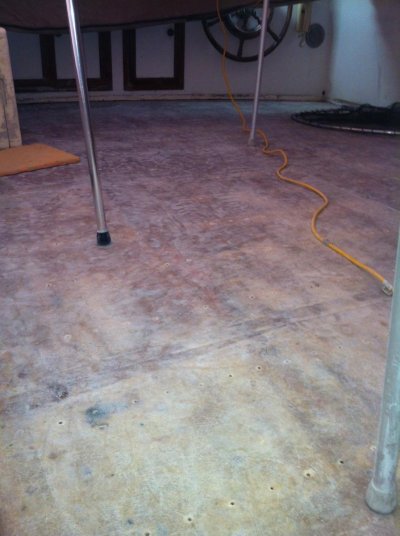
... Wooded does mean taking the hull back to bare wood. Most haulout facilities would sand blast the hulls. Then the EPA got hold of silica and now they use other materials. Mine was blasted with a black grainy particle. I don't know what it was.
")
Where did you find the bronze Roberson drive screws? I use a SS version on my deck repair, but could see using the silicon bronze at some point.


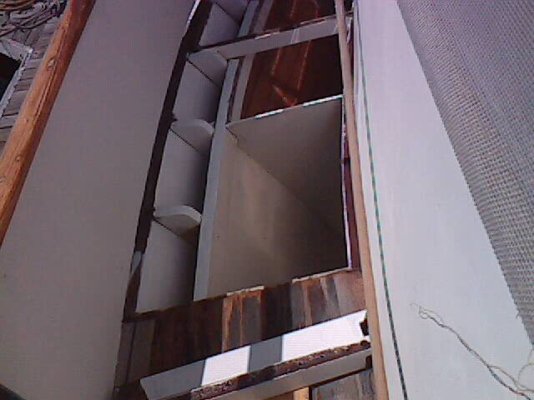
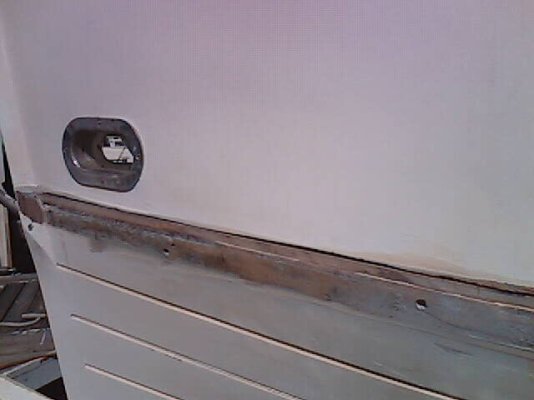
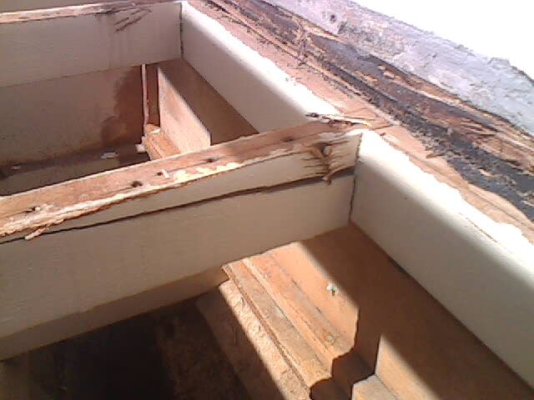
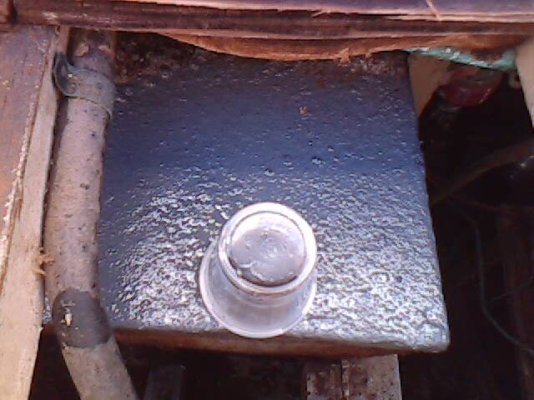
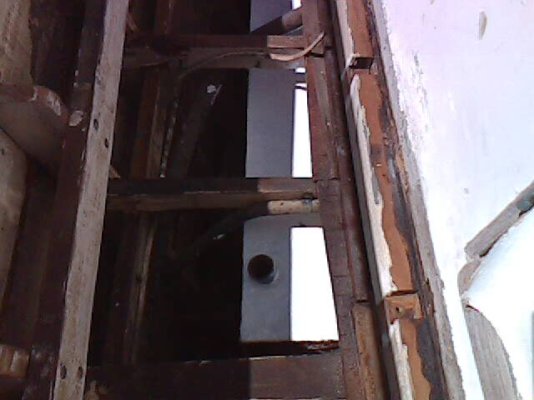
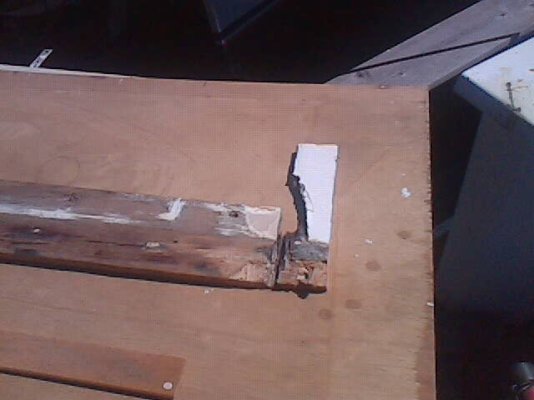
Hey Captnhead, I hear you ! been doing my 77 C&L since march on the upper deck...I cut out the parts that failed the hammer test...it was useless trying to dry out the interior...I dug out rot that was absolutely dripping after no 'new' water was introduced and I had tried drying by several methods for hours, months after I thought I had it all! be brutal with your rot removal...its all rebuildable. The black stuff did not want to come off with the fein oscillating scraper I have...best tool I ever bought by the way. we ground it off wearing hasmat gear using a plastic scouring pad that screwed onto the grinder. the deck was then levelled, glassed, levelled again and gelcoating is underway as we type. No new teak for me as the old stuff self destructed on removal and is too costly to replace.


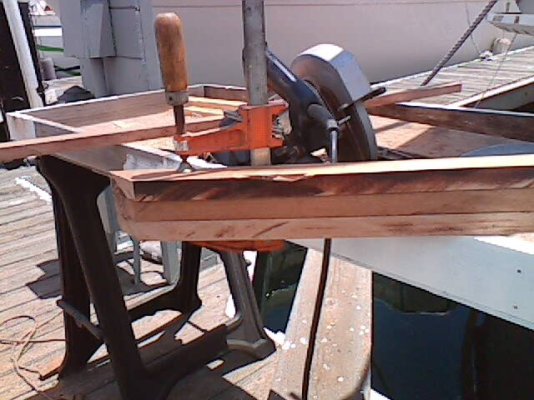
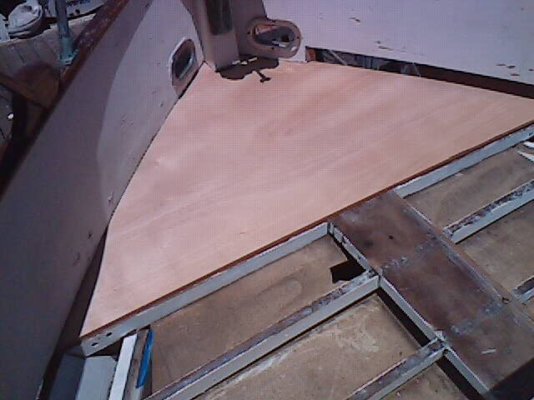
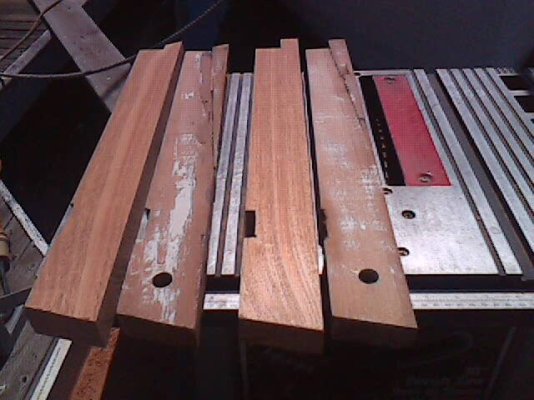
Huge job well done. A job like this sure makes you come up with creative ideas on how to accomplish "reverse" construction of these pieces. The stern of my upper deck had compound curves...the slope or cant of the deck to the outer edges and the curve of the stern itself...a bench belt sander was really useful here along with every tool I had.. a lot of clamping on the dock using old pieces and new templates made of cardboard to get the shape. the piece also had to go around the hatch entry framing to the upper deck. It was an engineering marvel that took 2 weeks to build, weighed about 100 lb and took 4 guys to hold in place while it was installed all in one piece. Got to love it when a plan comes together!