bfloyd4445
Guru
good job


I helped a friend build a wood and epoxy boat.
He didn't use any metal at all in the whole construction. Not one nail screw or staple.
The boat could go thru a metal detector and not set it off.
He even fabricated hinges and clamps and cleats from wood and epoxy. The hinges and door handles are kind of big but work beautifully.
The only metal was in the propulsion, shaft and prop.
He called it welding with epoxy.
The number one tool he used aside from a saw was a plastic spoon.
It allowed him to apply the paste made of epoxy and a filler. Using the back of the spoon to shape and fill the inside curves.
sd
Wow, what you are doing is amazing. I am enjoying the updates, keep-em' coming mate. Happy new year! And by now you've survived the apocalypse.
")
Matt,
I found the web site. Sounds like remarkable stuff..
I wonder if it would bond to polyester resin. The stuff most of our boats are made of.
SD
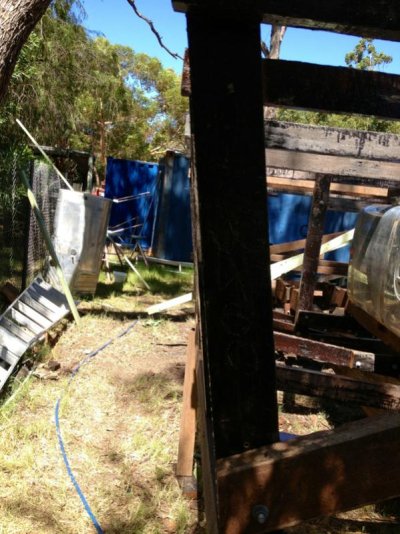
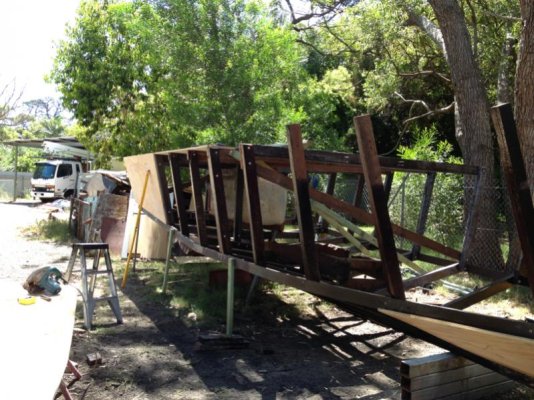
Here’s link to Bote-Cote products http://boatcraft.com.au/bc_products.html Skeleton of a boat frame (similar to yours) is in the window on upper left hand corner. Are you Aussie boat restorers Plum Cwazy! Do you all rip a boat down to its frame to rebuild?? Gatta Hand it to Ya - lol!!


skipperdude; said:I helped a friend build a wood and epoxy boat.
He didn't use any metal at all in the whole construction. Not one nail screw or staple.
The boat could go thru a metal detector and not set it off.
He even fabricated hinges and clamps and cleats from wood and epoxy. The hinges and door handles are kind of big but work beautifully.
The only metal was in the propulsion, shaft and prop.
He called it welding with epoxy.
The number one tool he used aside from a saw was a plastic spoon.
It allowed him to apply the paste made of epoxy and a filler. Using the back of the spoon to shape and fill the inside curves.
sd
Hello Skipper
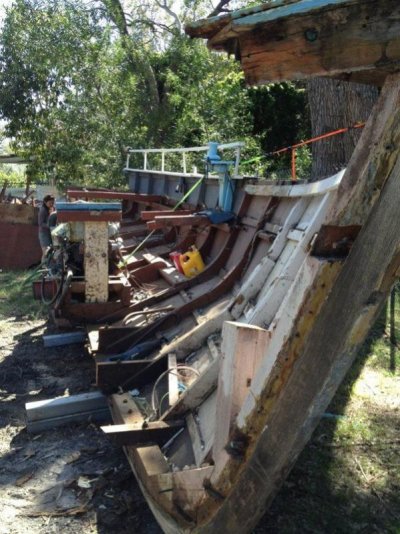
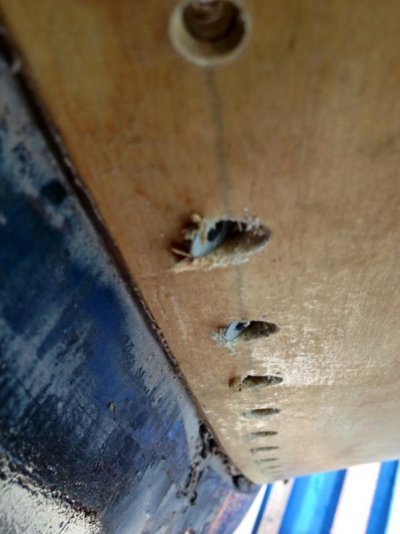
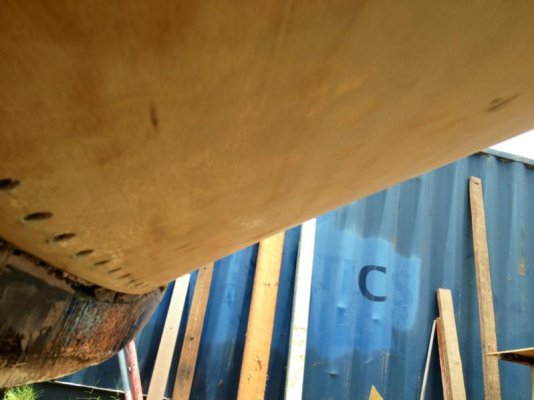
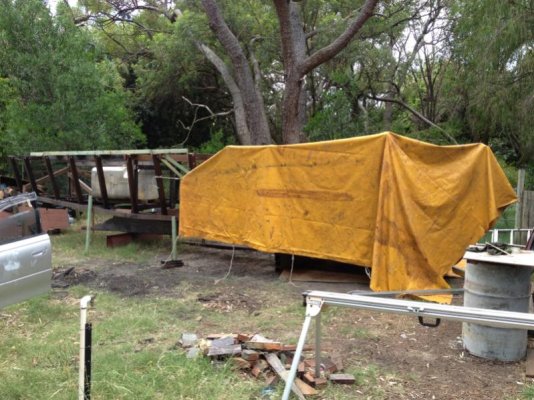
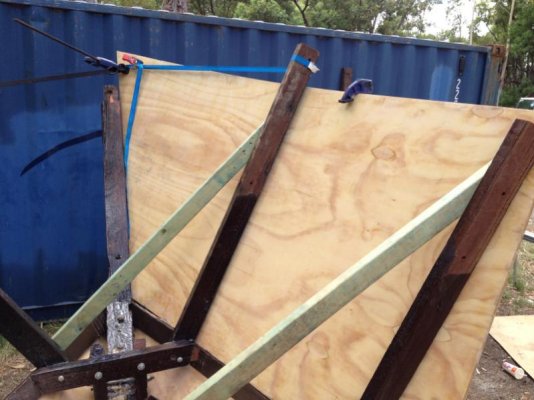
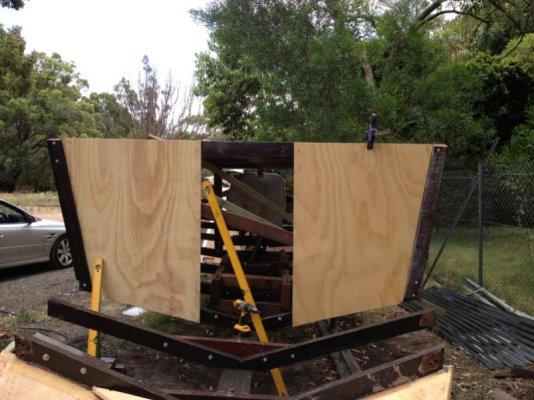
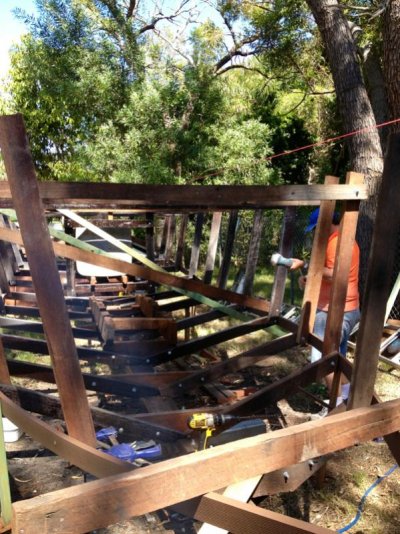
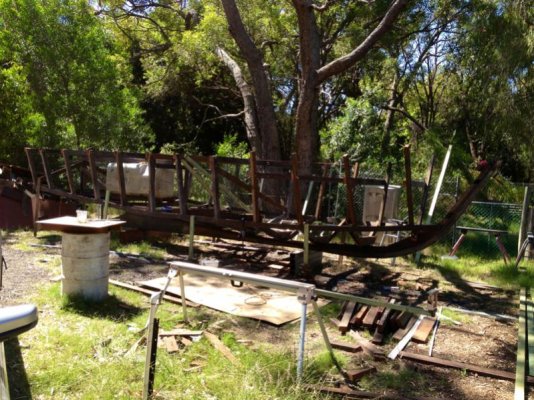
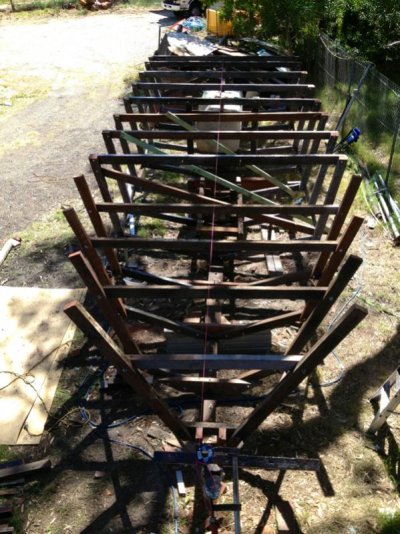
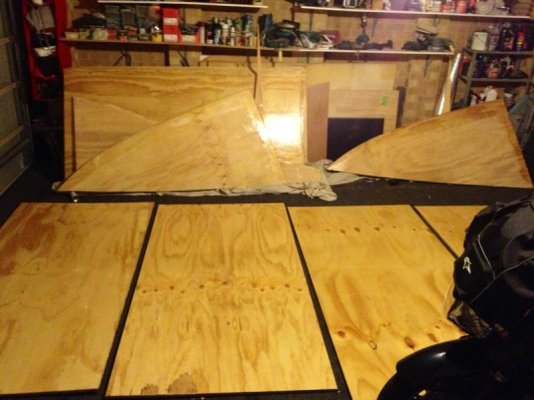
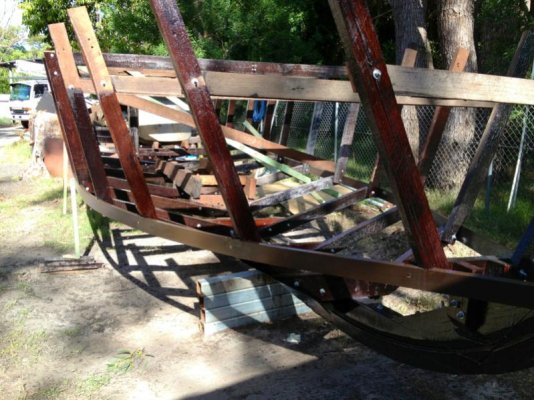
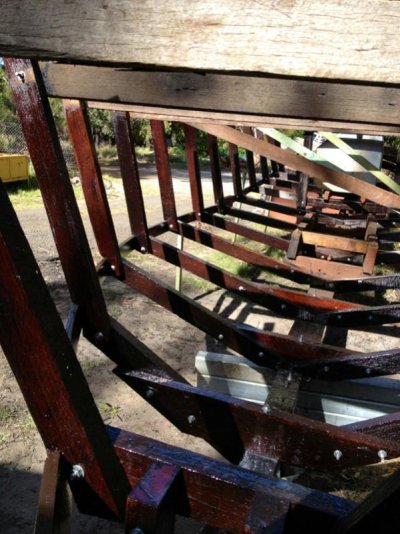
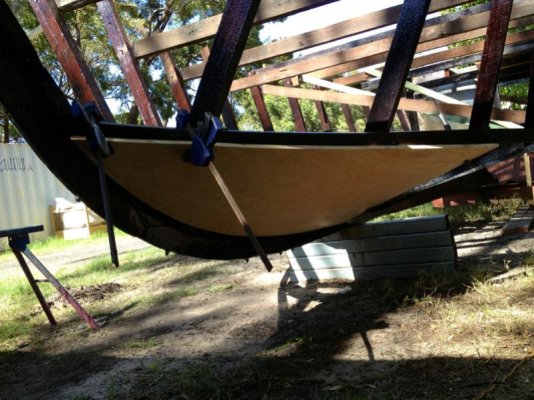
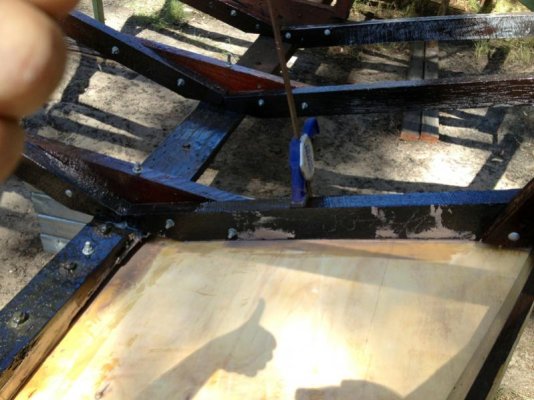
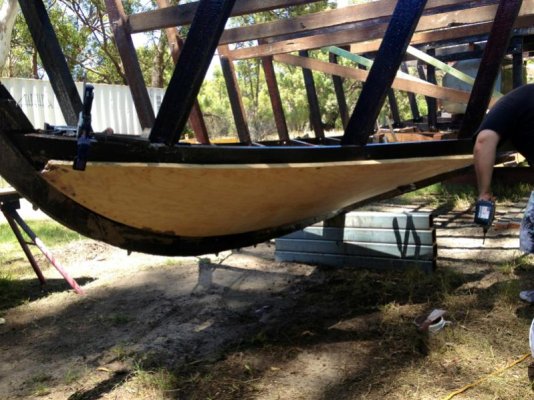
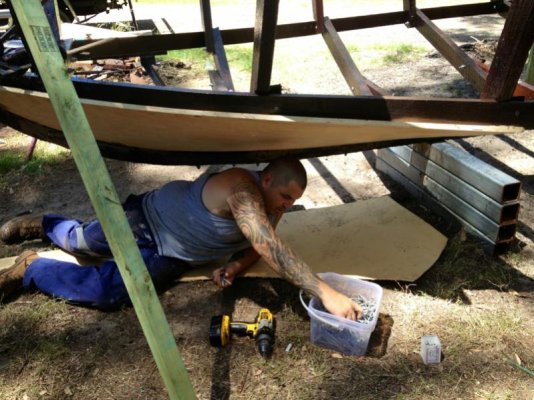
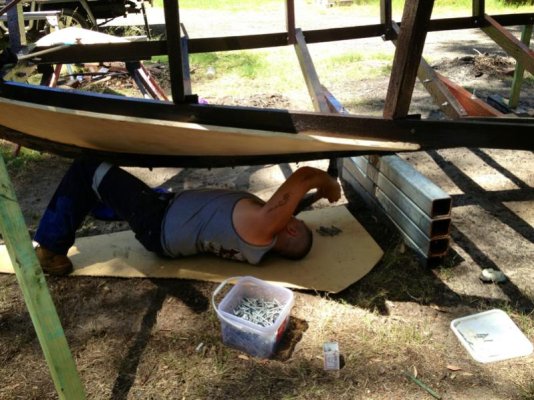
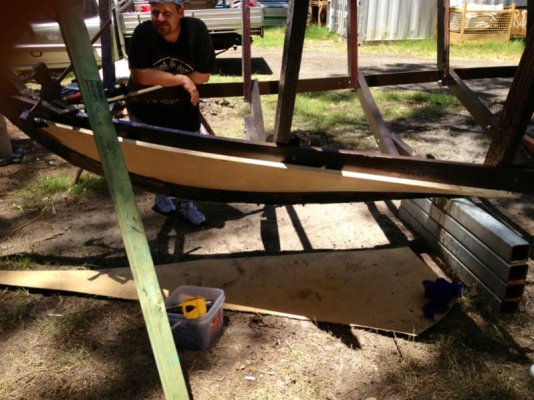
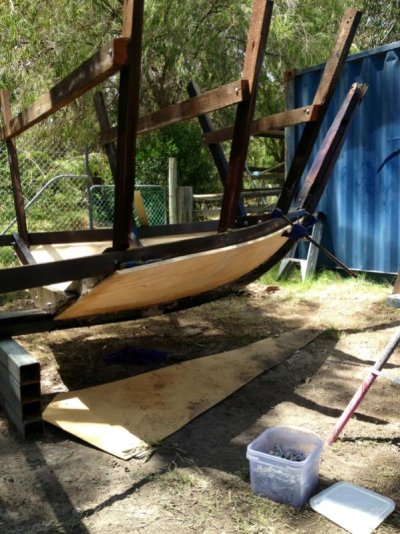
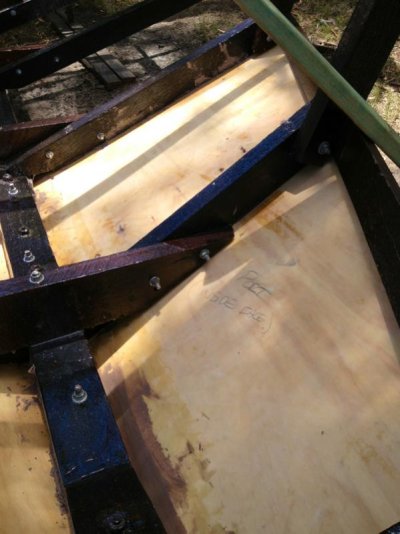
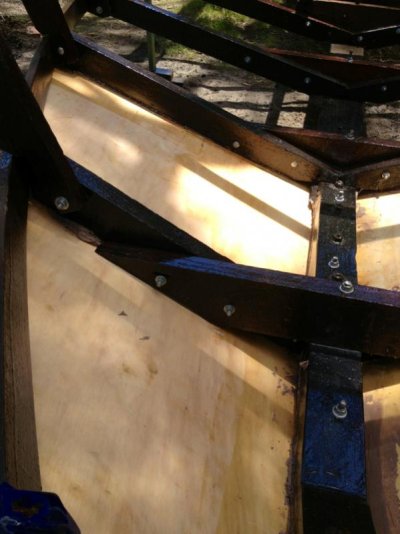
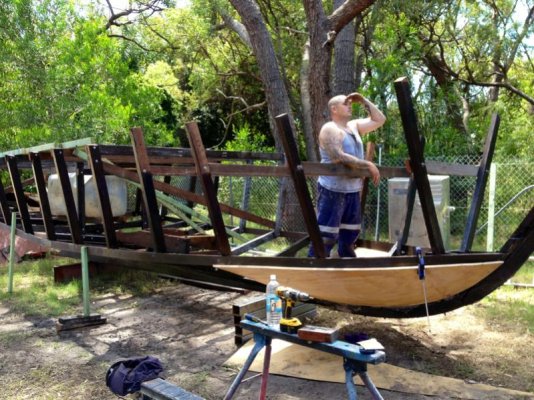
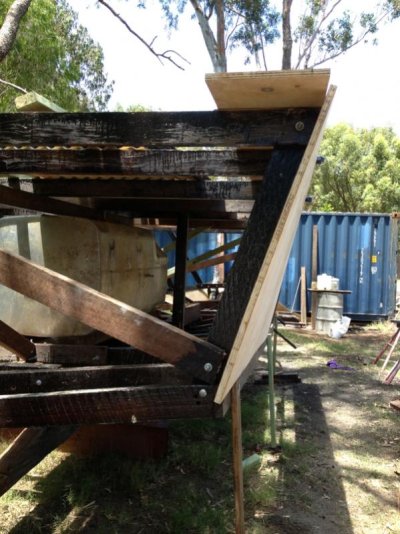
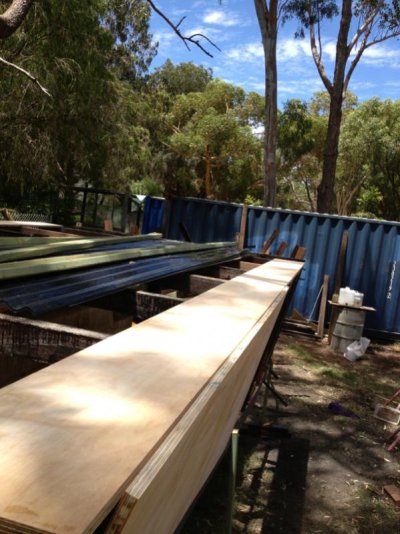
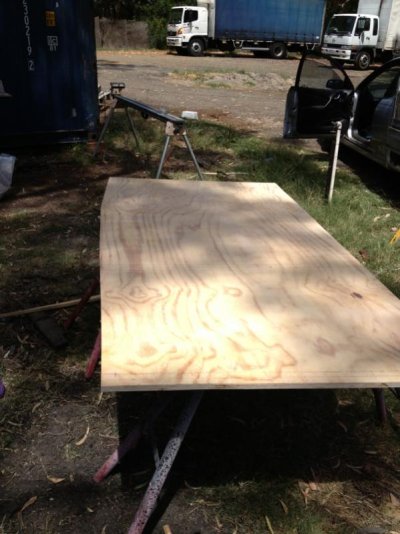
What size boat was that? Mine is 46' LOA and 40.2' LWL and there's not a single piece of metal in the hull structure. As you said, the only metal will be propulsion equipment. All structural parts were "nailed" with wood pins glued with epoxy. Drill a hole, machine wood pins and stick them in with epoxy. Everything becomes one only piece. The plywood plating was fixed with plastic nails and epoxy. These nails are only suitable for temporary plating. Once the plating is impregnated with the resin, and FG is spread over the hull, all becomes only one structure.
Seasons Wishes
Interesting. Plastic nails. I would never have thought of that.
His boat is a 32 with rather a large fishing deck. He even fabricated a davit for pulling shrimp and crab pots.
I like the idea of no metal. No metal = no corrosion.
One thing I found interesting was that he first applied a what he called a tac coat to the marine plywood by diluting the epoxy resin with acetone to about a 50%. The acetone allowed the epoxy to saturate or soak into the wood forming a better bond to help prevent delamination.
If you are familiar with stitch and glue, that is the method of construction.
Using heavy wire to first stitch things together then gluing with the epoxy.
Sd
What sort of boat do you have mate?
I have an X commercial power troiller once used in the Pacific Northwest for salmon.
Fiber glass hull with a Cat 3208 for propulsion.
Sort of like you I started with a sound hull and engine and have rebuilt the deck and cabin myself.
Lots of glass work carpentry.
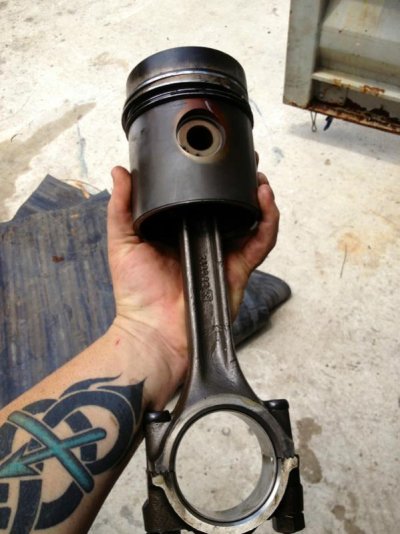
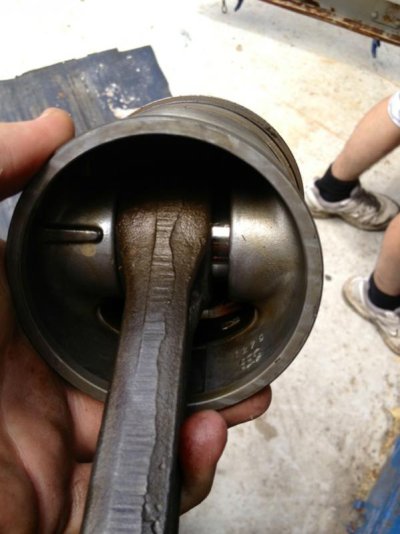
I know her from the keel up, as all the systems from two hydraulic systems. One for the anchor and pot davit the other for steering. All the electrical, (I must have run 3 miles of wire.) To replacing all the windows and doors. I have even rebuilt the motor myself. The top end anyway.
I posted a lot of the rebuild on this forum under Cat 3208 coolant leak.
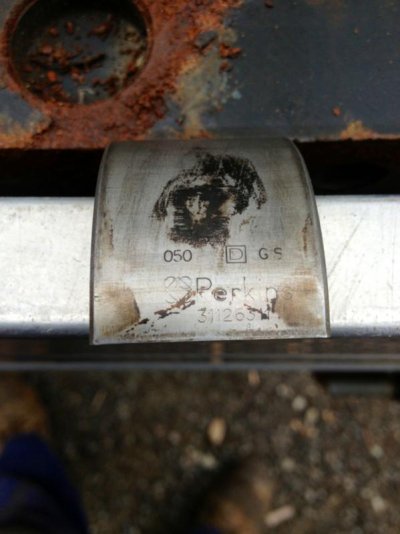
By the way what is that engine?
There is not another like her in the harbor and I get lots of comments about her
She is almost where I want her to be.
I haven't gone into debt building her as it has been all done out of pocket as time go's on, little by little. Like eating an Elephant One bite at a time.
SD


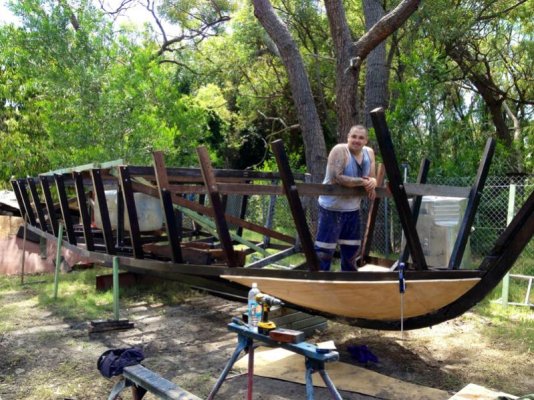

Way to go Hendo!
Gotta admit to wondering at first if you where crazy or not. The answer is yes you are. Just crazy enough to make it happen.
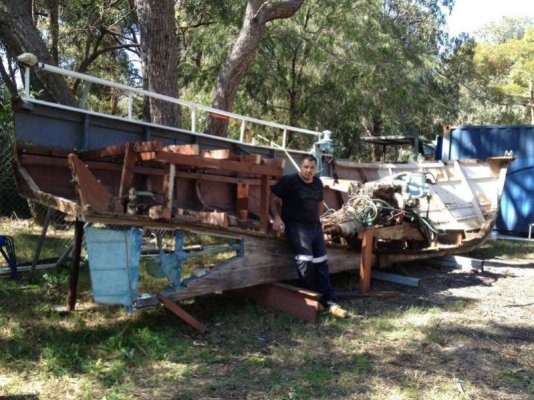
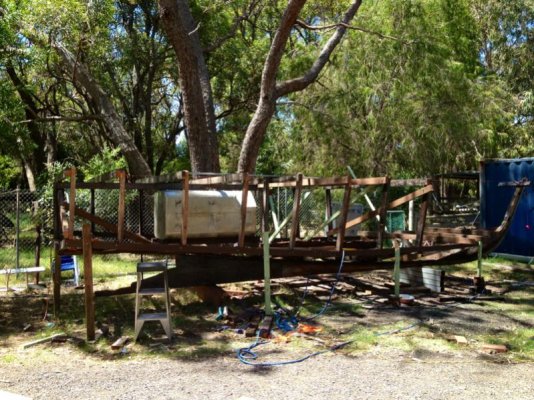
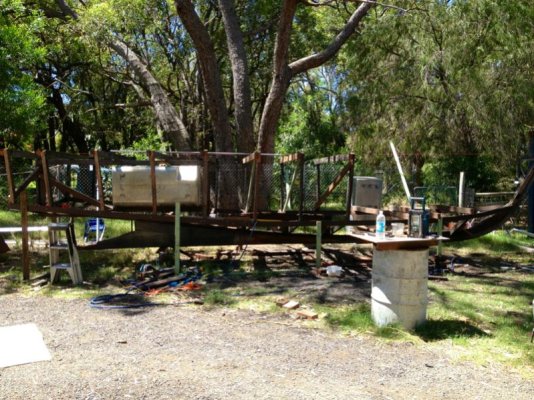
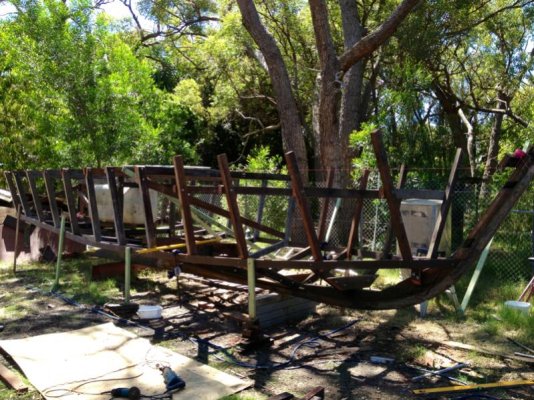
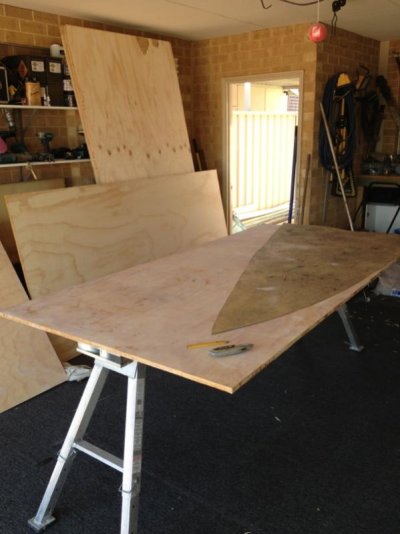
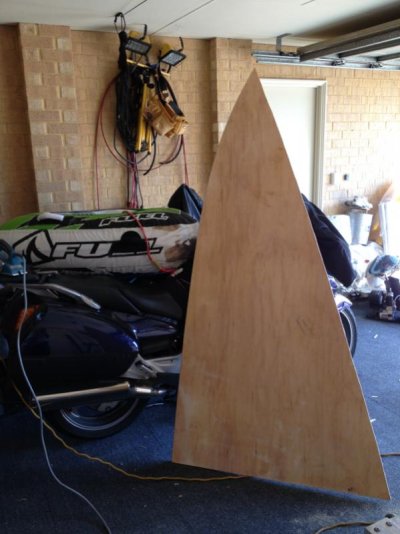
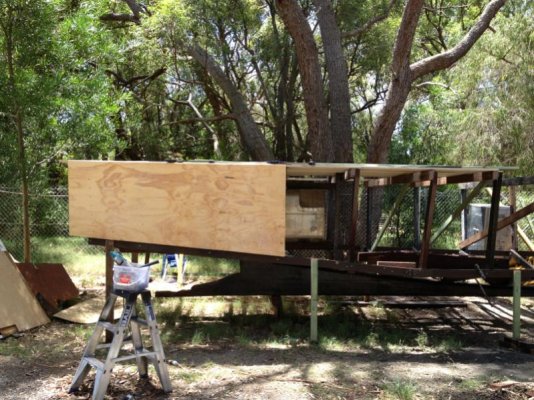
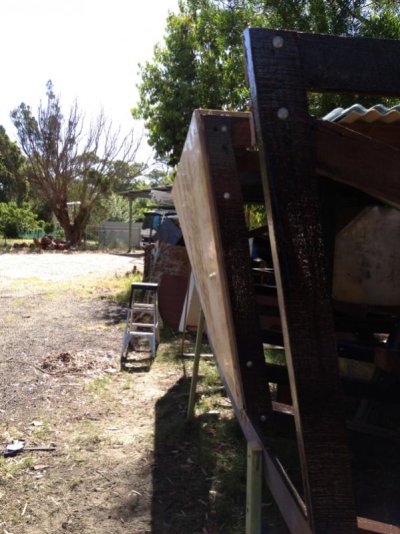
Except for the frame, you are building that boat from scratch! I sit here, amazed. Well done. Still far to go I know, but well done.
I've just got to ask about your avatar. Do you keep a kangaroo as a pet? If you do can you attach a photo? Would like to see him/her up close.
Thanks for the photos. We have raccoons, coyotes, deer, and a rare mountain lion in our yard from time to time. Sorry for taking away from your boat project thread. I'll be looking forward to watching your progress. Good work!


Hi Hendo,try here. Paragon Marine Hydraulic Transmissions
Gordon.