Comin' along nicely Hendo...I can almost visualise it now..I think..?
Hey Pete! how are ya mate?
I'm glad you can cause I can't hahaha. Ah just kidding. I have a picture in my head and just gotta transfer it into a boat lol
iPad Forum Runner
Comin' along nicely Hendo...I can almost visualise it now..I think..?


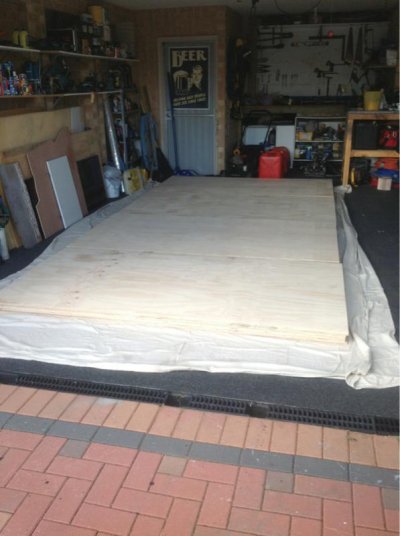
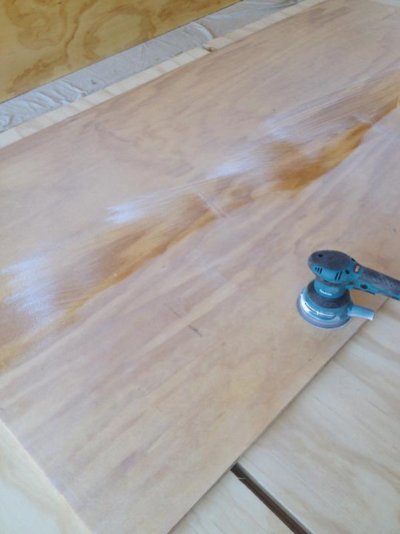
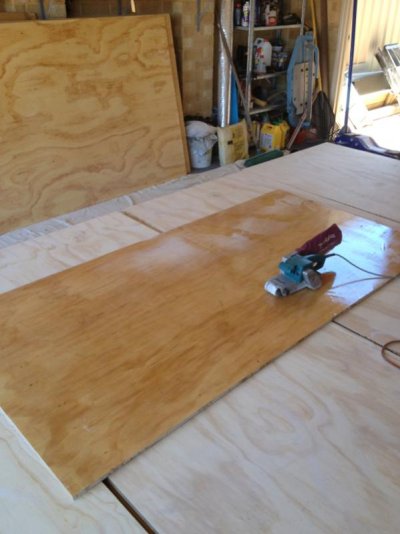
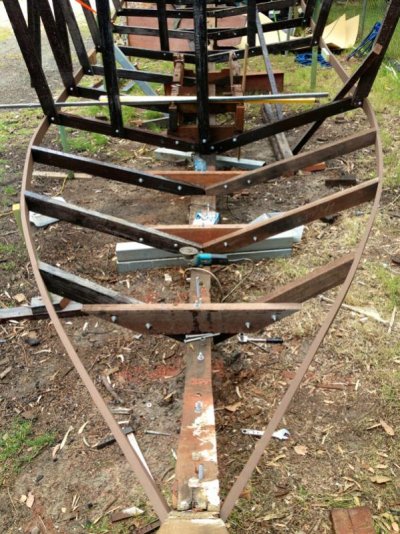
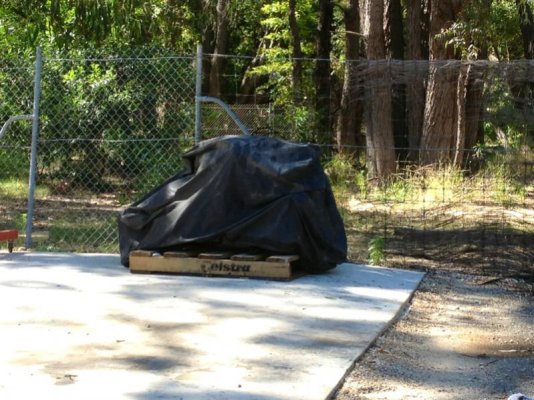
Hey Art. How's things mate? Thanks for the info as the link! She has a big old naked nose atm. The thing is its been raining here a bit over the last week and a half So i need it to stop raining and dry out as the epoxy I am using is 100% solids with no evaporative thinners so the timber won't be able to breathe once I coat it so she has to stay naked at this stage.
How's your girl going?
Thanks again for your reply and links etc
Very much appreciated mate!
Cheers
Hendo
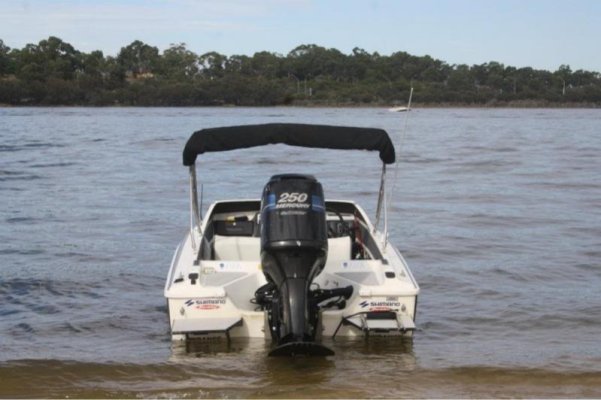
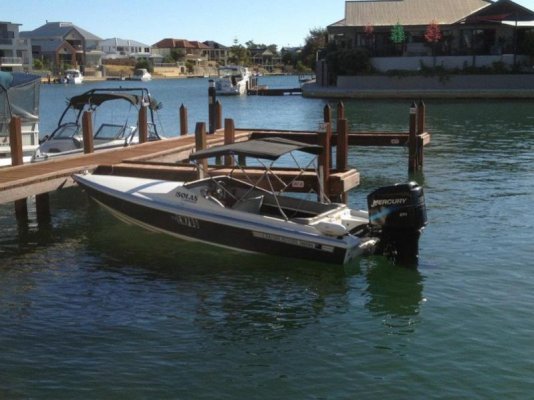
Hendo - Which girl o' mine you talken bout? I've got a wife, daughter, daughter in law, three grand daughters, a cool-chick 89 yr mom in law who's a kick... and currently three classic FG boats as well as a 1967 Buick Wildcat muscle car that I call "her" or "she" too... LOL And, I always got my eyes open for another... boat or car that is! :lol:
Can hardly wait to see your next progress picts
So what is a Cray boat? IIRC there is a lobstery sort of creature down there called a cray, so is that what these boats were designed to fish for?
Hendo,
A lot of the old cray boat builders are still kicking around down in thet South West corner and some good boat builders who would be most willing to give you some verbal advice and probably sketches of what you should be achieving.
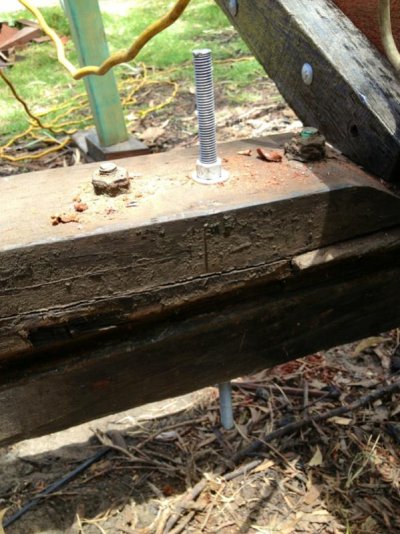
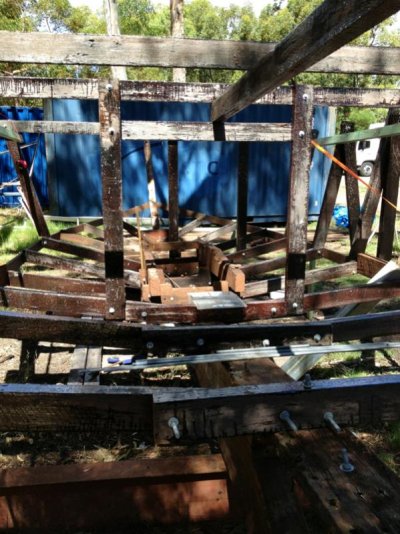
What fasteners are you using on the frames , stainless (316) or copper.
I know with my own boat most of my major frame bolts are copper that I made using 1/2" solid rod and just threaded the amount I required on one end, on the otherenough thread for the nut then peaned over the rod end to form a bolt.
Some of my bolts were 16 to 20 inches in length.
Cheers
Benn
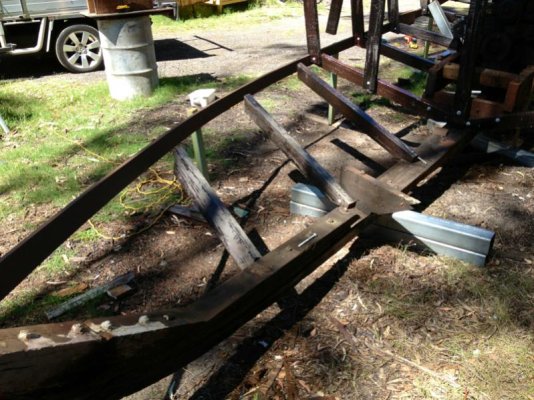

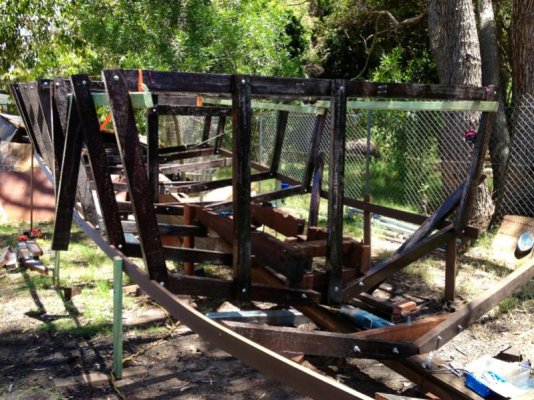
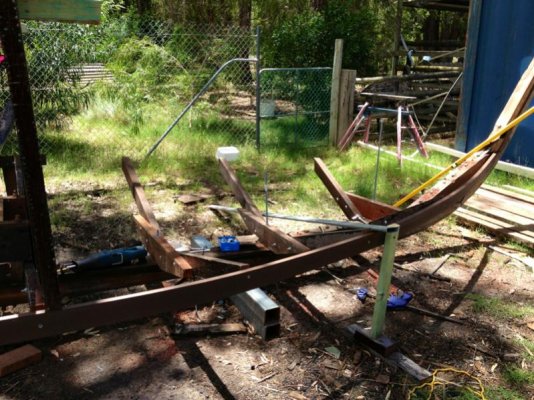
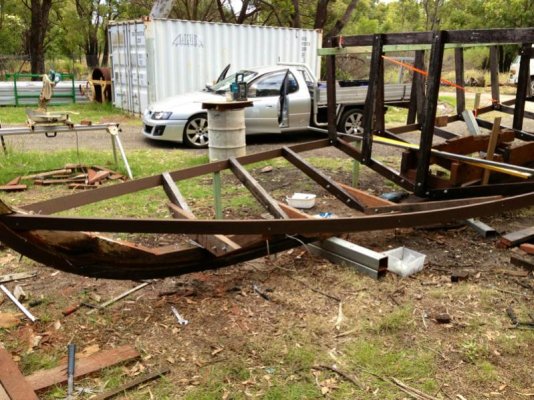

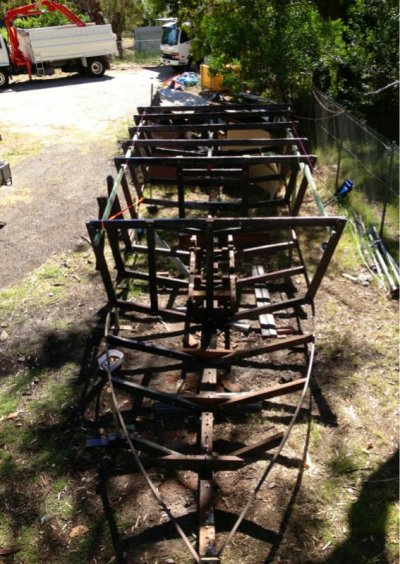
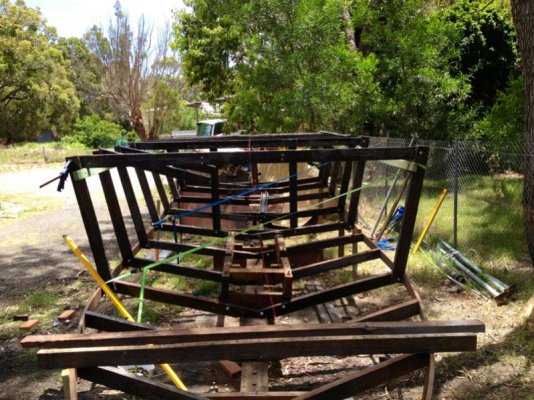
The keel and chines have nice lines...hang in there...starting to take shape now...
Cheers Pete ;-)
Not a boat builder nor building it with "proper" traditional ways but f*ck it, she'll be right mate. I'm doing it my way and having fun in the process. She'll turn out ok
iPad Forum Runner
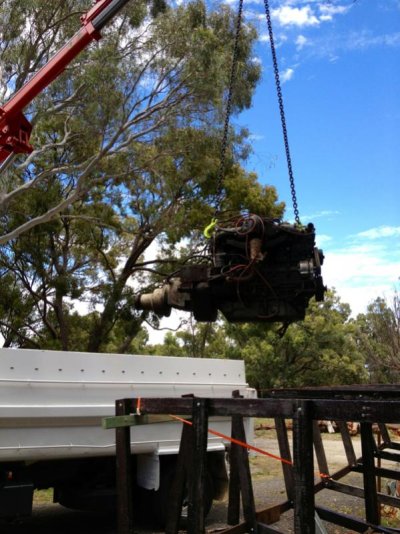
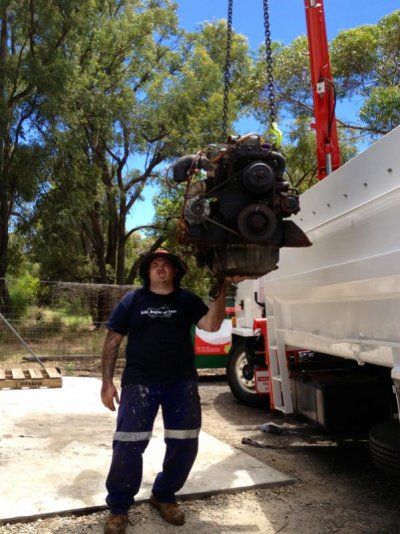
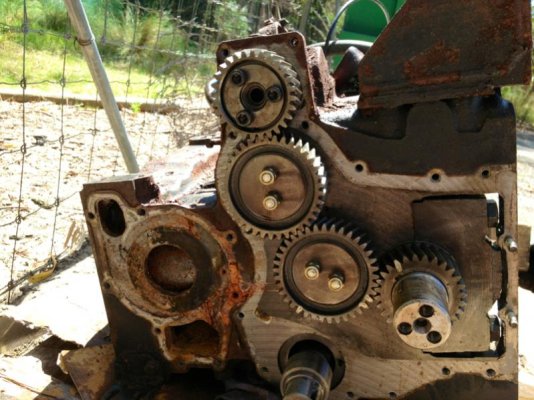
Geezzzz Hendo, I know you gots some muscale and are strong and all dat... but the pict with you holden da putt-putt over your head wirh your left hand would get even Arnie Schwartz taken second looks! - LOL :lol:
Kidding aside... one hell of a project you're accomplishing! Get It On!
BTW - Something bout that haircut that pleases me!
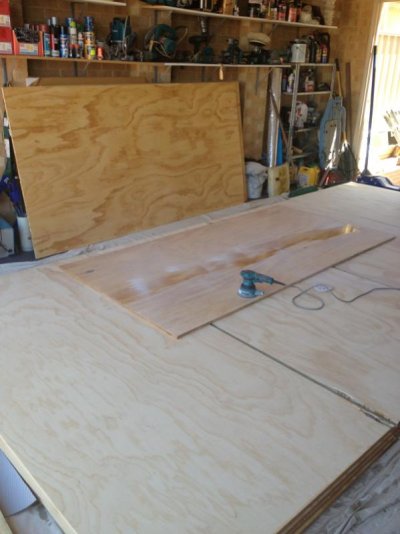
Hey mate! Good to put a face to the name! I've pre-coated 8 sheets of ply so far so will be looking at starting to wrap her. Pretty excited :-D
Yeah ya know just movin engines around with brute force is just the normal part of my day lol. We're tough us Aussies hahahahahahahaha
But what's with those sunnies??!!! Gotta flick them mate! Hahaha
iPad Forum Runner
Hendo78,
Your Cray boat epic resurrection project would make a great thread on
BoatDesign.net
Lots of picture stories quite similar to yours. Look up a member called Troy2000. Look in wood boats under construction (or someth'in like that).
Have fun ..... More fun I mean.
I'm Easy Rider there on BD.
Never let em see where ya looken!
Hayang in there Hendo - I'm already getting a sore back for you, just thinking about it...but hey..it'll feel good when you stop. Then, when you start afixing those ply sheets, and the sexy shape really starts to emerge...we can start our oohing and aahing all over again...
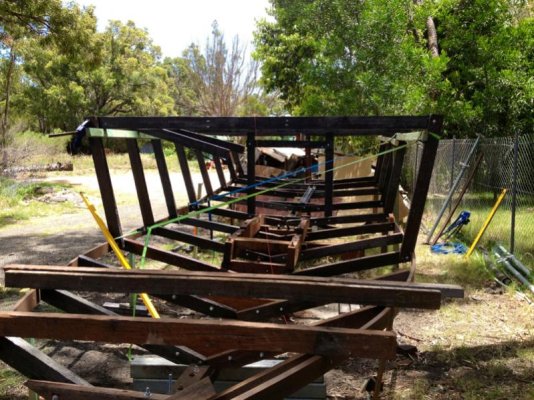
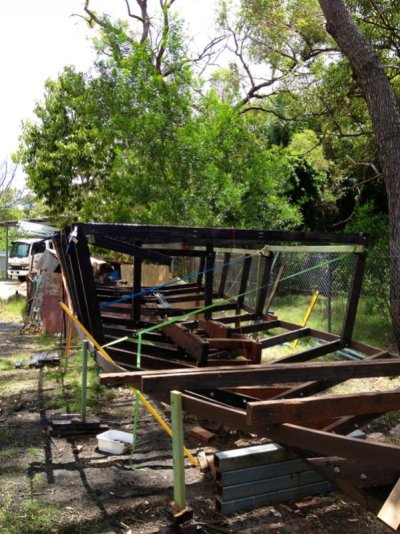
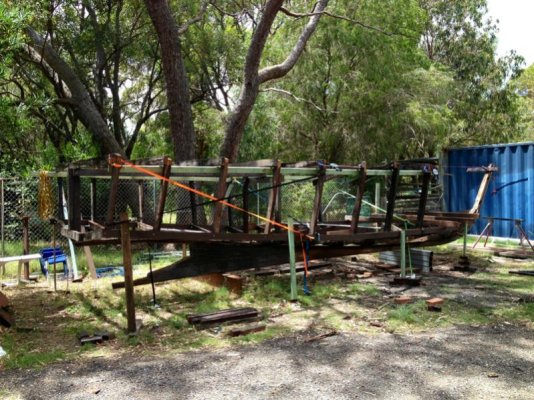
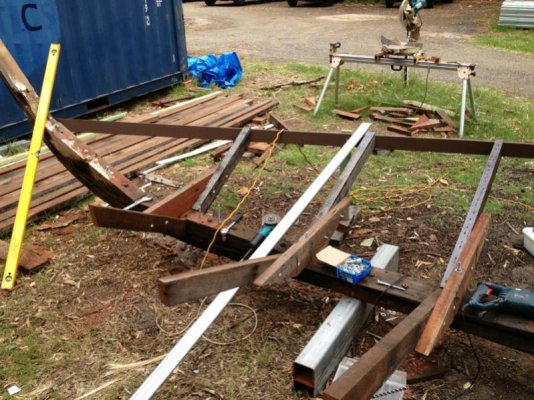
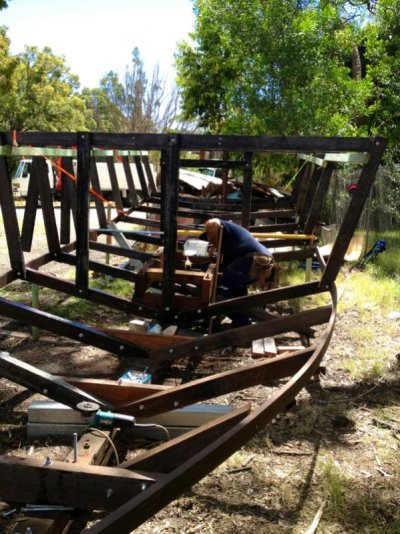
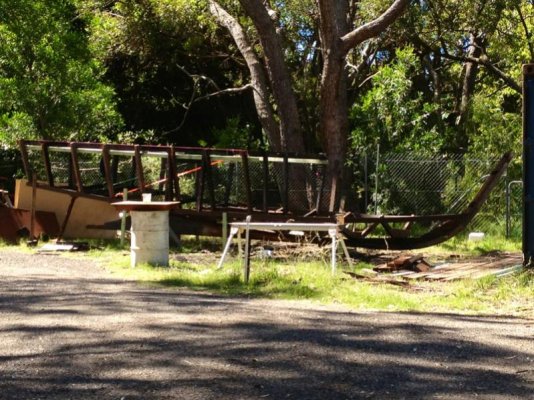
Most times I have seen boats built they start with the boat turned upside down Then roll it over after the hull is built.
Makes it a lot easier to apply the glass and resin to the bottom. Have you considered this?
If you do a search on Portuguese's boat he did a little slide show on rolling the hull over.
As you are just about starting from scratch it would seem to me the way to go.
If you are going to glass the hull from my experience once the resin is applied to the glass it gets kind of heavy and difficult to apply in an overhead configuration.
If the boat is inverted gravity will be your friend.
Sorry not trying to tell you how to do things. It is just the way I have always seen this sort of thing done.
SD