- Joined
- Nov 8, 2012
- Messages
- 2,315
- Location
- USA
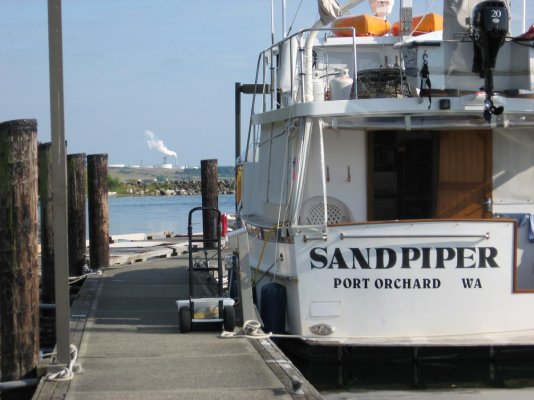
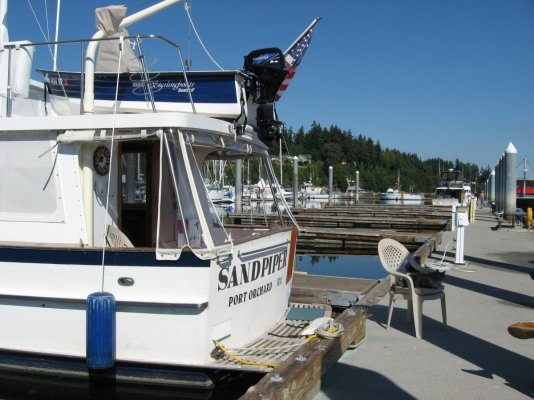
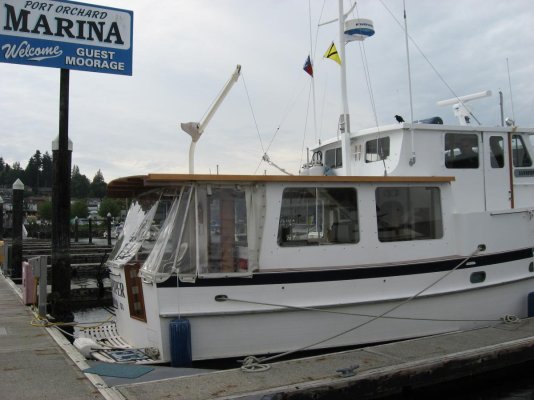
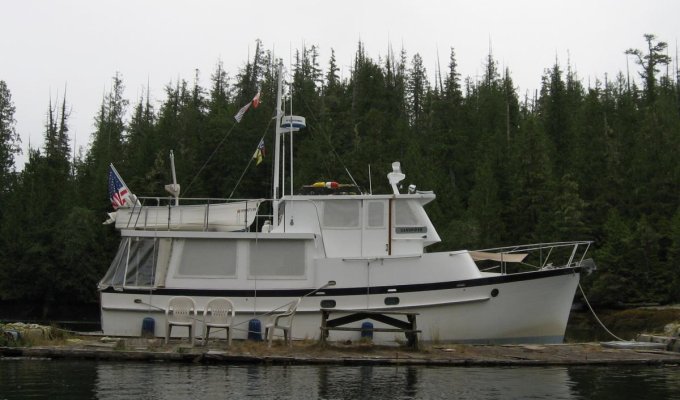
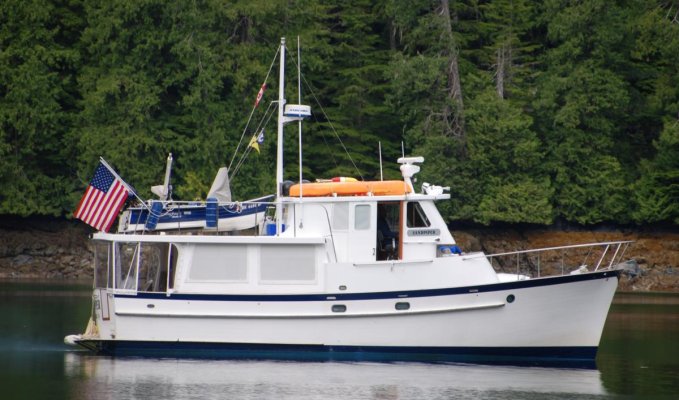
- Vessel Name
- Sandpiper
- Vessel Make
- Bluewater 40 Pilothouse Trawler
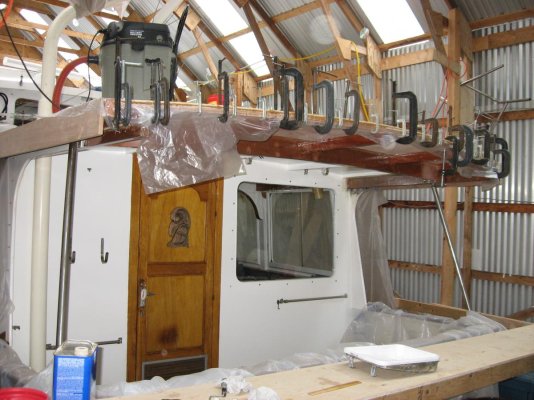
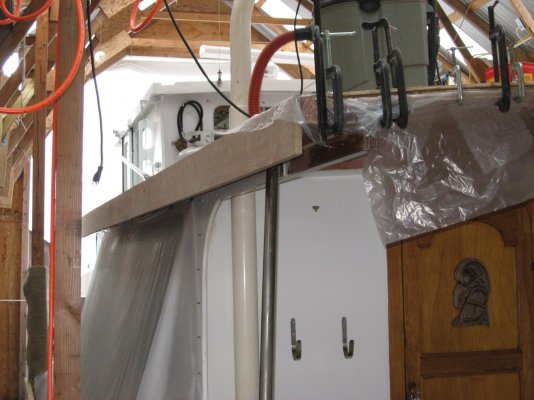
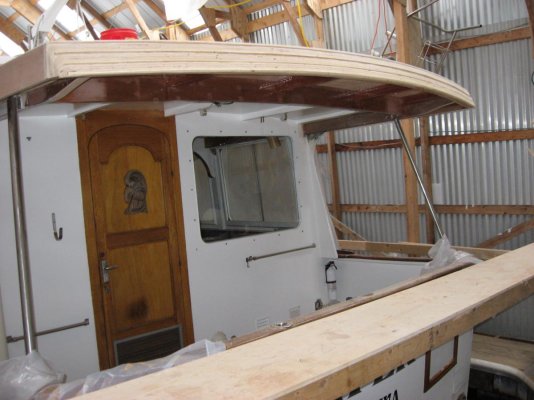
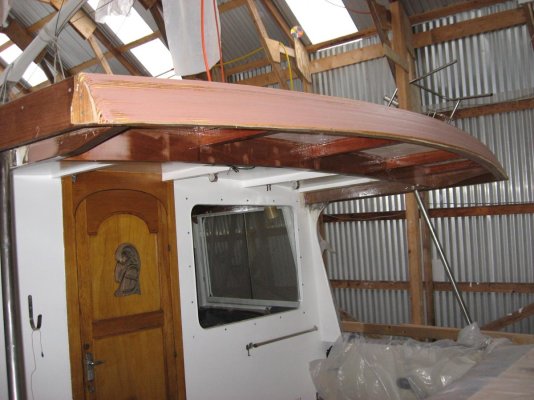
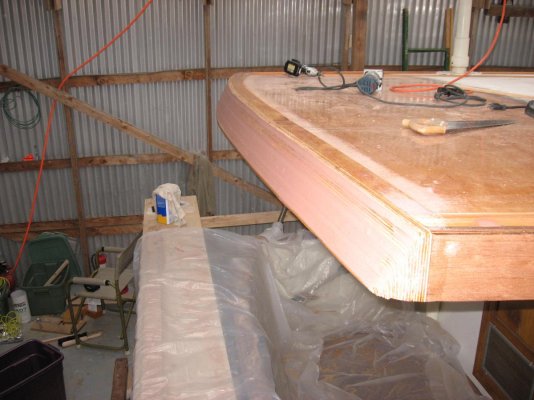
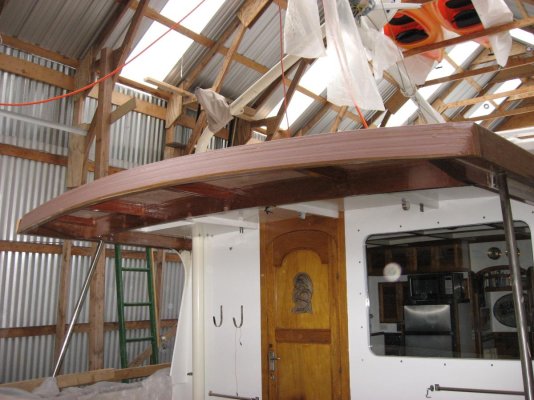
Here are pictures from the boat deck roof repair and extension completed in 2013.
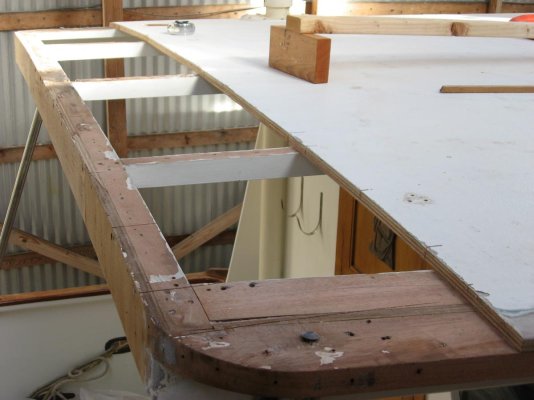
The back corners of the boat deck were soft from the "drain" that let water off the roof through the stainless steel roof support. When the pipe got clogged, water would stand in the pipe and leak into the plywood roof.
The solid mahogany trim around the roof was cracked and rotted in spots.
The hatch opening down to the cockpit and ladder were removed and closed off right after buying the boat to reinforce that area for a pipe davit and to make room for a dinghy. It is a lot easier to get on the boat deck via pilothouse and side steps.
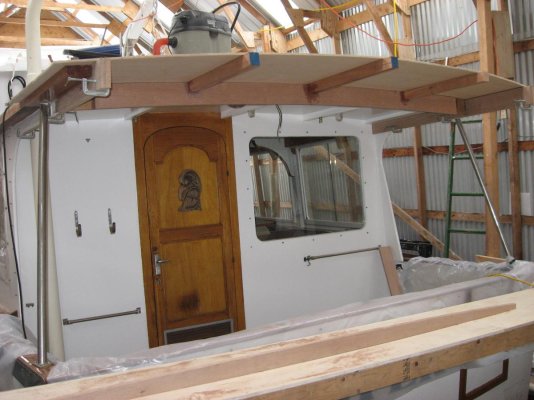
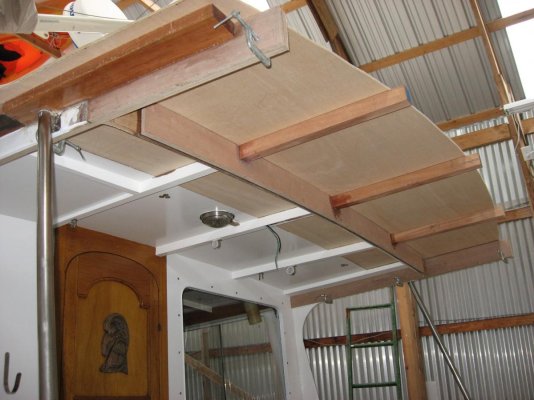
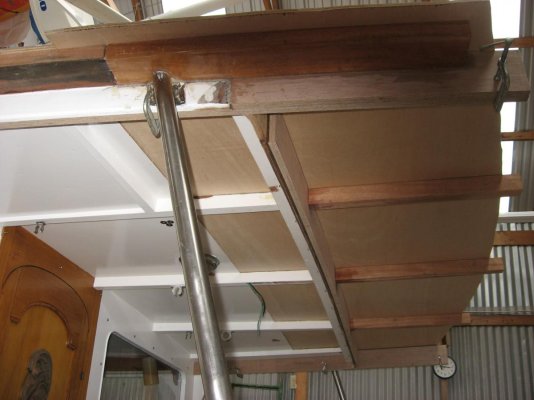
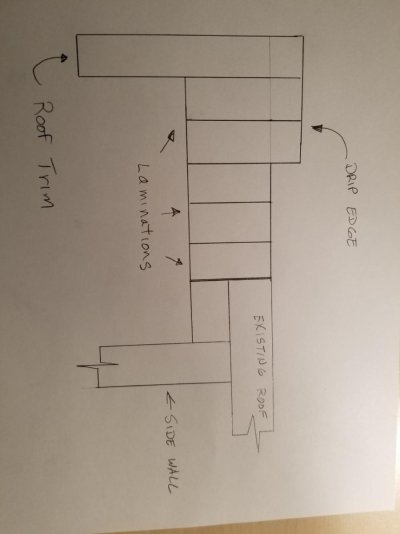
While repairing the boat deck, decided to lengthen the boat deck roof to be even with the transom and extend the roof sides out 6 inches. The extra length of the roof allows a longer dinghy to be carried and provides more shade in the cockpit. The extended side overhang increases the shade for the side windows.
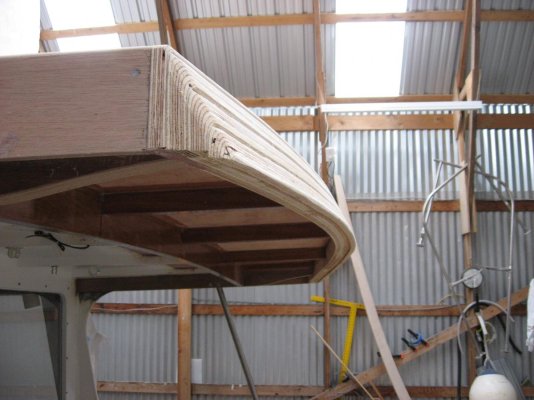
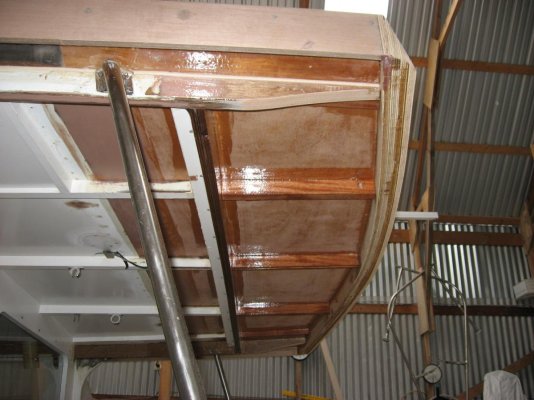
Laminated a strengthened a beam to carry the extra load of the larger dinghy. The beam is located where the original roof ends.
The back corners of the boat deck were soft from the "drain" that let water off the roof through the stainless steel roof support. When the pipe got clogged, water would stand in the pipe and leak into the plywood roof.
The solid mahogany trim around the roof was cracked and rotted in spots.
The hatch opening down to the cockpit and ladder were removed and closed off right after buying the boat to reinforce that area for a pipe davit and to make room for a dinghy. It is a lot easier to get on the boat deck via pilothouse and side steps.
While repairing the boat deck, decided to lengthen the boat deck roof to be even with the transom and extend the roof sides out 6 inches. The extra length of the roof allows a longer dinghy to be carried and provides more shade in the cockpit. The extended side overhang increases the shade for the side windows.
Laminated a strengthened a beam to carry the extra load of the larger dinghy. The beam is located where the original roof ends.