sdowney717
Guru
- Joined
- Jan 26, 2016
- Messages
- 2,264
- Location
- United States
- Vessel Name
- Old Glory
- Vessel Make
- 1970 Egg Harbor 37 extended salon model
I have an album setup.
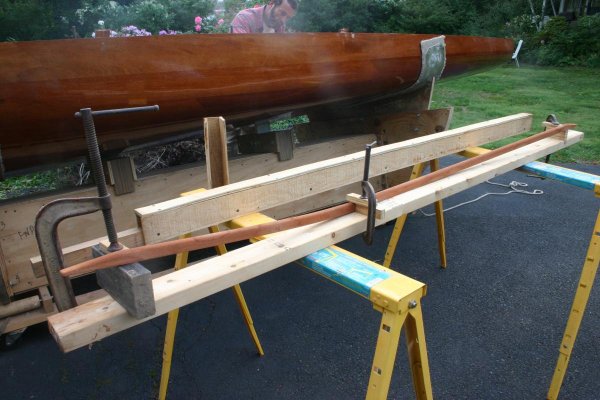
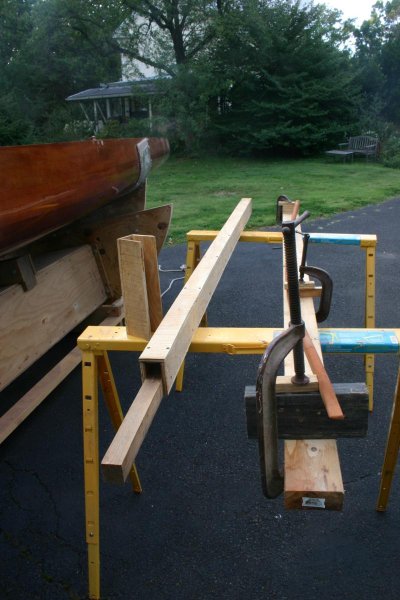
This is a job I wanted to do couple years ago. I did the starboard side 2 years ago, and it has been good.
I am using PT lumber, has very few knots.
I have done extensive rebuilding on this boat, and anywhere structural I used PT SYP wood, carefully selected.
Another good product is PL Premium Polyurethane CA.
Sometimes I mix it with sawdust as a filler.
https://photos.app.goo.gl/ePYqVq5nobr2VNcg1

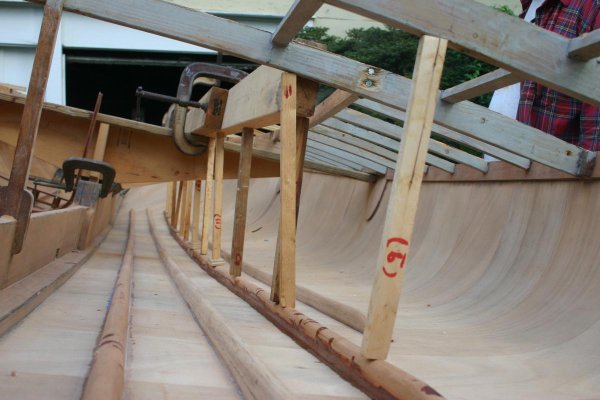
This structure is incredibly strong when in good condition. It is a solid 6 inches thick in width, and has a curve. Then 3/4 plywood lays down into the groove formed by the support piece not shown here. And teak boards attach to the top.
This is a job I wanted to do couple years ago. I did the starboard side 2 years ago, and it has been good.
I am using PT lumber, has very few knots.
I have done extensive rebuilding on this boat, and anywhere structural I used PT SYP wood, carefully selected.
Another good product is PL Premium Polyurethane CA.
Sometimes I mix it with sawdust as a filler.
https://photos.app.goo.gl/ePYqVq5nobr2VNcg1
This structure is incredibly strong when in good condition. It is a solid 6 inches thick in width, and has a curve. Then 3/4 plywood lays down into the groove formed by the support piece not shown here. And teak boards attach to the top.
Last edited:

")