You are using an out of date browser. It may not display this or other websites correctly.
You should upgrade or use an alternative browser.
You should upgrade or use an alternative browser.
Fuel tank replacement job
- Thread starter fryedaze
- Start date
The friendliest place on the web for anyone who enjoys boating.
If you have answers, please help by responding to the unanswered posts.
If you have answers, please help by responding to the unanswered posts.
fryedaze
Guru
- Joined
- Sep 4, 2011
- Messages
- 1,722
- Location
- USA
- Vessel Name
- Fryedaze
- Vessel Make
- MC 42 (Overseas Co) Monk 42
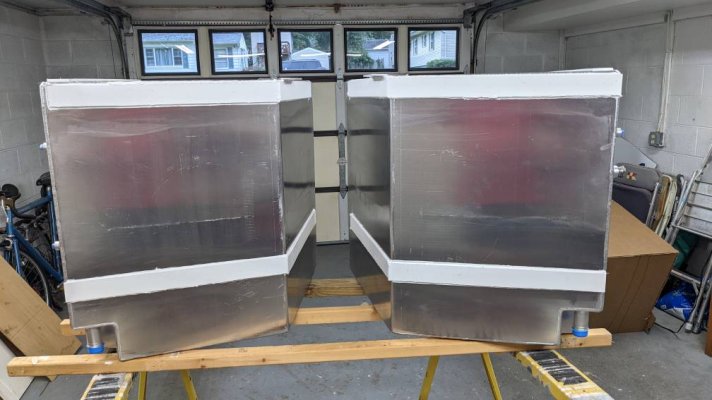
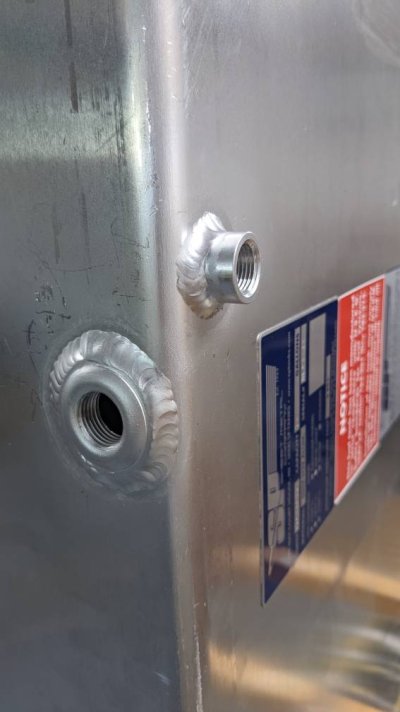
I have run into a little hiccup. SPtanks did not weld the sight glass connection boss flush. It is on the critical dimension of 26.5" to get through the door. The last tanks they did for us were flush similar to the connection on the left in the picture. I gave them the 26.5" limit, but with the error it is 27 1/16". My plan is to cut it down so we have 26.75" which is the actual limit for the door. If I don't have enough threads left I will take it to a welder to make it right.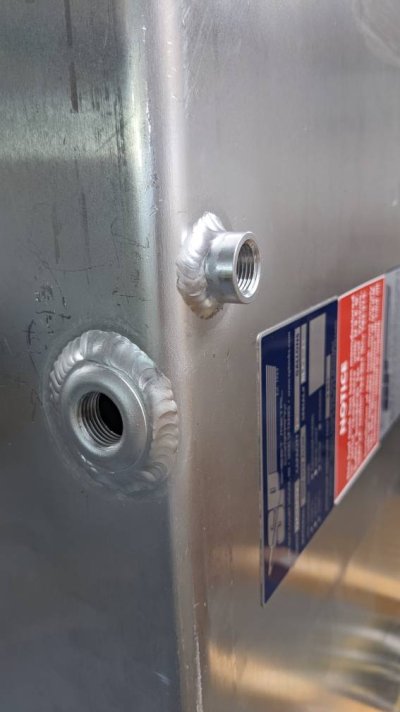

Comodave
Moderator Emeritus
- Joined
- Jul 2, 2015
- Messages
- 21,284
- Location
- Au Gres, MI
- Vessel Name
- Black Dog
- Vessel Make
- Formula 41PC
Can you hook the fitting through the door first or last?
fryedaze
Guru
- Joined
- Sep 4, 2011
- Messages
- 1,722
- Location
- USA
- Vessel Name
- Fryedaze
- Vessel Make
- MC 42 (Overseas Co) Monk 42
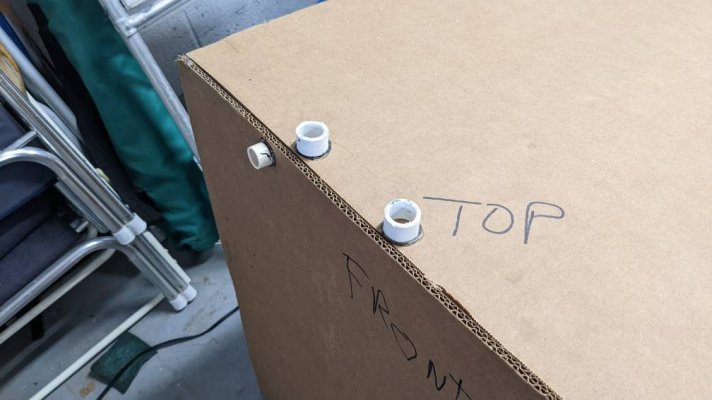
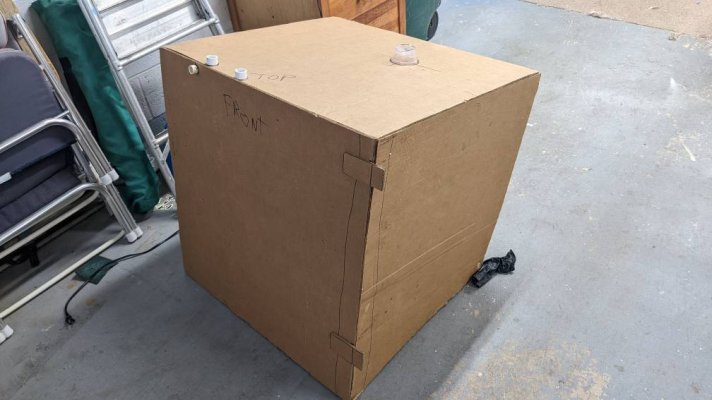
I tried that with the mock-up. The door frame is too wide to make that work. I can get the fitting in but the other side hits before it's squared up. In hindsight I really tried to stretch the design to maximize capacity.Before cutting the fitting down, I would try tilting the tank where the coupling goes in first, and once below the floor the tank can be squared up.
Ted
fryedaze
Guru
- Joined
- Sep 4, 2011
- Messages
- 1,722
- Location
- USA
- Vessel Name
- Fryedaze
- Vessel Make
- MC 42 (Overseas Co) Monk 42
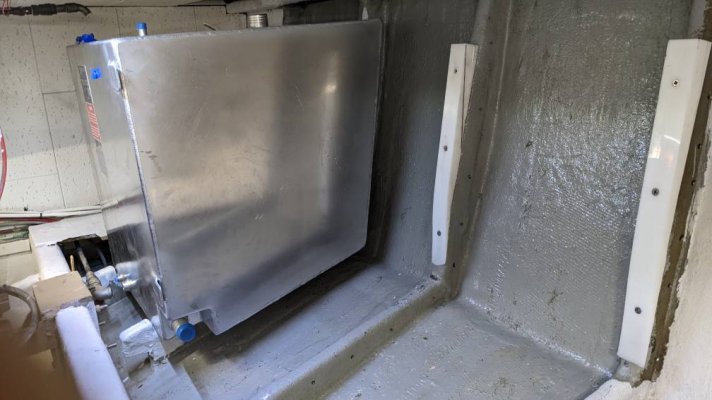
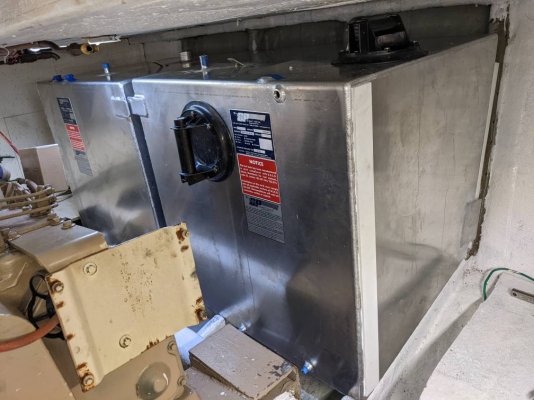
Tanks went through the salon door easily. A friend lent us some suction cups handles that made moving the bulky tanks much easier. HDPE shims are installed on stringers and the tanks are set in place. The shims were required because the tanks had to be downsized to fit. Next step is to anchor the tanks. I am waiting on 2" angle and 3" flat bar to complete that. Then we will finish the hook up, interference restore and fill up.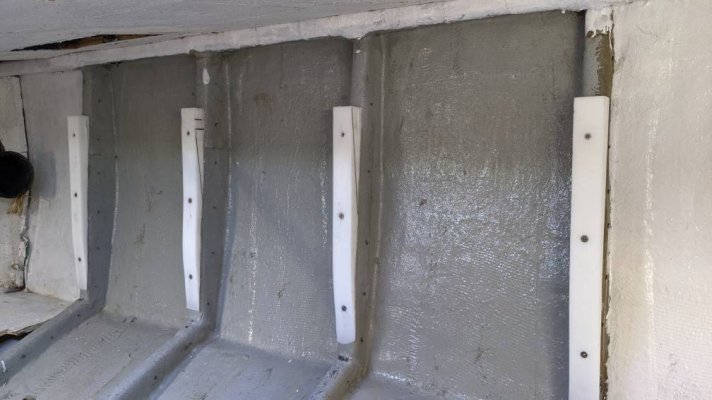


fryedaze
Guru
- Joined
- Sep 4, 2011
- Messages
- 1,722
- Location
- USA
- Vessel Name
- Fryedaze
- Vessel Make
- MC 42 (Overseas Co) Monk 42
I have been having to do some extra work to make sure the tanks are completely seated on the stringers. I didn't have this issue on the Stb side. I don't think the port stringers are as level and symmetric. Had to shim the outside stringers to get it right. Used HDPE for shims material. I should be done by now but this leveling has eaten up over 3 days. Picture is how I ensured the tanks were tight before locking them in.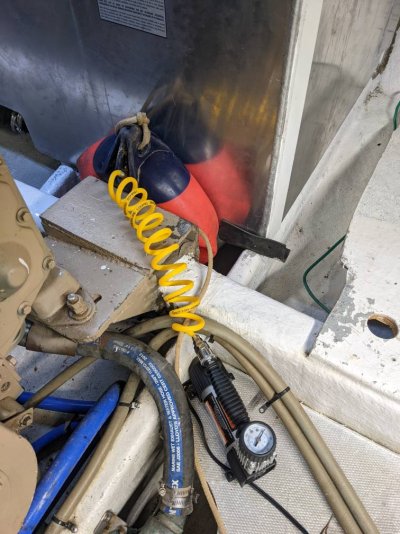

Comodave
Moderator Emeritus
- Joined
- Jul 2, 2015
- Messages
- 21,284
- Location
- Au Gres, MI
- Vessel Name
- Black Dog
- Vessel Make
- Formula 41PC
It never goes as easily as you hope it will. Keep up the good work.
RickyD
Guru
- Joined
- May 4, 2018
- Messages
- 729
- Location
- United States
- Vessel Name
- Aquarius
- Vessel Make
- Californian 55 CPMY
I have been having to do some extra work to make sure the tanks are completely seated on the stringers. I didn't have this issue on the Stb side. I don't think the port stringers are as level and symmetric. Had to shim the outside stringers to get it right. Used HDPE for shims material. I should be done by now but this leveling has eaten up over 3 days. Picture is how I ensured the tanks were tight before locking them in.View attachment 141388
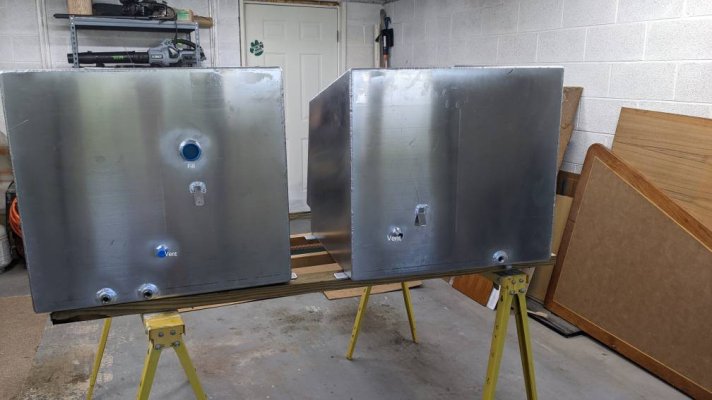
Dave you may want to add vent lines for each tank as my tanks have only one vent on the end and it takes forever to fill them as the fuel starts to back up until given a chance to work its way down and through connected tanks. My buddy had the same problem and rigged a tube to a mid tank dip stick hole and it really helped. I'll probably add a vent for each tank someday
fryedaze
Guru
- Joined
- Sep 4, 2011
- Messages
- 1,722
- Location
- USA
- Vessel Name
- Fryedaze
- Vessel Make
- MC 42 (Overseas Co) Monk 42
Thanks Rick, the tanks each have a vent. They will be tied together.Dave you may want to add vent lines for each tank as my tanks have only one vent on the end and it takes forever to fill them as the fuel starts to back up until given a chance to work its way down and through connected tanks. My buddy had the same problem and rigged a tube to a mid tank dip stick hole and it really helped. I'll probably add a vent for each tank someday
fryedaze
Guru
- Joined
- Sep 4, 2011
- Messages
- 1,722
- Location
- USA
- Vessel Name
- Fryedaze
- Vessel Make
- MC 42 (Overseas Co) Monk 42
The job is essentially done. Just finished an entire day cleaning the ER and Salon.
Lessons learned on port side tanks: Measure the boat ribs for level after old tanks are cut out. The ribs were not as flat and level on this side. I spent 4 days working to get the tanks seated properly.
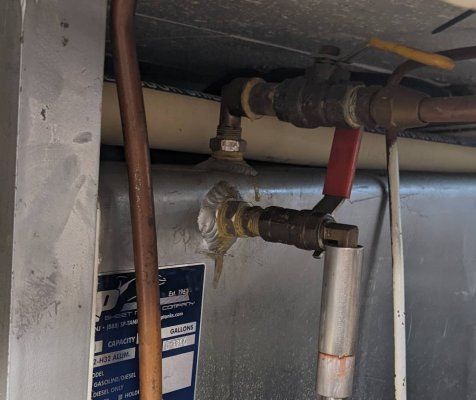
Make sure the tank builder knows exactly what you want for connections. I gave the builder the same info that I did for the stb side, plus pictures of the tanks they made for us. 5 years ago all tank connections were oversized and almost flush. The shop gave me SS threaded inserts to meet my connection specs. This time the five connections on the front were not flush. With aluminum tanks you have to ensure your connection points are stainless. Iron, Brass, bronze and copper will fail.
Hope this helps the next guy.
I enjoyed the work and probably saved myself $12-15k doing this job.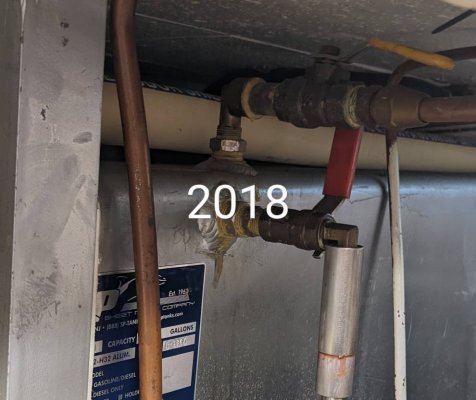


ranger58sb
Guru
This time the five connections on the front were not flush.
Nice work!
FWIW, when we replaced the holding tank our our previous boat, I learned we could have "innie or "outie" connections... I just had to specify which I wanted.
Altogether different material, of course...
-Chris
Similar threads
- Replies
- 14
- Views
- 1K
- Replies
- 23
- Views
- 2K

