edcquesada
Member
Great work Dave. You are a wealth of information, thanks for the pic. We are heading back to Solomon’s in a couple of weeks, hope to see you there.
Great work Dave. You are a wealth of information, thanks for the pic. We are heading back to Solomon’s in a couple of weeks, hope to see you there.
What gauge aluminum did you get? Are you picking them up or having them shipped? My tanks are 210 gallons each and I don’t want to go any smaller when I replace mine.
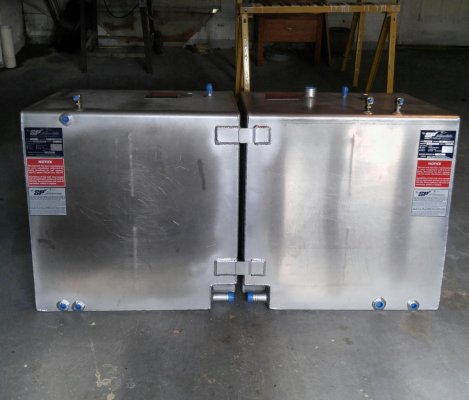
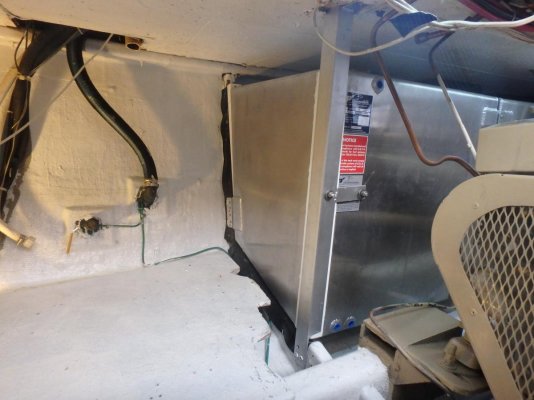
Was thinking the same, noticed the number of fitting not the same on both tanks?Dave, I'm a little confused. Is every blue cap / plug an inlet, outlet, return line, vent? I see the 2 where the tanks connect, 2 vents, 1 filler, 1 return, and about 6 more. Care to explain the surplus.
I see 2 strips of aluminum that appears to connect the tanks. Are they separated for placement and then locked together once in place?
Ted
Dave, I'm a little confused. Is every blue cap / plug an inlet, outlet, return line, vent? I see the 2 where the tanks connect, 2 vents, 1 filler, 1 return, and about 6 more. Care to explain the surplus.
I see 2 strips of aluminum that appears to connect the tanks. Are they separated for placement and then locked together once in place?
Ted
Dave if you want to adhere Starboard to the tanks, I suggest you use Sudbury’s adhesive sealant. It will stick to Starboard much better than 5200. Be aware that Sudbury sets quickly.
Just my two penn'orth.
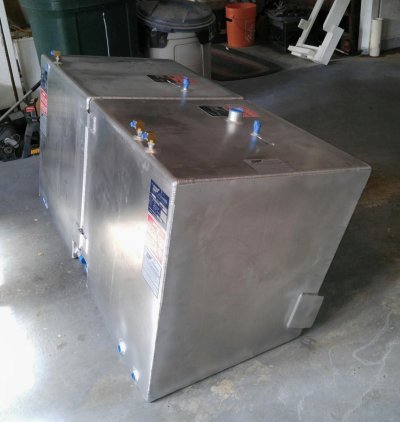
The tanks are beautiful bit of work, they look real classy, well done.
When I fitted my fuel tanks, they were fitted with the back of the tanks (port & stbd) against the hull.
I did all the usual bedding etc then once they were set up I used expanding foam between the rear of the tank and the hull.
It cuts down condensation and noise as well as keeping them firmly fixed in place.
I was more interested in stopping condensation on the interior walls to prevent diesel bug.
So far I've had no problems with any moisture when I do my monthly check.
Different strokes for different folks I guess.

Dave:
I might be adding to your work, but wish to point out something I just learned from one of the most well-respected fiberglass shops on the west coast of Florida.
They strongly recommended that they prime our aluminum tanks with the epoxy primer shown in this photo below. They said it would add at minimum 5 years to the life of our tanks, and more likely 10 years. So, we had them do it. Our tanks are also being installed on support ribs. Our tanks are for gasoline, not diesel.
Cheers,
Pea
Put the Starboard on today with 5200. I hope it works and I don't get an "I told you so" from Hopcar about the sealant choice.
I degreased the AL with acetone, sanded with 220 and degreased again with acetone.
For the Starboard it was sanded with 120 grit, cleaned with acetone and then flame treated with a propane torch. The back of the Starboard is completely covered with Fastset 5200, pressed onto the tanks and then a bead of 5200 was ran around the outside edges. Fingers crossed