FF
Guru
- Joined
- Oct 12, 2007
- Messages
- 22,552
RE: 3208 n.a. coolant leak
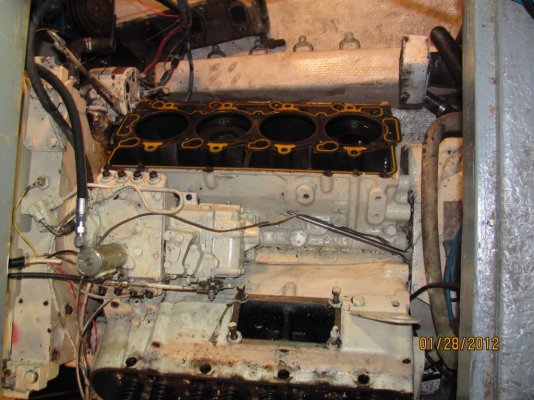
I can only reach max RPM 2800 in nutral. Max RPM is about 2500. underway blows black smoke at WOT.
Now that you have some of the coolant leaks fixed its time to cure the overloading.
CATs are not particularly robust , so this becomes a priority.
*
IF reproping is not in the budget , allong with an injector check, at least an EGT will keep the damage down.
*
DO SOMETHING , or simply run 500RPM below wherever the black smoke begins.