Xsbank
Guru
- Joined
- Sep 7, 2013
- Messages
- 3,791
- Location
- Canada
- Vessel Name
- Gwaii Haanas
- Vessel Make
- Custom Aluminum 52
I was cleaning out my photos and came across these:
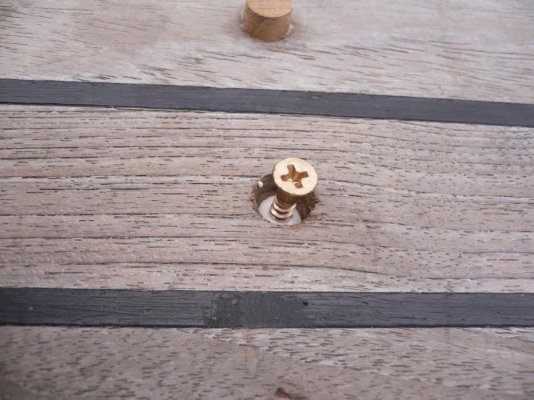
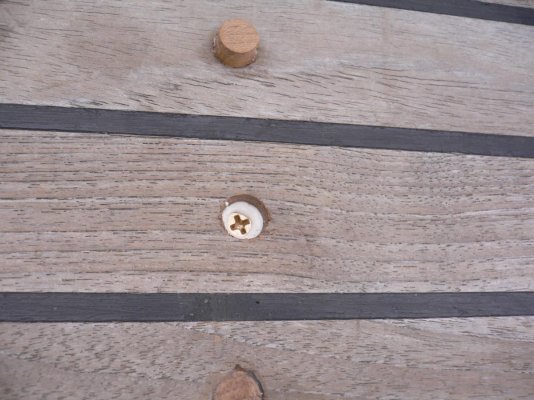
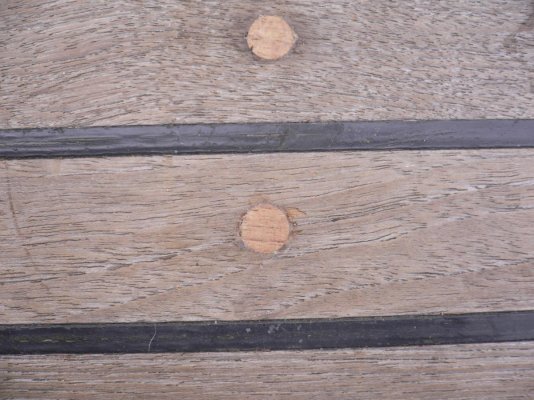
Basically, if your bungs are failing and therefore possibly leaking into the core of the decks, they need to be replaced. Another issue is thin decks; after years of teak cleaners and sanding they are thin enough that the screw heads are very close to the surface. If the decks still have some thickness, you can drill the holes deeper and reset the fasteners.
One of the problems with teak decks is the use of stainless fasteners. If you enclose them such that 02 can't get at them, then get them wet, they will bleed a black liquid that will stain the decks. My solution was to change the fasteners to bronze, which is entirely your discretion if you wish to reuse the old screws as you will be re-sealing the holes...
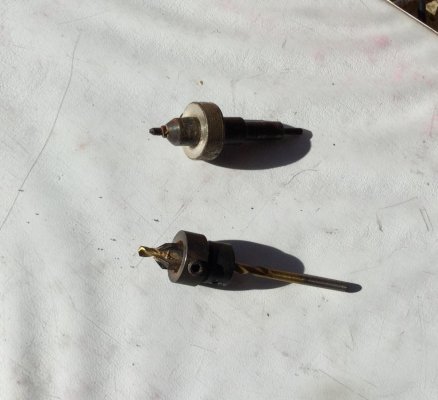
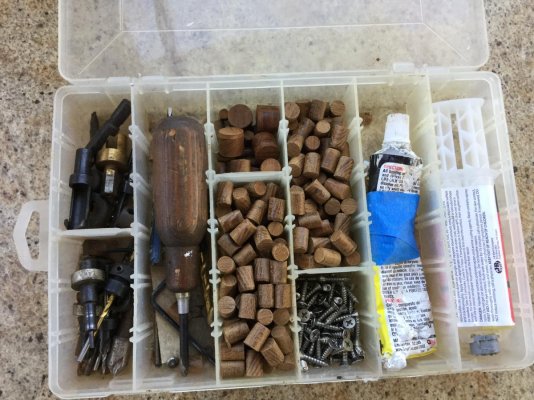
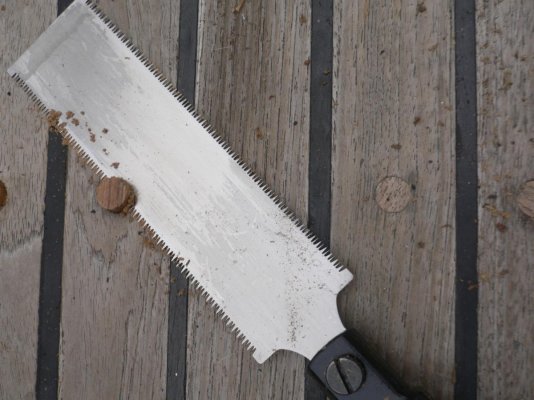
The first picture shows the bung I wish to change. Its not as bad as many of the others were, for sure, this one could have been left. The rest is pretty self-explanatory. I'll post the rest of the photos anon. Oh, that's the small blade on a Swiss Army knife, that's all I used.
Basically, if your bungs are failing and therefore possibly leaking into the core of the decks, they need to be replaced. Another issue is thin decks; after years of teak cleaners and sanding they are thin enough that the screw heads are very close to the surface. If the decks still have some thickness, you can drill the holes deeper and reset the fasteners.
One of the problems with teak decks is the use of stainless fasteners. If you enclose them such that 02 can't get at them, then get them wet, they will bleed a black liquid that will stain the decks. My solution was to change the fasteners to bronze, which is entirely your discretion if you wish to reuse the old screws as you will be re-sealing the holes...
The first picture shows the bung I wish to change. Its not as bad as many of the others were, for sure, this one could have been left. The rest is pretty self-explanatory. I'll post the rest of the photos anon. Oh, that's the small blade on a Swiss Army knife, that's all I used.


") . I do see a slightly thicker surround but...???
. I do see a slightly thicker surround but...??? The only thing I will add is a lot of the plugs I replace come out because of thickness lost in the deck. We still have 3/8” plus deck thickness but when the deck was installed 32 years ago some of the holes for the plugs weren’t very deep. When ever I replace a plug I also redrill/deepen the hole the plug goes into plus use a 3/4” number 8 screw to replace the 1” number 8. You can buy these or an equivalent at most wood working supply stores.