Lobo
Member
- Joined
- Nov 20, 2012
- Messages
- 21
- Location
- Canada
- Vessel Name
- Lobo
- Vessel Make
- International Offshore - Portuguese Bridge Pilot House Trawler
Hello all, we are new to this forum and to the liveaboard life. Just moved on board TODAY!!!
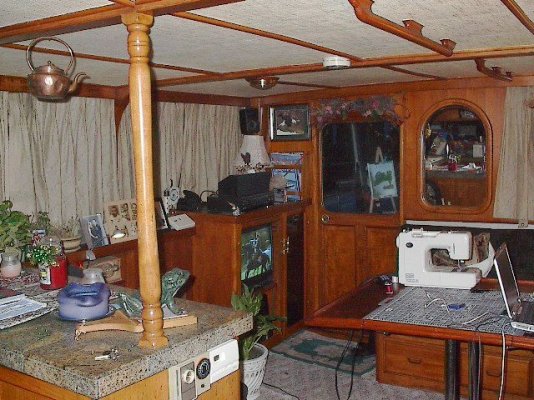
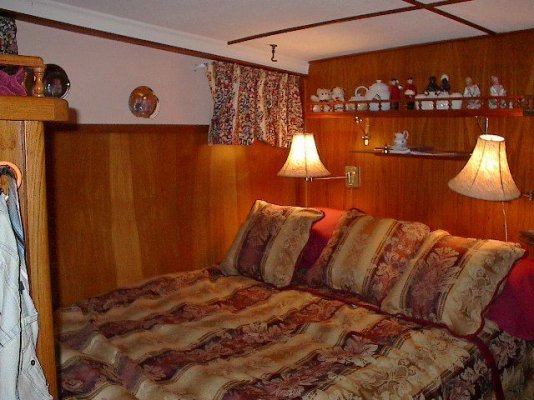
We are basically gutting the staterooms/head in our trawler to insulate and refinish the inside.
My question is this, we have looked at lots of pics of ceilings in trawlers and alot of them use planks with a v-joint. Is this for a specific reason or is it just what has been used in the past, like teak and holly floors?
We would like to use a type of tongue and groove and finish the planks smooth, looking more like a wall board.
I am going to post another question regarding the head as well on a separate thread so if you have info please help us with that question as well.
Thanks so much, I'm loving the info I'm finding here.