Hi CarlinLA,
In your latest posts, you've been soliciting comments on your water tank installation. YIKES! Not too sure you're going to want to hear my comments, but since you asked:
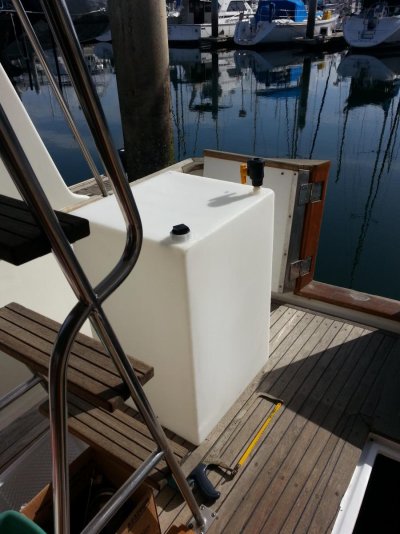
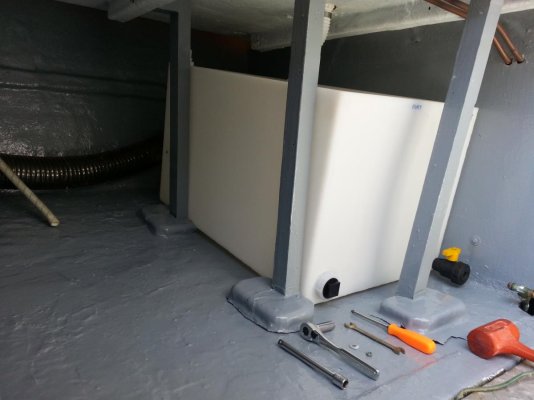
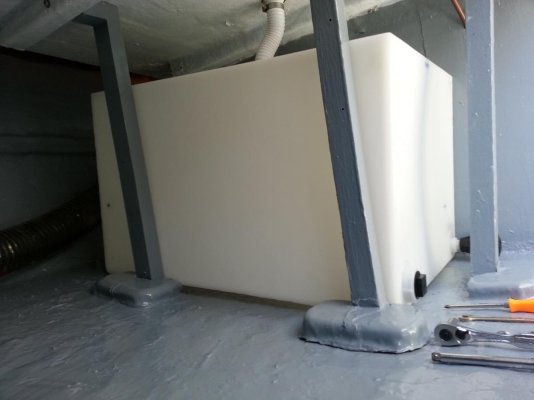
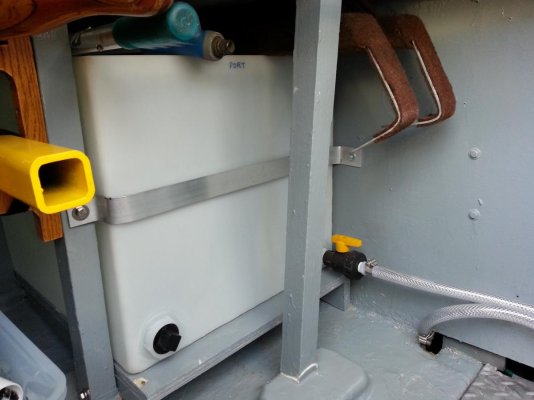
a. Plastic tanks are subject to creep, particularly after sitting full on a not perfectly flat surface, such as your hull bottom. And creep can lead to failure, particularly if there are point loads on the tank. So, in my opinion, as you have space remaining above the tanks, I would council removal of the plastic tanks, and starting over. Yup, not what you want to hear, but way cheaper in the long run, and way better all around. I suggest building a wooden box, constructed from 3/4" MARINE plywood, with a 2" sill around the base. Like an inverted shoebox top. Carefully seal the box with WEST epoxy or equivalent. Next, grind out all the paint you've so laboriously applied in way of the water tanks, to bare fiberglass. Then, bed the tank bases in a thickened epoxy slurry to the hull bottom. Now, when the tanks are in place inside the bases, they are constrained from motion by the box sides. And remember, 50 gal tanks weigh about 350 lbs when full. You DON'T want them sliding around in a seaway. Strapping them down to the tank bases is suggested as well, using something non-metallic for straps, carefully padded at the corners.
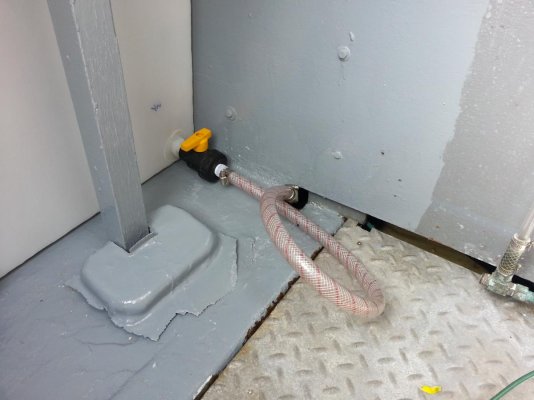
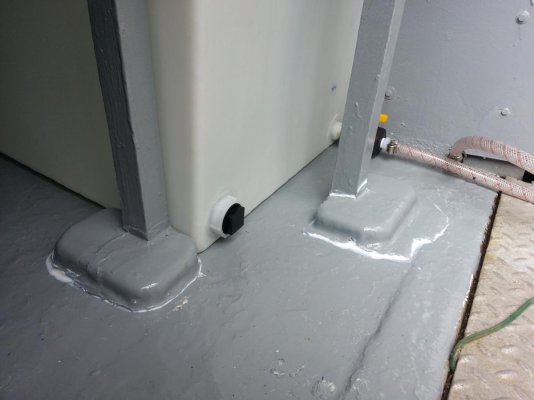
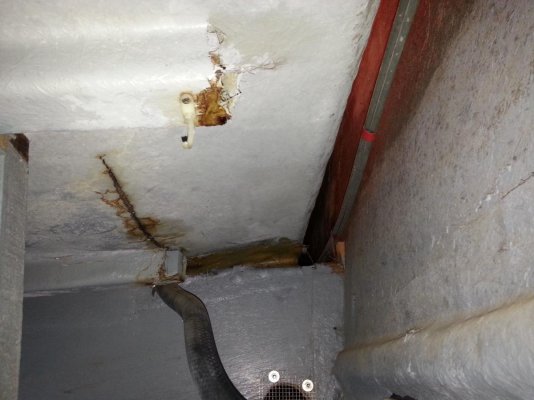
b. Your current method of securing the tanks is way-scary. Use of what appears to be household bathroom caulk as an adhesive, apparently against enamel paint to hold the tank in place, is a prelude to failure. At best, there appears to be ~2" of space athwartships between the tank and the cockpit support being used to secure the tank. As installed, the tank will be free to move athwartships every time the boat rolls. A full plastic tank sliding against a rough chopper-gunned fiberglass boat bottom won't last long. And at worst, should violent rolling cause the tank to impact the deck support and fail the "adhesive", you'll find yourself trying to corral a 350 lb. beast at the worst possible time, with a failed cockpit floor to boot.
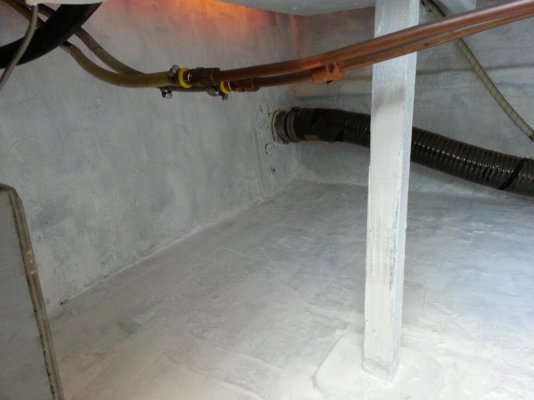
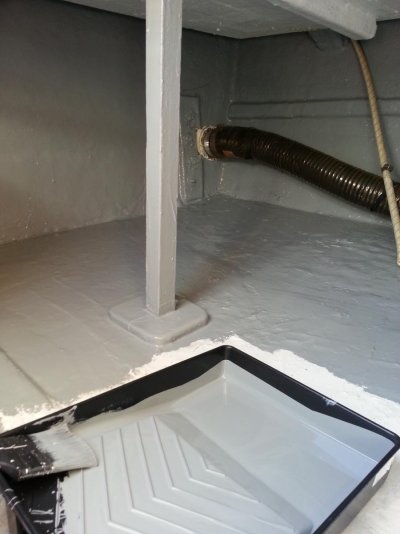
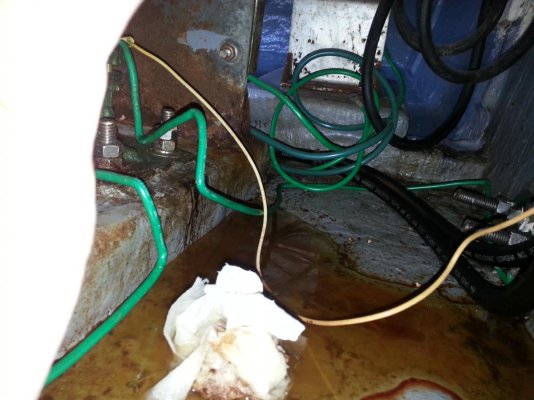
c. I suspect your boat needs those vertical posts to secure the cockpit floors. Again, bedding them with bathroom caulk is inadvisable. Remove the posts, clean off the caulk, grind the paint to bare fiberglass, and re-bed using thickened epoxy. Better yet, re-design the posts to enable the bases to be firmly attached to the hull bottom, but still allow the posts to be easily removable when you next need to access this part of the hull.
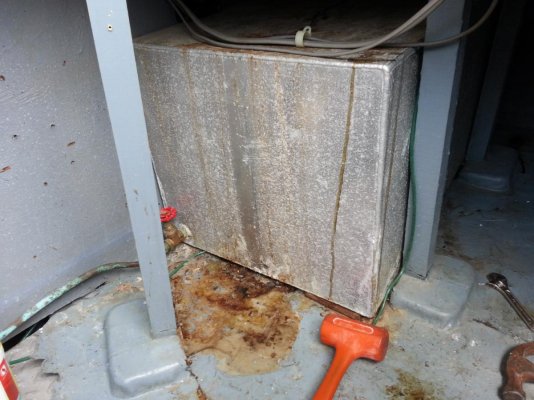
Cheaper in the long run? Yup. You can pay now to do a sound installation, or pay way more in the future to either repair yet another failed water tank (at best), or fix severe damage caused by the tank sliding around in a seaway, or discounting the sales price of the boat by the $$ needed to fix your current installation to the next owner's satisfaction before he buys the boat from you. Obviously your choice, but having gone through your exact same situation (on a different brand of boat however), I come down on the "fix it right in the first place" side of THIS issue.
Regards,
Pete