New construction: She:Kon

The friendliest place on the web for anyone who enjoys boating.
If you have answers, please help by responding to the unanswered posts.
Took a few days off and went on a lil' road trip to Syracuse NY with the Admiral. She was all hot to trot to get into Hobby Lobby and buy buy buy stuff! I went along if I was allowed in Harbor Freight Tools unsupervised and with no limit on my Credit Card! :thumb:

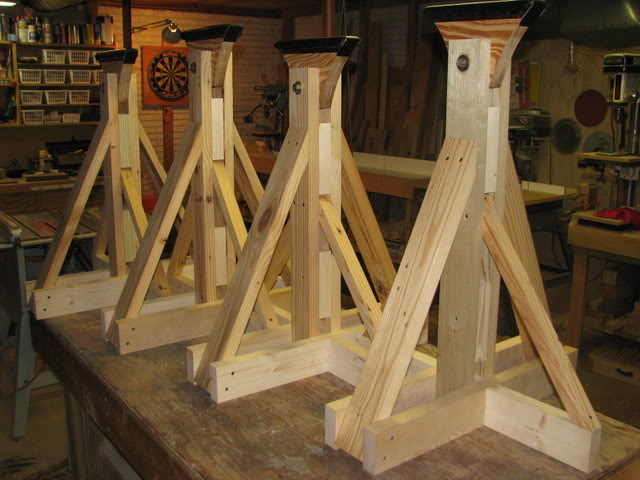
Part of the haul from HF.
spacer.gif
img_462292_1_3bf88ad1ebba669446507d4bc906c5fb.jpg


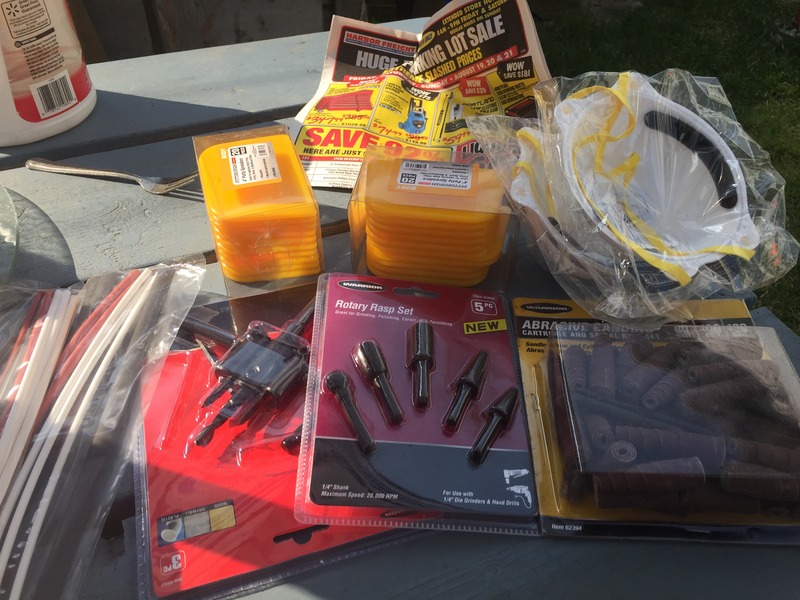
This lil' trip is usually an annual pilgrimage but it's been a few since we last made the drive. I like their stuff. It's 'good 'nuff' to last the duration of my project.

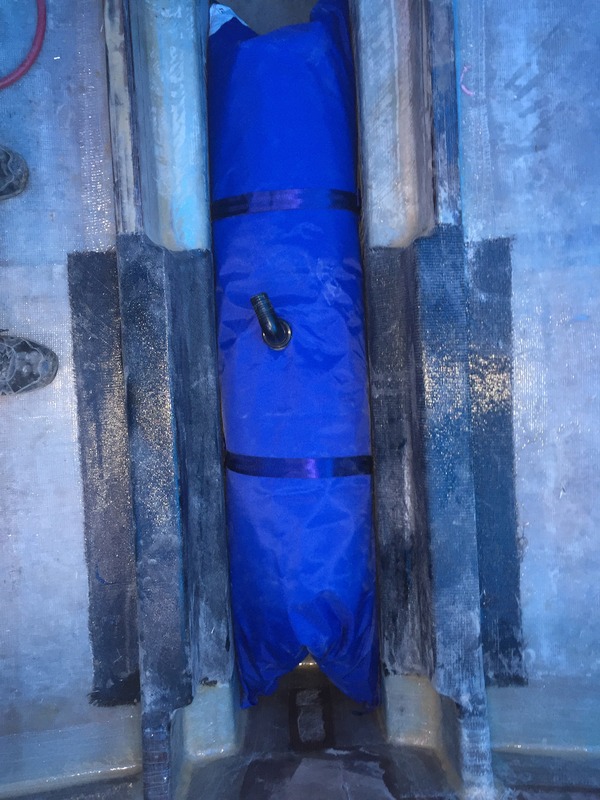
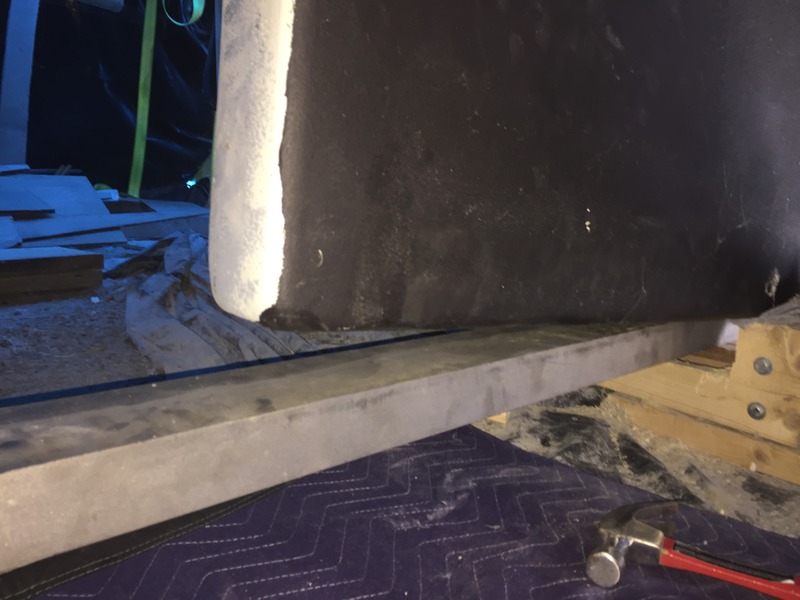
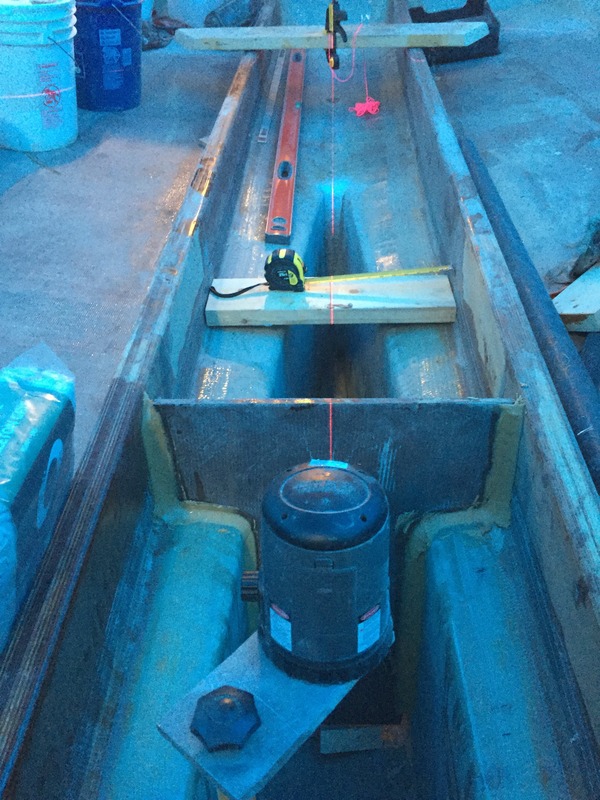
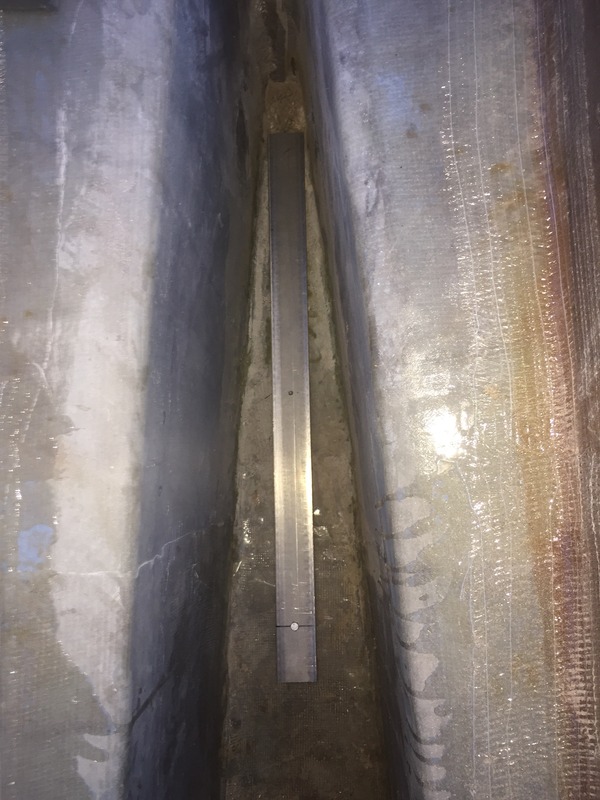
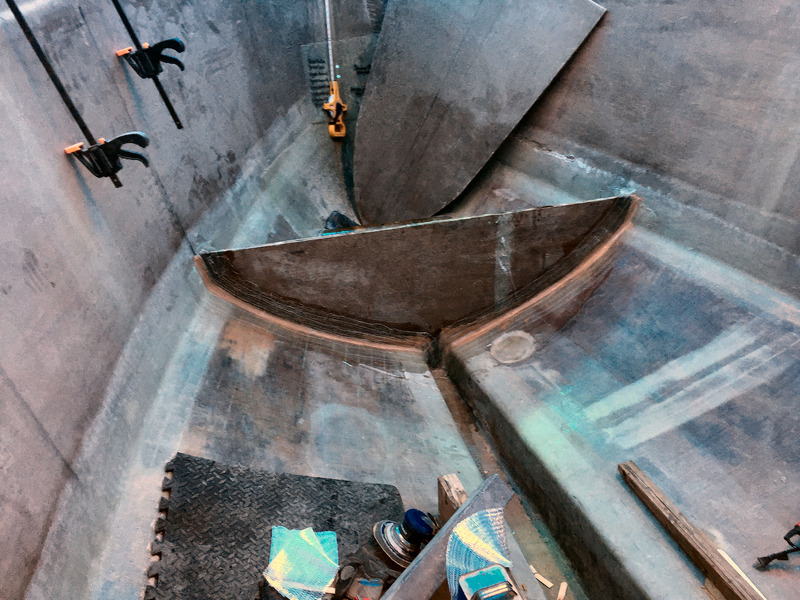
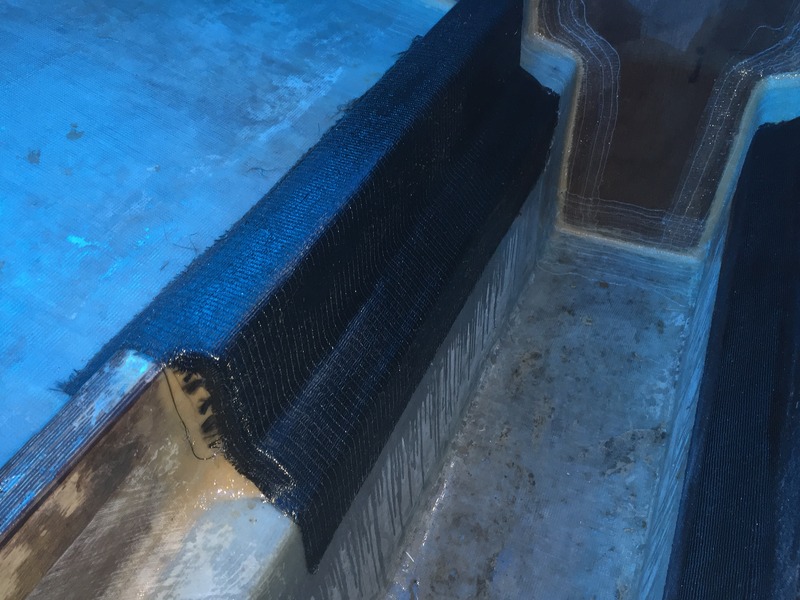
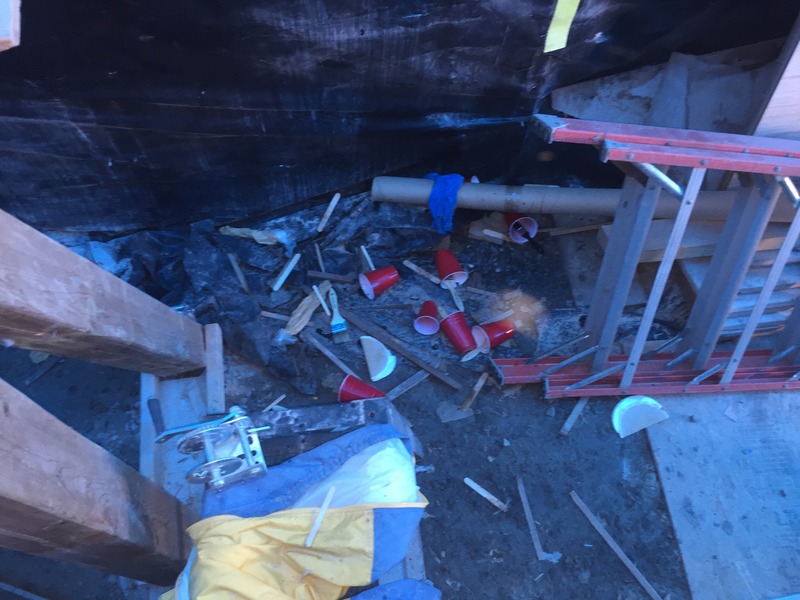
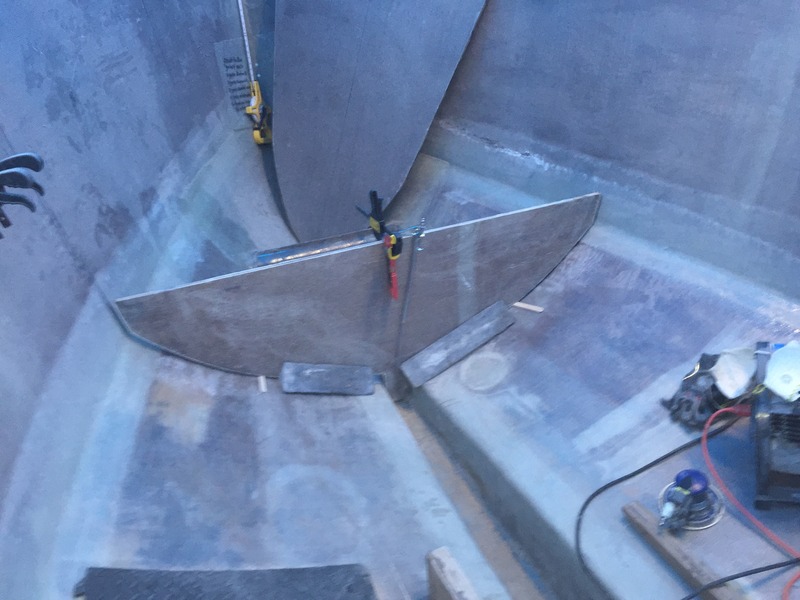
Back in the shed today. Got the forward edge of the main bulkhead filleted and taped (2 layers so far). Gotta check the instructions to see how many are recommended. I'll add at least 1 more 12 oz 8" tape.
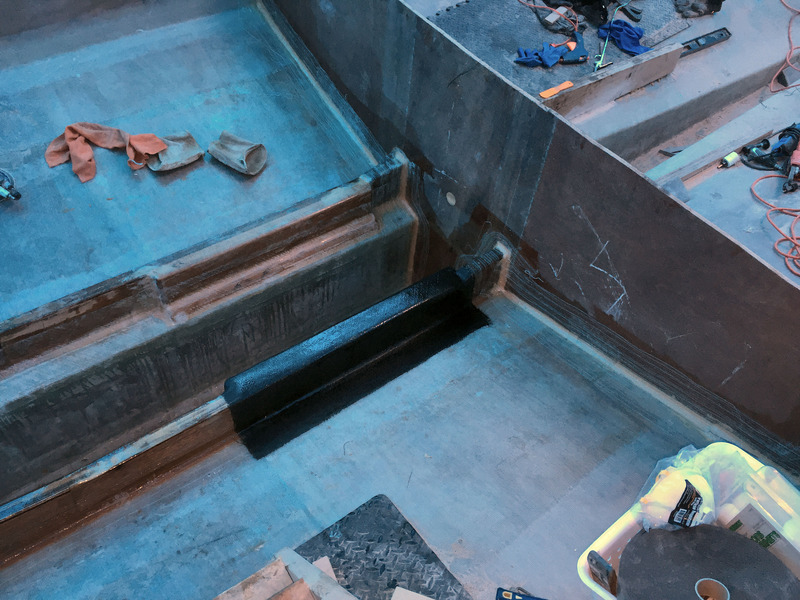
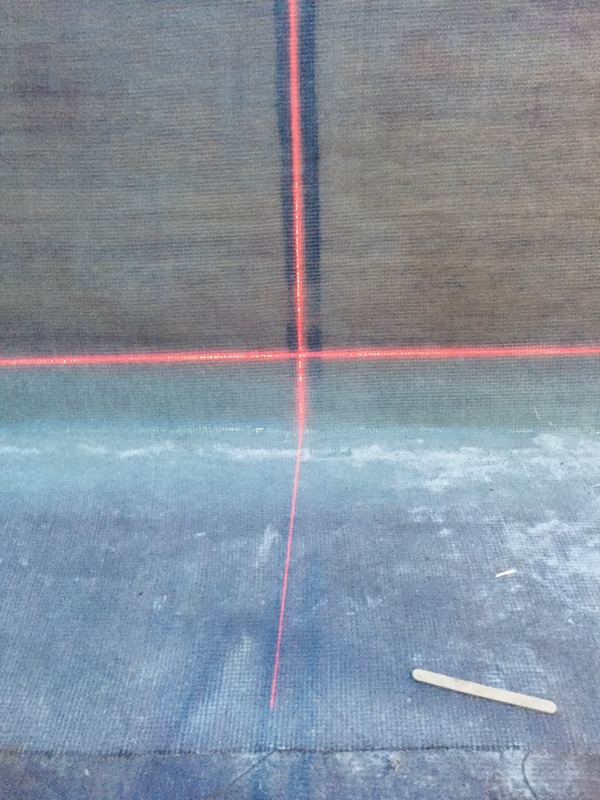
spacer.gif
img_462292_3_621f41ecca910f80052f34f00de17d6b.jpg


And the stbd side.
spacer.gif
img_462292_5_2ab798e9f6bf3c642f8842aa94f6e20e.jpg


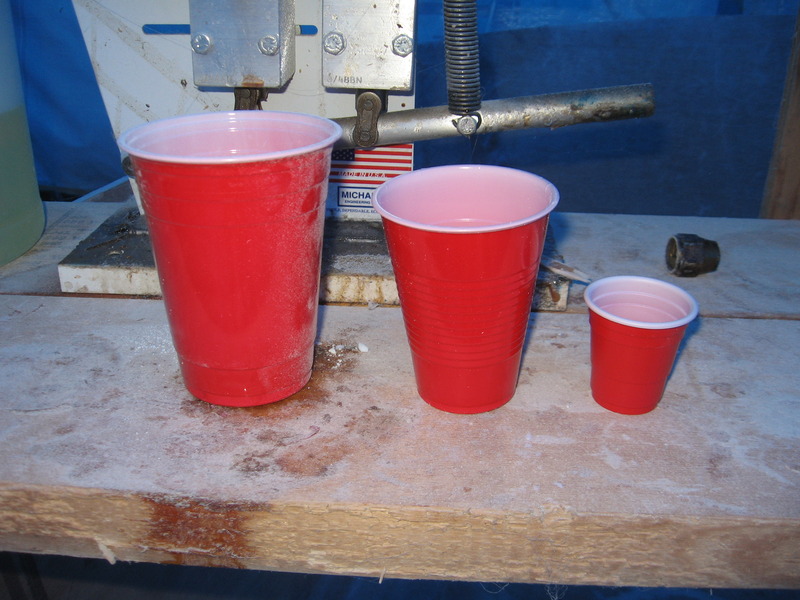
It was 32C (90F) in the shed but with all the fans going it was actually pretty comfortable. Had to work quick though, I could feel the epoxy warming up quick in the cup!

Back at it again tomorrow.

Cheers!
 
You were right in my back yard! I hope your visit to central NY was even more magical and wonderful than you'd hoped.
 
Cool looking build, I've been reading for awhile but I never commented because I don't have much to offer, really just taking little snippets of knowledge for later. I realized I don't get email updates as you go along. So this should get that rolling. Thanks for the thread. Paul
 
Nice haul, Paul! If you've got to go to Hobby Lobby, you might as well get something out of it. Good negotiation! I gotta remember that one.
 
Too hot in the shed and had to bail about 11:00 when it was 34C or about 95F. Did manage to get the port side engine bed covered in basalt fabric. That's done now.
spacer.gif
img_462820_1_3aa069414437b8938593d6aad42e1827.jpg


Really really like that basalt. Wish I had a lot more of it. It wets out very easily, drapes and conforms to all kinds of odd shapes. And that's a fairly heavy fabric too at 22 oz/sq yd.

Anywho, bit more nonsense on the web log updated today: https://she-kon.blogspot.ca/2016/07/tem ... ising.html

For anyone that's having problems seeing the pics here's the link to the Photobucket folder with all the boat pics: http://s237.photobucket.com/user/Knotty ... t=3&page=1

Time to take the ole' rust bucket for a cruise!

Standby....
 
Feel the Itch and Sand it Anyways! :ermm:

img_463072_0_65c75b496ee40a40219d440e11fbf49b.jpg


Cleaning up the detritus from this weeks bulkhead tabbing.

img_463072_1_385b2bd3362f8e541c485ce44ea846b5.jpg


Even hotter in the shed today! 37C when I bailed about 14:00 hrs. Got some tape on the box keel section and the epoxy was kicking off in the cup!

Standby...
 
Are you mixing up epoxy in Solo cups?How's that work out?
 
Are you mixing up epoxy in Solo cups?How's that work out?

Perfect! I can pretty much 'guestimate' the proper amount required for a particular job now. They're cheap but unfortunately not reusable. I use three different sizes depending on the job.

img_463244_0_620a90b88abef535be9efefe9da88469.jpg


All you have to remember is stir for two minutes and remember to scrape the sides and bottom as you stir. For larger jobs I'll use the static mixing nozzles on the Sticky Stuff dispenser and have 1 qt plastic containers to move it to a paint tray.

The bigger the batch you mix the more risk of it going off in the cup!
 
Greetings,
Mr. SK. How about a beer/epoxy fridge in the shed? Pre-cool the epoxy to allow for a longer pot life and/or after mixing, put your Solo cup in a container of ice. Surely you can convince the Admiral of the urgent need for a fridge in the shed...

giphy.gif
 
Perfect! I can pretty much 'guestimate' the proper amount required for a particular job now. They're cheap but unfortunately not reusable. I use three different sizes depending on the job.

img_463294_0_620a90b88abef535be9efefe9da88469.jpg


All you have to remember is stir for two minutes and remember to scrape the sides and bottom as you stir. For larger jobs I'll use the static mixing nozzles on the Sticky Stuff dispenser and have 1 qt plastic containers to move it to a paint tray.

The bigger the batch you mix the more risk of it going off in the cup!


I'll have to remember that the next time I mix up a batch. :thumb:
 
Greetings,
Mr. SK. How about a beer/epoxy fridge in the shed? Pre-cool the epoxy to allow for a longer pot life and/or after mixing, put your Solo cup in a container of ice. Surely you can convince the Admiral of the urgent need for a fridge in the shed...

Hey RTF

Yes that is a possibility. I have been able to avoid it up till now. I work in smaller batches and if I'm laminating a large area I dump the epoxy right into a paint tray. Actually two trays. one holds ice and the other sits on top. The one drawback is, well actually two, first you need a nice level surface to sit the trays on, pretty much not doable on a bare boat hull and two, the cooler the epoxy is the thicker it is and the less it wants to wet out the fabric or tape.

I try to get my epoxy work done in the morning before it gets too hot. Haven't ruined a batch in awhile.

I had a small fridge and didn't figure I'd have a use for it so I gave it away! :banghead:
 
I managed to get a couple of hours in on the boat this morning. Located Frame B and tabbed it in place.
spacer.gif
img_463621_1_cb9420a2b4c5eb5179a3742a777c5e4f.jpg


I'll finish that up tomorrow then work on the rest of the bow & Frame A puzzle.
 
Do these frame/bulkheads locate the sole height?If yes,how are you insuring that the tops are all on the same level, to prevent bowing or sagging in the finished floor?
 
Do these frame/bulkheads locate the sole height?If yes,how are you insuring that the tops are all on the same level, to prevent bowing or sagging in the finished floor?

My first answer is yes. The next answer is I'm not, at this point. I have the base line B/L drawn on the sides and that's what informs the location of things like the bunk height & sole etc. If I have to, later, I can add or remove material to correct for any deficiencies.

I would say, from what I've observed on these first two bulkheads I'm within 1/8" of design specs.

A good laser level that shows vertical and horizontal is, IMHO essential on a build like this.

img_463672_0_522f030c3f82b364f339e53d52187cc7.jpg


Good question Ben. Thanks.
 
Ahhhh,I see.Thanks for clearing that up.
 
Every dimension is taken off the B/L. You can see it in this image. My laser level is lined up on the B/L and you can see on the right where it is carved into the MDF form by the CnC machine.

img_464217_0_fc134564cc0fd808548a9d48ca5e5b42.jpg


I don't know if this system is used on every type of boat but it's the one used exclusively by Bateau on their designs.

Pretty slick. Works well for numbskulls like me! :rofl:
 
It seems to be a fairly easy way to do it.
 
Have to remove part of the cradle that the boat is sitting in to fit the skeg. So away I go for some 'under the boat' yoga! :banghead:

spacer.gif
img_464589_1_04abfb864f2e2c03bdbc509322760a4e.jpg


It's nasty under there! Like rolling around in itching powder! So off I go to one of my favorite stores for some cheap packing blankets to lay on. Much better than rolling around in the dirt and kat turds! :rofl:

This is the section of the cradle I have to cut out to make room to fit up the skeg.

spacer.gif
img_464589_3_fd3a7895421ce82a9f8748e07555f683.jpg


That pretty much summarizes what I put on the latest web log update: https://she-kon.blogspot.ca/2016/07/still-at-it.html
 
Is she stiff enough to build some boat stands for her,and cut out the craddle?

img_464712_0_ce7d2a5a02cac52b23b4ffb522f9392b.jpg
 
I should note,that this pic was stolen from goo goo images.
 
Is she stiff enough to build some boat stands for her,and cut out the craddle?

IIRC my grade 6 physics lessons :)rofl:) she'll hold all right!

Most of the weight is sitting on the keel which I blocked up (again) yesterday. Coincidentally I was shopping for boat stands yesterday. OMG they're spendy for what you get. Might have to break out the ole' stick welder and make me a set. Those wooden ones look like they'd fill the bill for now though. Thnx. Ben.


:thumb:
 
So today I test fitted the collapsible water tank. I think it'll work. It certainly fills up the void space below the engine.

spacer.gif
img_465008_1_efe52b988bffa947d3cb5e94eaa4df6f.jpg


Once that was done I jumped under the boat to finish cutting away the cradle so I could slide the skeg in and rough fit it into place just to see how things were going to line up. Pretty close.

spacer.gif
img_465008_3_1f5b60695e822412cae66a6ea130626f.jpg


There's that and a few more musings on today's web log update: https://she-kon.blogspot.ca/2016/07/my- ... lanky.html

Thanks for looking in.
 
So after some thought (which is hard when you only have 2 brain cells left) I figured out how to line up the skeg. Using my trusty laser level I set it up on the long axis of the box keel. Using a plumb bob through the hole for the rudder shaft I was able to locate the center of the rudder shaft and the first alignment hole, at the other end of the skeg.

spacer.gif
img_465502_1_7dfb2482d532719916300204d0f53734.jpg


It was so spot on the laser even lit up the plumb bob through the prop shaft hole. Feeling confident I went on to start drilling holes in the bottom of the keel (shudder) and the stainless backing plate and skeg. I laid the 3/16" backing plate on top of the 1/4" thick skeg channel and drilled the holes at the same time. No small feat when all you have cheap tools. I did have titanium bits and plenty of cooling fluid.

Here's the backing plate in the bottom of the box keel. I would have done more but the bolts I have are too short. The bottom of the box keel has to be at least 1-1/2" thick!!!

spacer.gif
img_465502_3_8276ffe8b3fdc5015c7afe671be39540.jpg


More tomorrow.

Standby....
 
I think I'll be happy with this!

spacer.gif
img_465770_1_0ef625e5660d1e07199a1856ffa8a489.jpg


Within 1/10 of 1 deg fore and aft & side to side. Next trick will be getting the rudder shaft vertical.

Too hot to work out there today. Besides I gotta go to the bank to fix one of their screwups!

Standby....
 
Spot on.Looks good from down here.
 
Cooled off just 'nuff to let me get back into the boat shed today. Started off drilling (trying to drill) the stainless plate & channel for the skeg. As it turns out I wasn't using the proper drill bits and chowdered them all to hell.

Managed to squeeze in some filleting & taping on Frame B. Had to skamper 'cause it was getting pretty warm in the shed.

spacer.gif
img_467372_1_f23e2bff4faab3ce11e21965fff74ede.jpg


My buddy Jimmy came over to use my vice and we managed to come up with a 'backyard eyeball engineering' solution to his throttle cable! All in all a decent day.

Few more pics on the web log update: https://she-kon.blogspot.ca/2016/08/lit ... ather.html

Standby....
 
i just read about your drilling problem. when drilling ss it will work harden very quickly if it gets hot even in the slightest. a good sharp cobalt drill and don't peck at it. once you start don't stop till your through and keep it flooded with oil of cutting fluid to keep it cool. also depending on how close of tolerance it needs to be. you might want to drill it under size and finish with a reamer.
 
Back
Top Bottom