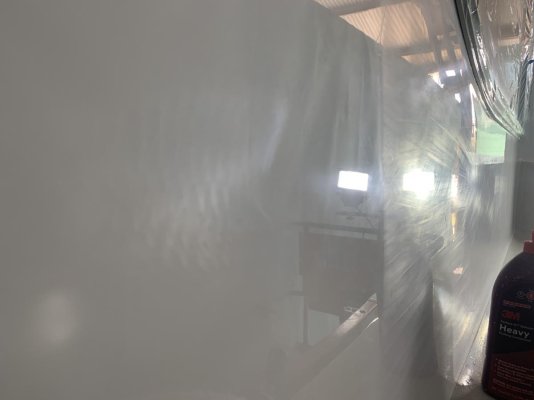
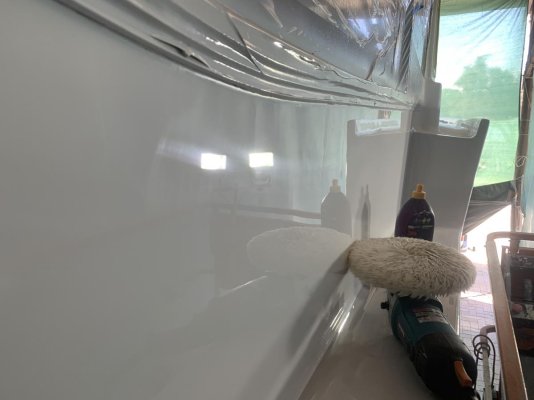
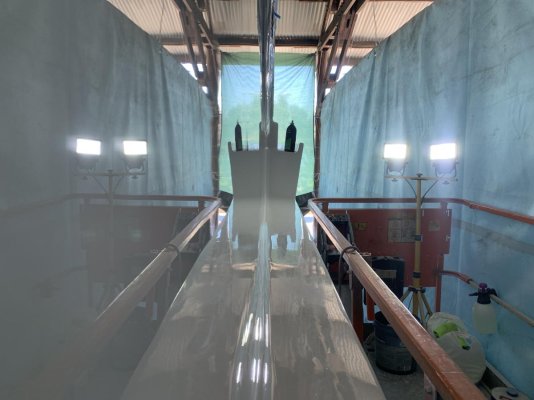
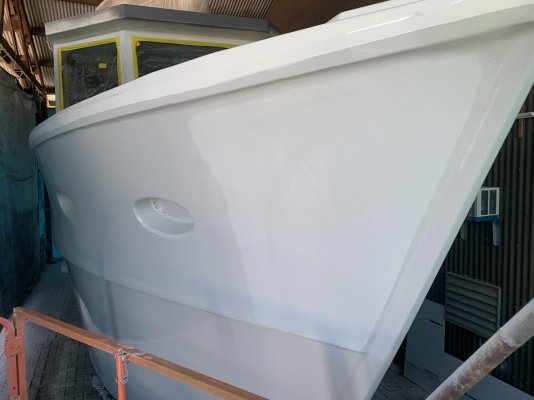
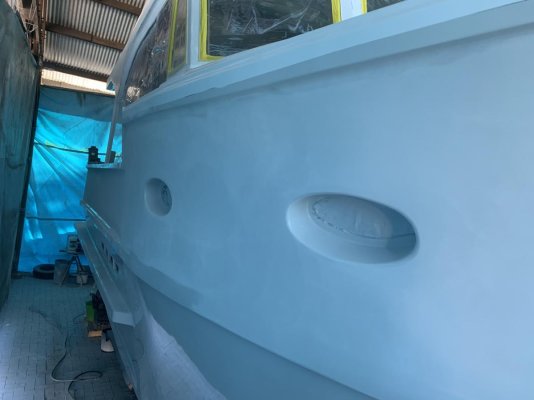
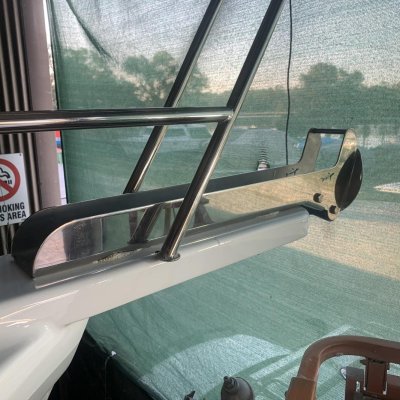
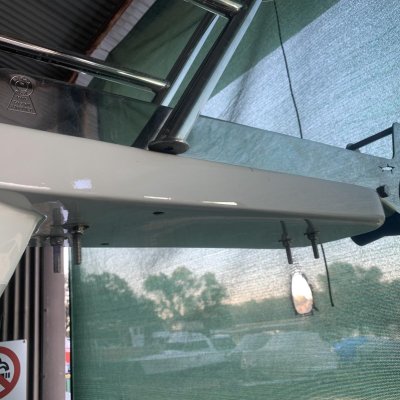
She polished up well after fresh paint. Thanks for the extra sunlight up here in southeast US. We needed a few extra rays.

Haha
She polished up well after fresh paint. Thanks for the extra sunlight up here in southeast US. We needed a few extra rays.
Thanks matePerfect is as perfect does!
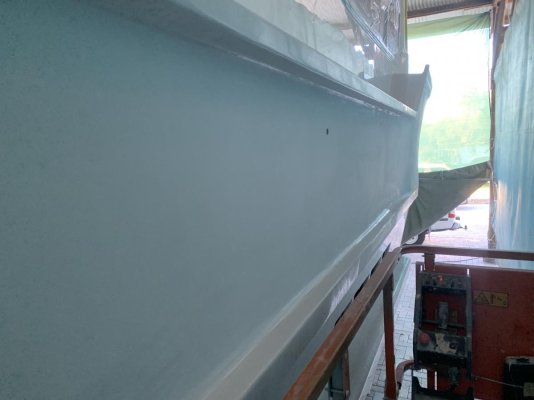
Similar to the exponentially increased x-factor of evermore increasing power percentage in relation to percent realized of getting a boat to push through water resistance for moving faster and faster... Approaching perfection also requires the exponentially increased x-factor of energy expended. Make her fancy finishes prettier than any other boat on the water... but don't make yourself too exhausted to then enjoy her beauty.
And, SOLSTICE Surely is a Beauty!!
I am just in awe of your skill and tenacity. The results are stunning. Well done indeed.
Hi team.
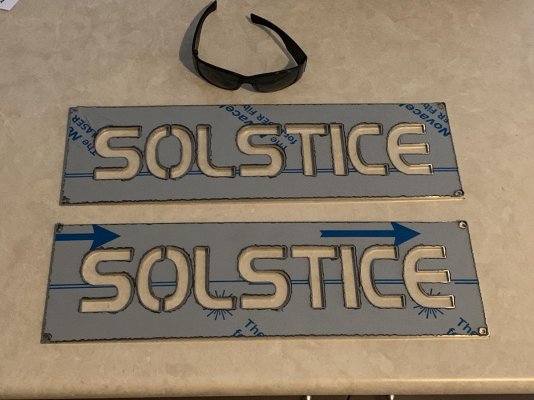
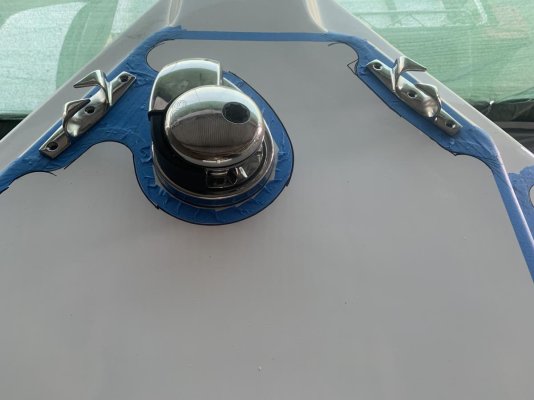
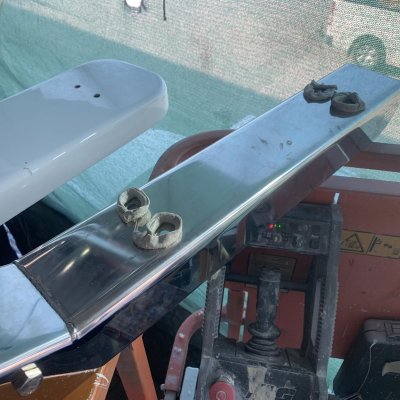
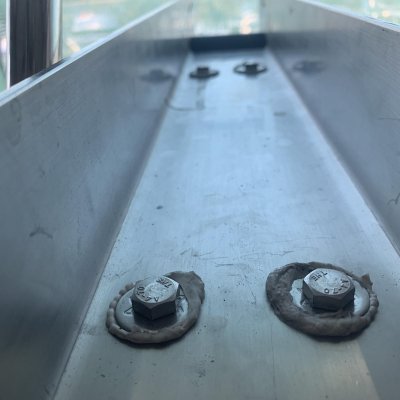
I was given these laser cut stainless steel name plates by a very generous and thoughtful friend for my birthday last year. I’m undecided on where to mount them so I’m throwing it out to you guys to see where you reckon they should go.

Crikey, that's one shiny boat. Doesn't look like you have any really obvious spots to put those nameboards on either side. Maybe slap one on the stern, and another inside somewhere? Maybe inlay it into a counter or table, or make it your shower drain! You could do some fancy ass superyacht style blue backlighting or something.
Love it!
Re SOLSTICE SS name plates. I recommend Felicity for deep counsel. Females usually know where to place tattoos on one another. Might surprise you what positions Flic comes up with!
Best luck in SS name plate placements.
Yeh I’ve done that lol..
Happy wife, happy life


In Addition: Happy SOLSTICE = Happy YOU!!!
Which then also = Happy Flic!!!!!

Me too! I'm currently 78 years old so don't take too long to splash her!
Hi team.
I was given these laser cut stainless steel name plates by a very generous and thoughtful friend for my birthday last year. I’m undecided on where to mount them so I’m throwing it out to you guys to see where you reckon they should go.
Greetings,
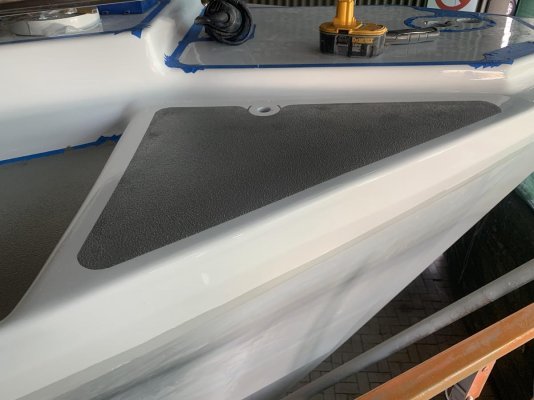
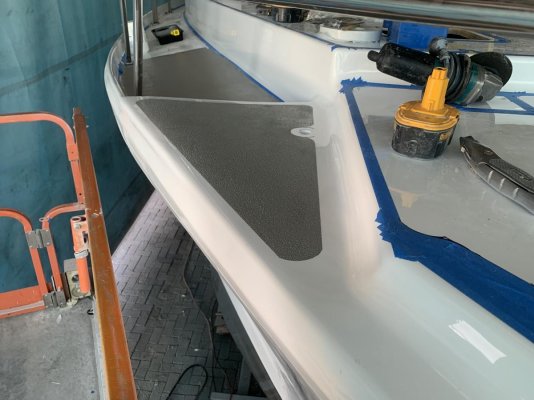
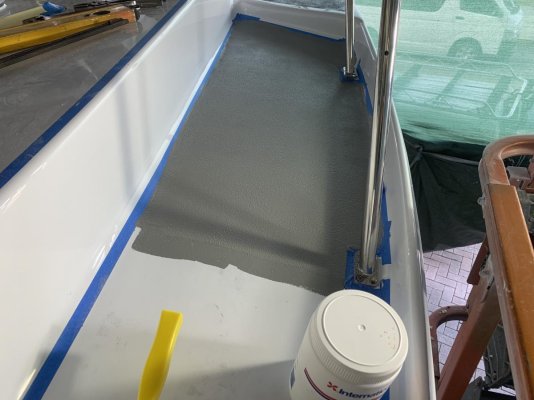
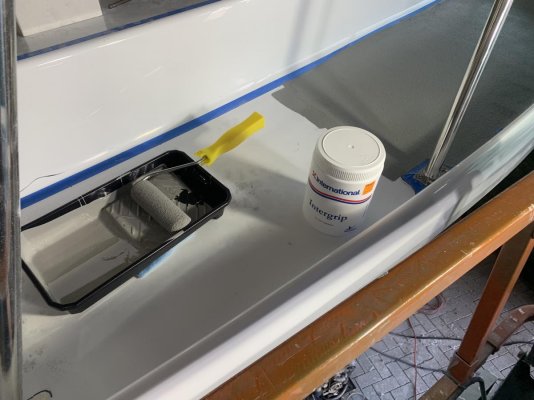
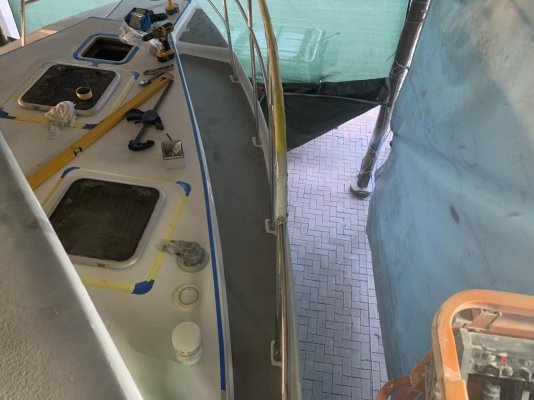
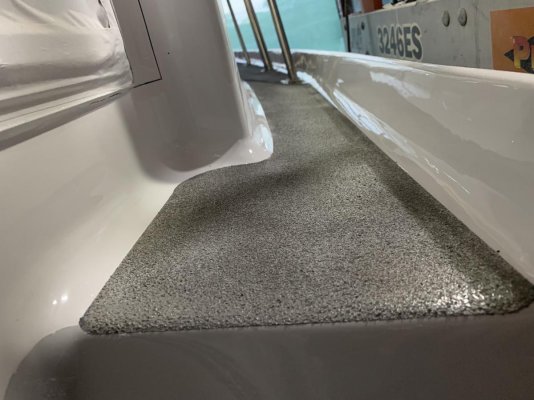
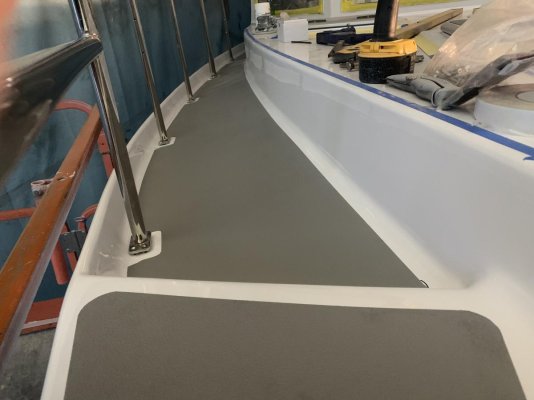
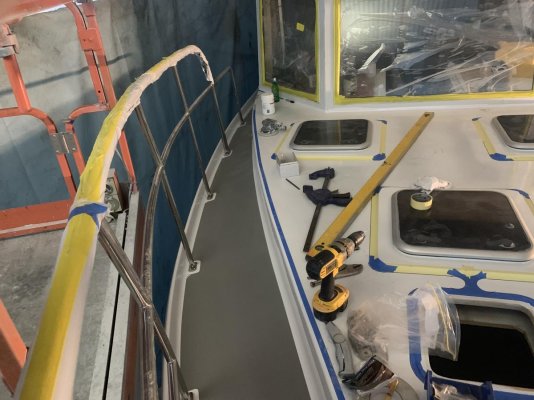
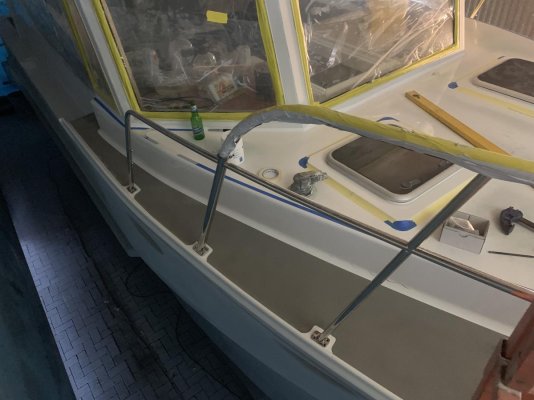
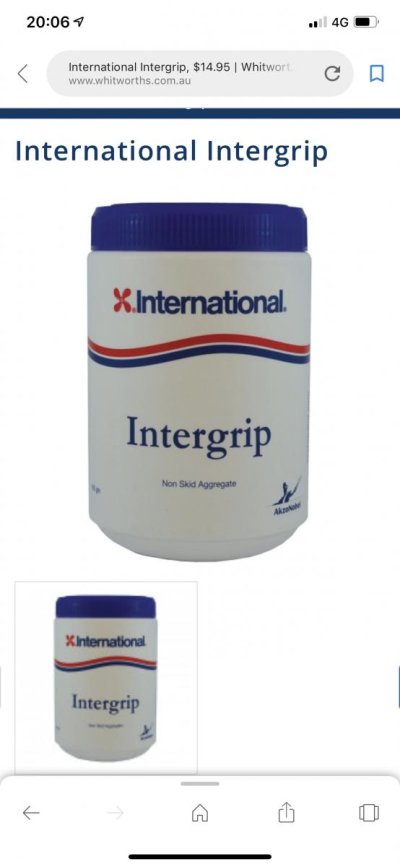
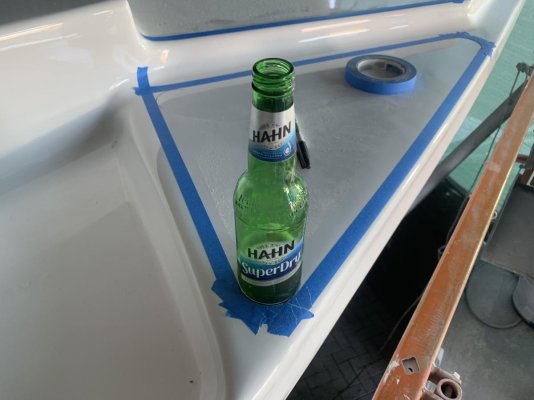
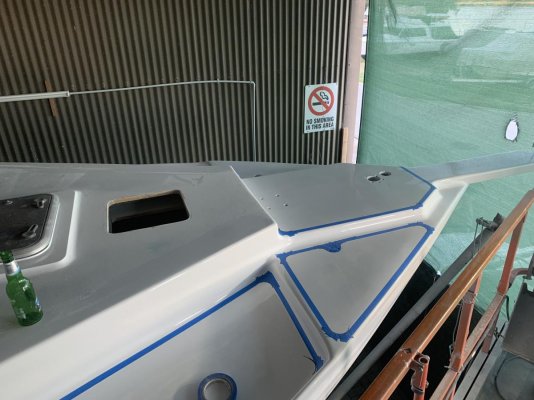
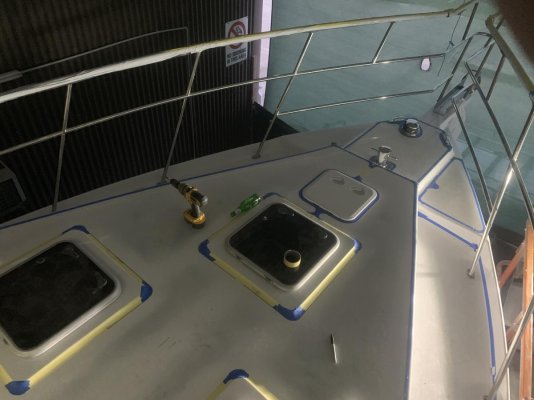
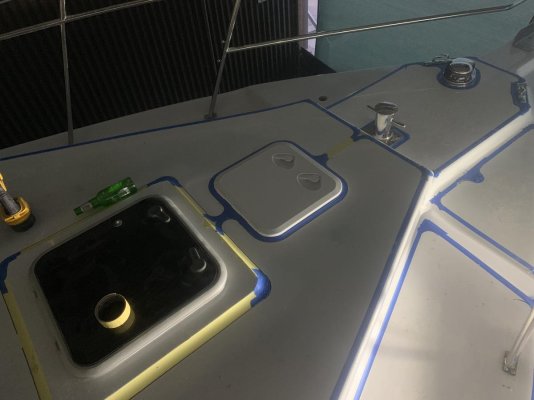
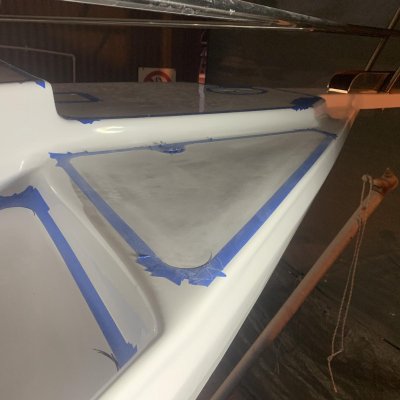
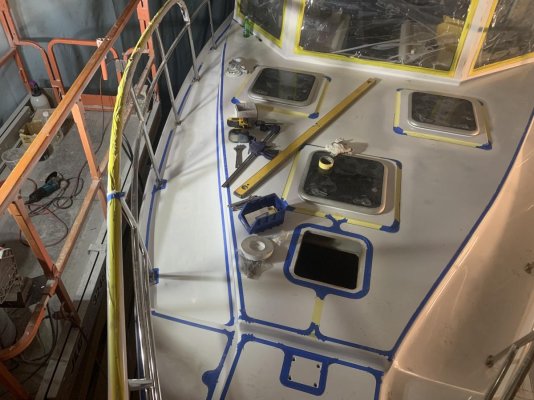
That's a lot of stubbies. Looks good. What non-skid will you use?
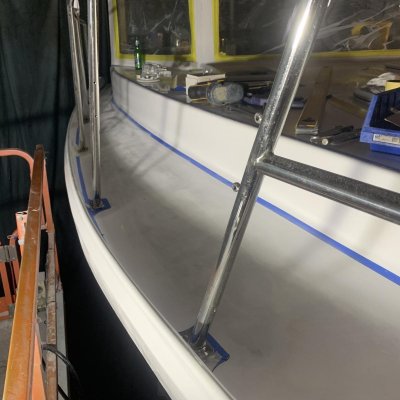
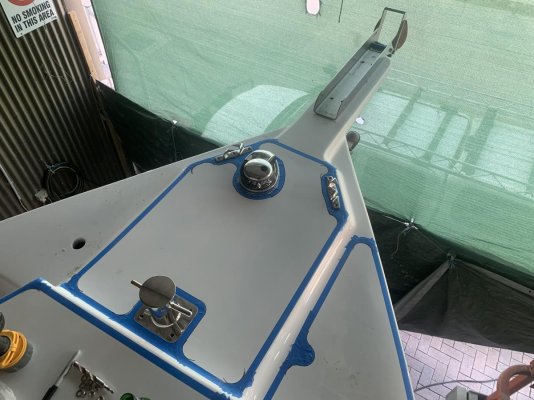
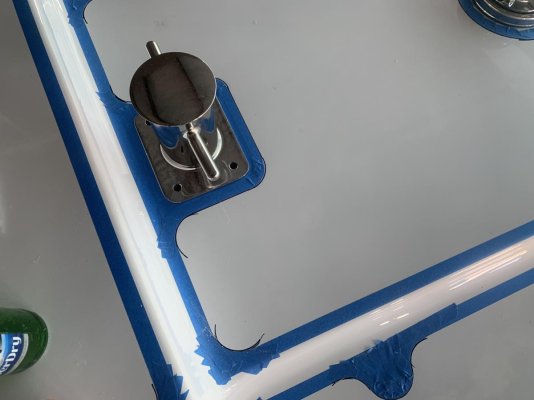
She's really coming together now. Careful putting on her jewelry... gals can get finicky about that! - LOL
Great tape off. Everything is going to come out evenly and look just excellent.