healhustler
Guru
- Joined
- Oct 2, 2009
- Messages
- 5,198
- Location
- USA
- Vessel Name
- Bucky
- Vessel Make
- Krogen Manatee 36 North Sea
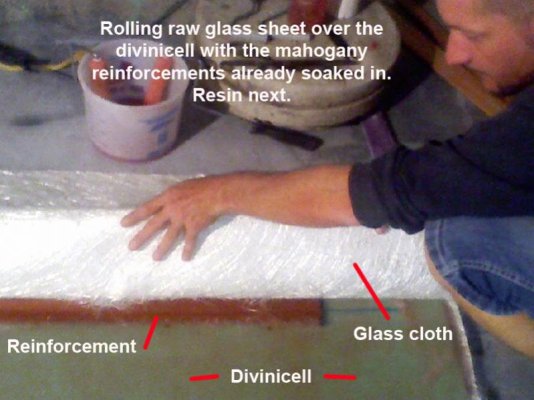
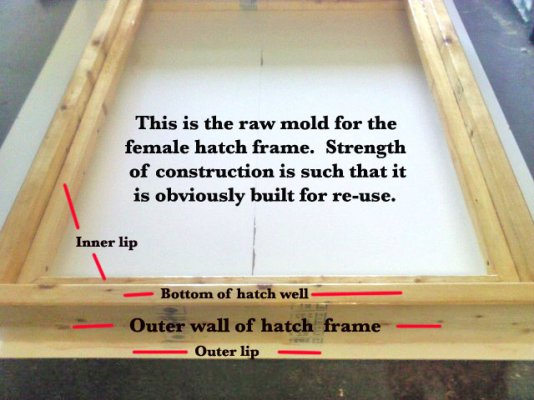
I'm starting a separate thread here to organize a few photos of the hatch frame building process itself. This way, if you're having a contractor do your hatch frame, maybe you're not interested in the build process. If you are one to undertake the process yourself, I'll send you all I have, but suffice that this is a brief overview of the mold construction and plug process. You are building a female mold in which glass will be laid into, creating a removable raw fiberglass product which will become the finished hatch frame.
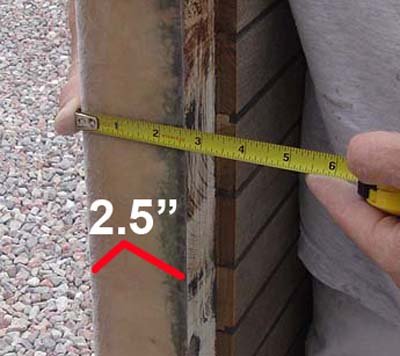
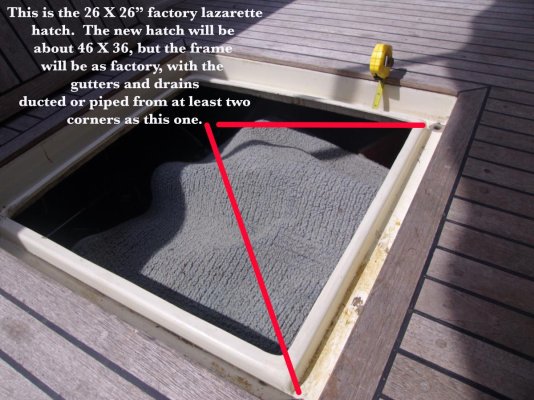
Start by studying the original factory lazarette hatch in your veranda. The shape, quality and strength should be equal or better. REMEMBER, you have cut a massive chunk of deck out of the center of your veranda. The strength of the frame and its attachment to the outer perimeter will determine whether or not your deck is solid or not. I could easily throw a piece of plywood over the cut-out and it was still more than enough strength to handle my 240 lb. frame, but near the salon doors, it's pretty skinny there. The strength of the frame has to make up for that.
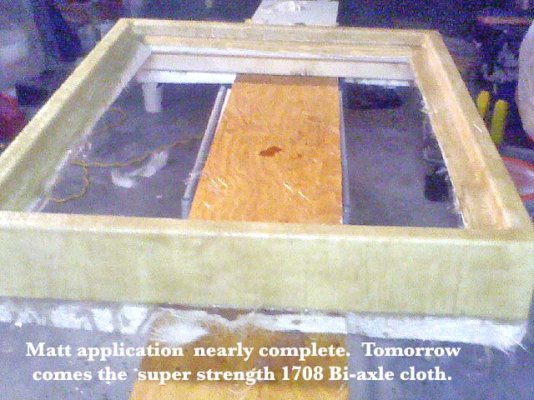
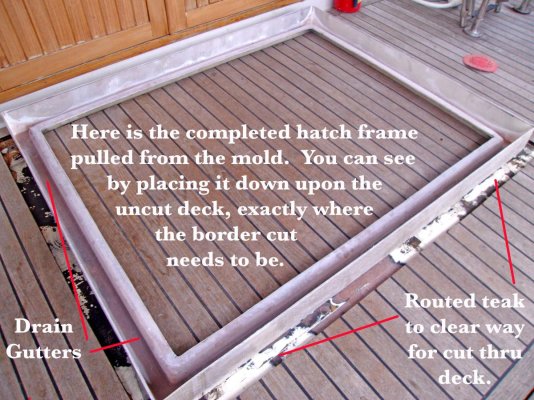
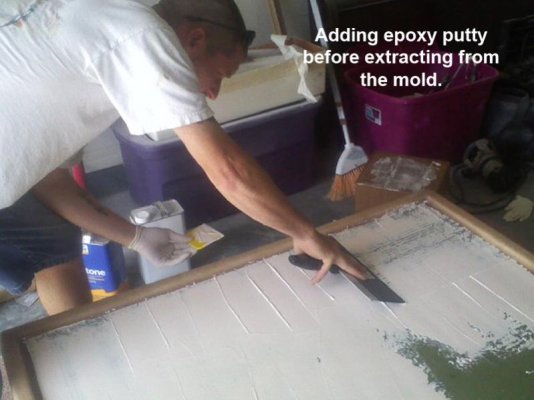
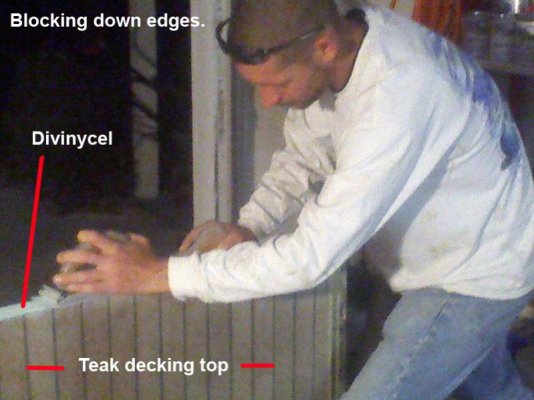
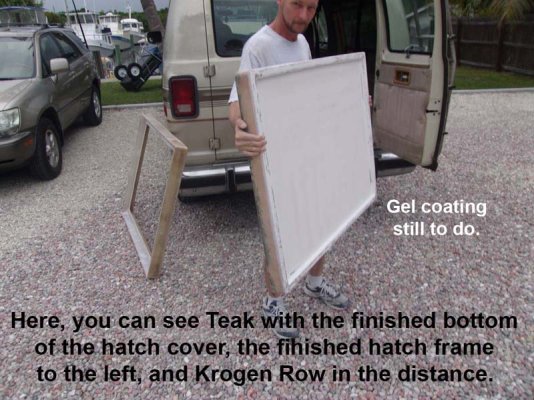
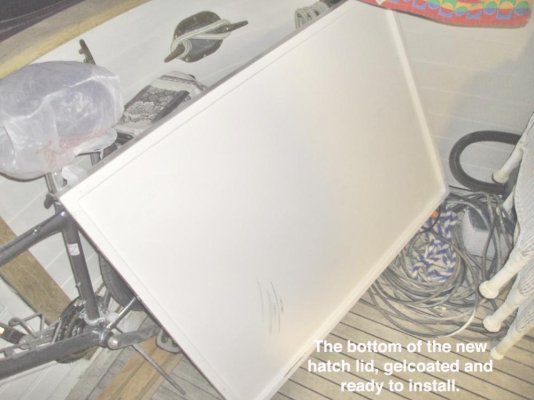
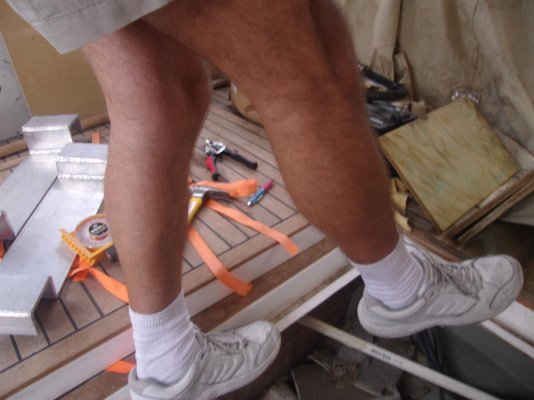
The first photo is of the original lazarette hatch in your boat now. Pay attention to its construction....it's a good hatch. The second photo is of my 240 lbs. standing one foot on the newly installed frame, not even a creak. The remaining photos are of the construction process itself and the raw frame lying on the uncut deck. I chose to build the frame first so there was no mistake in the measuring of the cut.
Start by studying the original factory lazarette hatch in your veranda. The shape, quality and strength should be equal or better. REMEMBER, you have cut a massive chunk of deck out of the center of your veranda. The strength of the frame and its attachment to the outer perimeter will determine whether or not your deck is solid or not. I could easily throw a piece of plywood over the cut-out and it was still more than enough strength to handle my 240 lb. frame, but near the salon doors, it's pretty skinny there. The strength of the frame has to make up for that.
The first photo is of the original lazarette hatch in your boat now. Pay attention to its construction....it's a good hatch. The second photo is of my 240 lbs. standing one foot on the newly installed frame, not even a creak. The remaining photos are of the construction process itself and the raw frame lying on the uncut deck. I chose to build the frame first so there was no mistake in the measuring of the cut.
Attachments
-
 factory hatch.jpg158.8 KB · Views: 157
 -
 Standing on frame.jpg89.1 KB · Views: 128
 -
 raw hatch mold, 1.jpg99.5 KB · Views: 155
 -
 raw mold corner 2.jpeg92.7 KB · Views: 119
 -
 inside corner 3.jpg96.6 KB · Views: 139
 -
 spraying with gelcoat 4.jpg88.6 KB · Views: 132
 -
 blocking down 5.jpg88.9 KB · Views: 120
 -
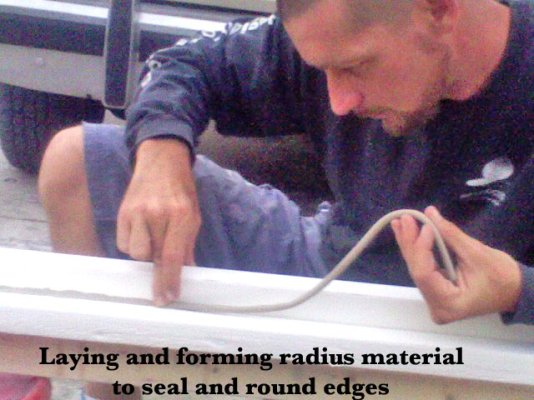 laying radias putty 6.jpg111.7 KB · Views: 130
 -
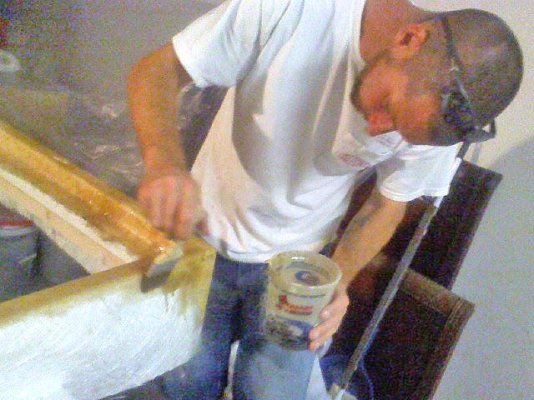 applying vinylester resin 6.5 .jpg81.8 KB · Views: 120
 -
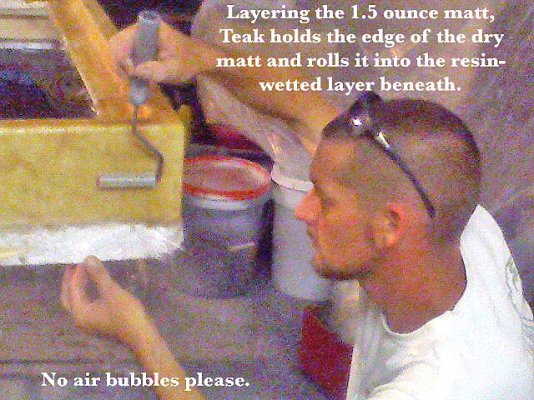 rolling matt 7.jpg103.4 KB · Views: 124