improving and maintaining Albin 33

The friendliest place on the web for anyone who enjoys boating.
If you have answers, please help by responding to the unanswered posts.
update.
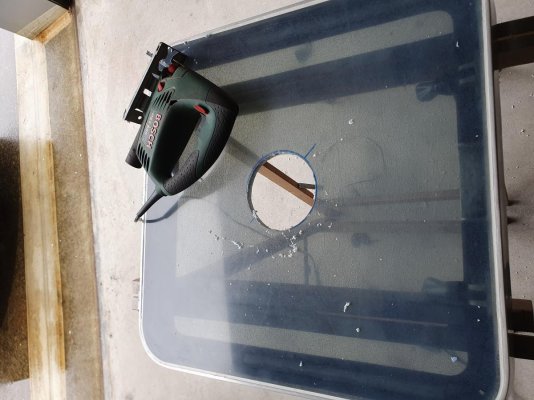
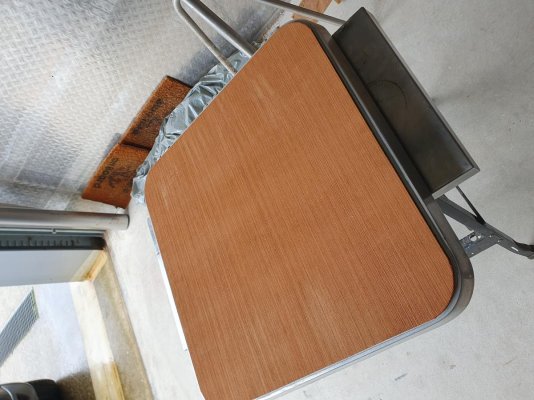
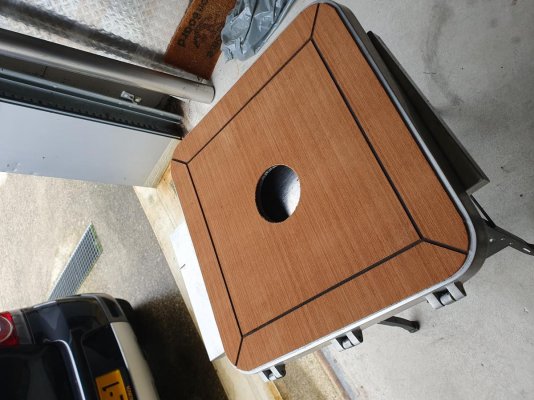
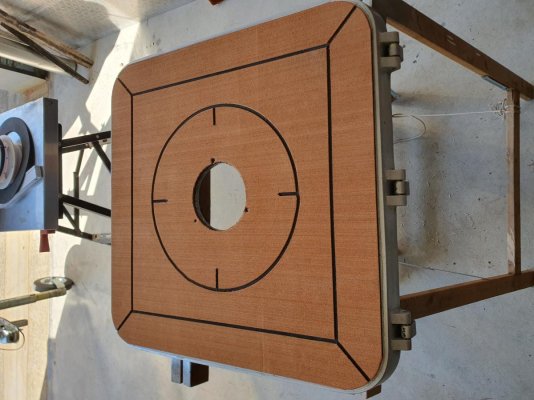
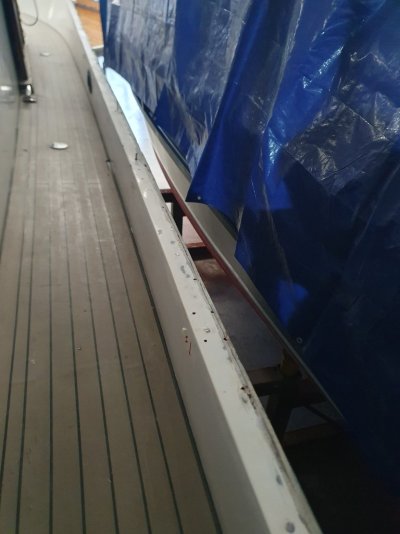
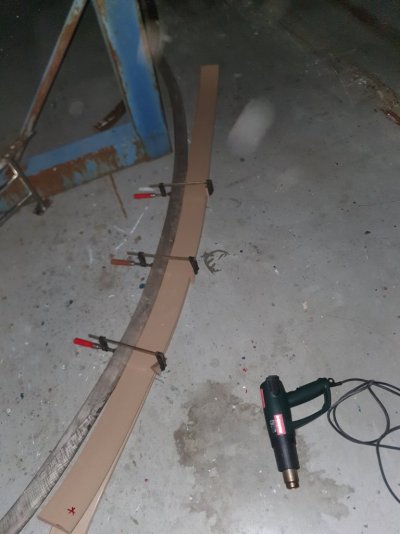
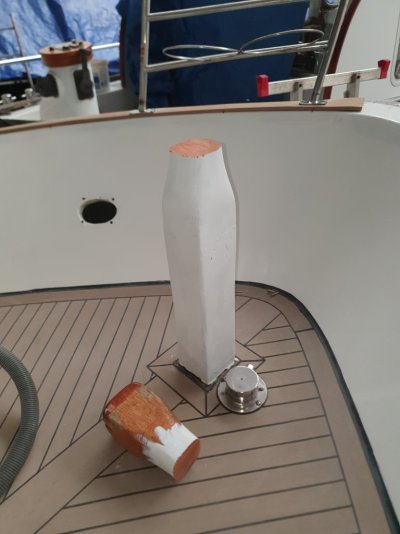
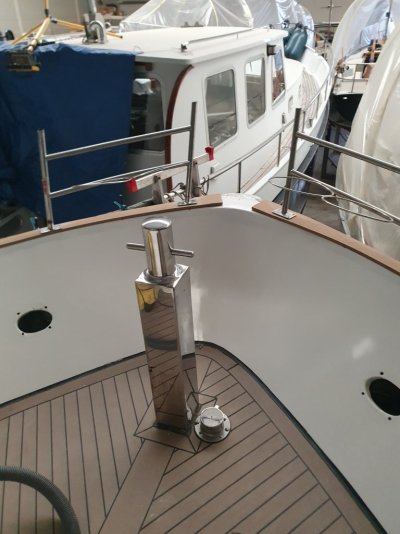
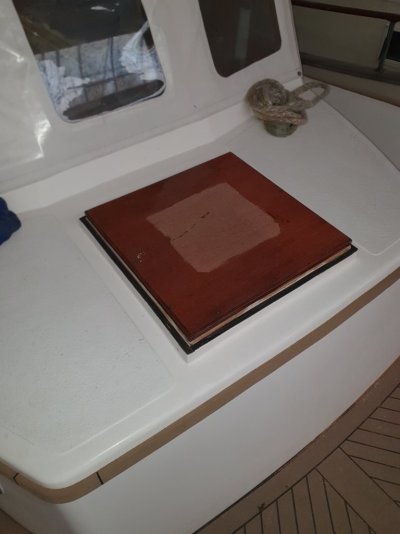
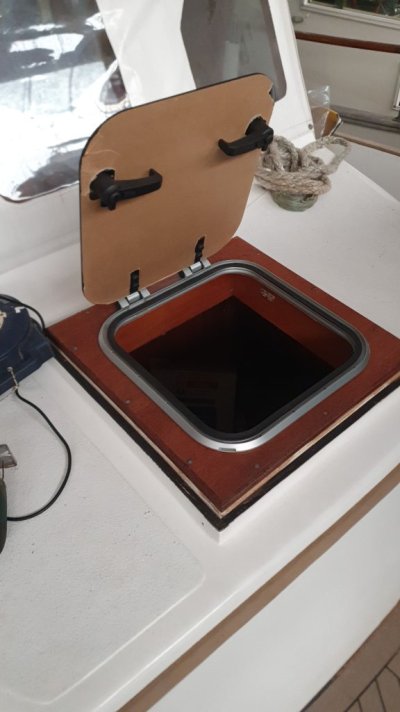
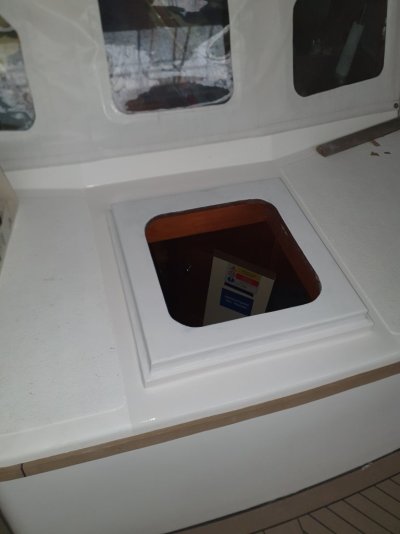
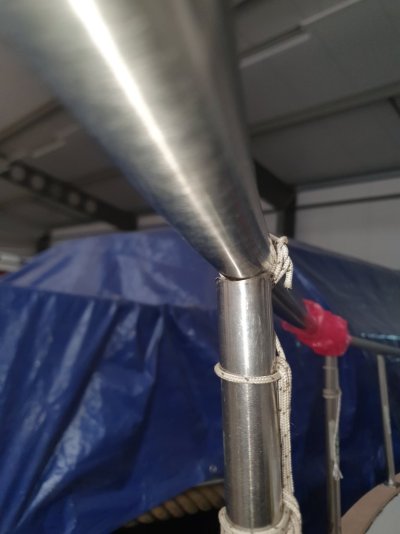
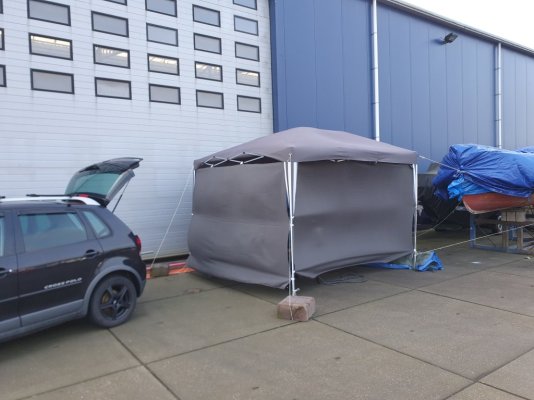
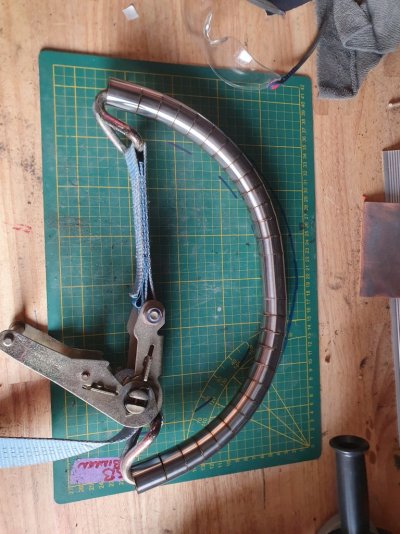
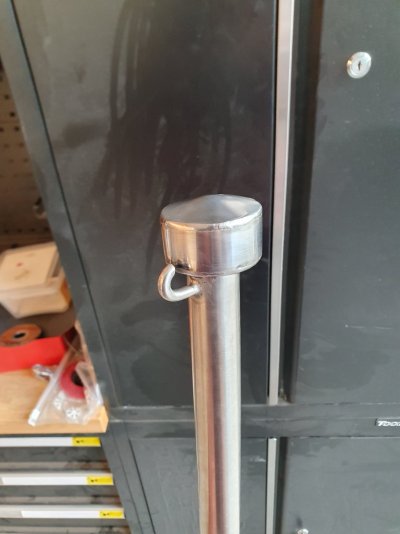
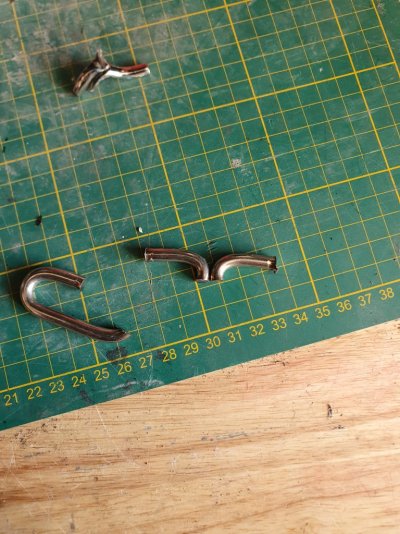
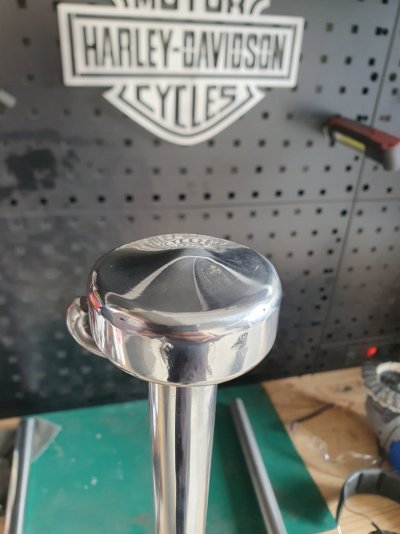
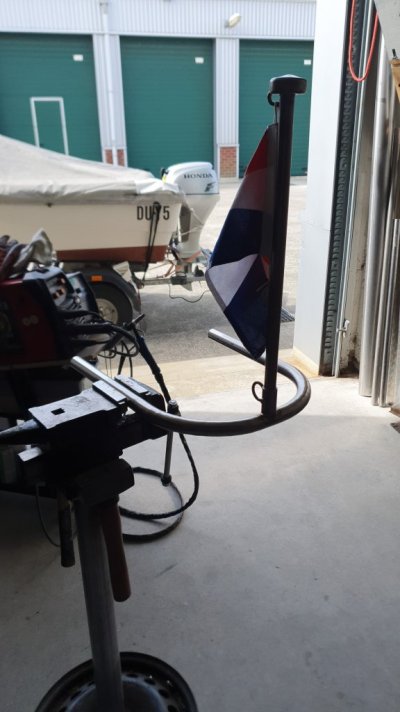
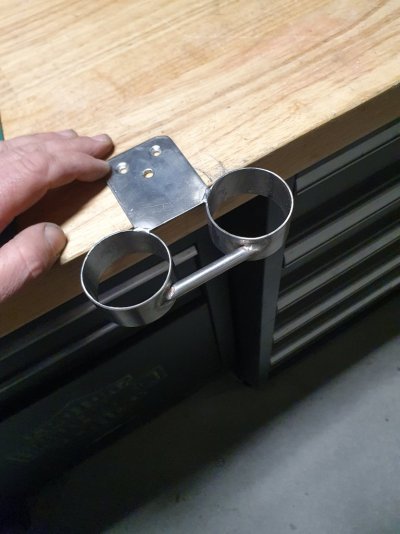
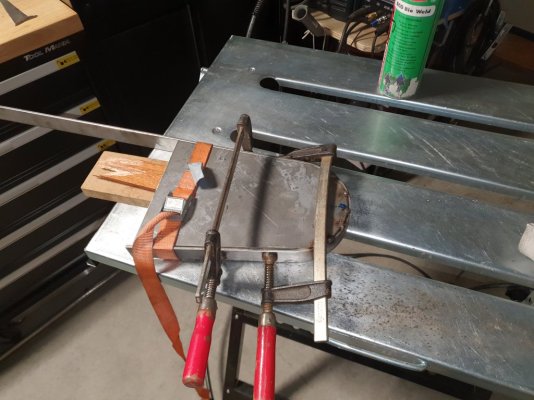
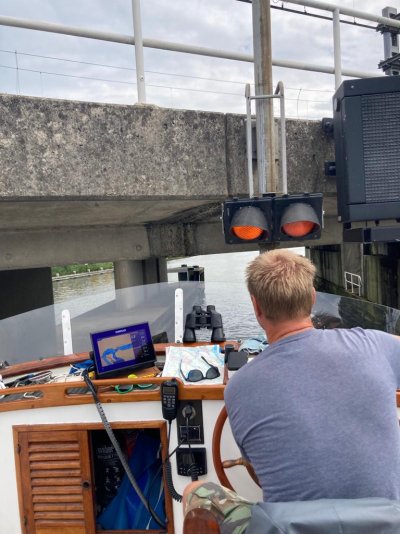
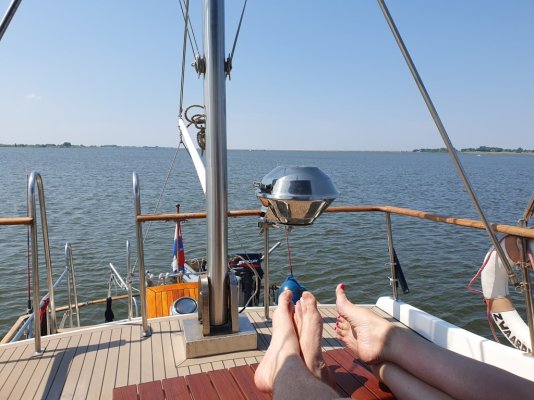
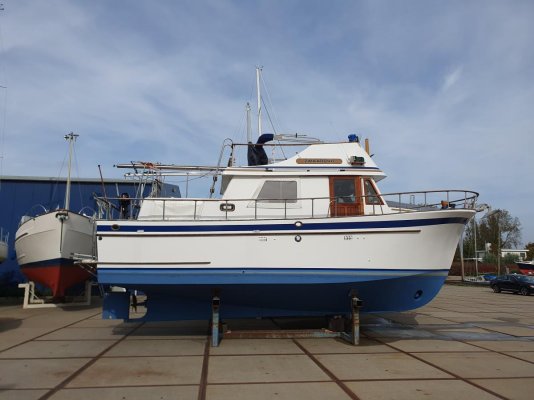
After enjoying the ship for a while, I completely forgot to give updates on the progress of the work. The swordfish is back on dry land this winter and I am working hard again to make it beautiful.
first i will show the past projects in finished condition, and subsequently this year's projects.

I hope you enjoy...
 

Attachments

  • 20231001_130930.jpg
    20231001_130930.jpg
    100.8 KB · Views: 13
Last edited:
She looks pretty good to me.
 
After I renovated the deck hatch in the aft cabin in 2017, I continue to find it annoying to maintain the woodwork. Because I am making the entire boat low-maintenance, the roof hatch is also due. This summer I bought another deck hatch with an aluminum frame and plexiglass. I covered this with EVA foam to make it look like wood. I also did the same trick with the router as in 2017 and it looks just like real. low maintenance and hopefully waterproof for another 30 years
its ready to install when im finished with the caprail and railing job
 

Attachments

  • 20230826_161301.jpg
    20230826_161301.jpg
    143.5 KB · Views: 7
  • 20230827_130413.jpg
    20230827_130413.jpg
    140.6 KB · Views: 6
  • 20230827_132051.jpg
    20230827_132051.jpg
    182.4 KB · Views: 7
  • 20230827_141210.jpg
    20230827_141210.jpg
    185.6 KB · Views: 5
  • 20230914_141642.jpg
    20230914_141642.jpg
    150.2 KB · Views: 4
  • 20230914_144226.jpg
    20230914_144226.jpg
    156.4 KB · Views: 6
  • 20230914_144258.jpg
    20230914_144258.jpg
    170.1 KB · Views: 6
Last edited:
That hatch is pretty freaking sweet. It should help stop some heat from coming in the boat and let the solar vent work better.
 
Unfortunate the caprail was rotten in a few places so it was removed and will be replaced with pvc woodlook
 

Attachments

  • 20231007_153324.jpg
    20231007_153324.jpg
    127.1 KB · Views: 10
  • 20231008_163253.jpg
    20231008_163253.jpg
    143.1 KB · Views: 6
  • 20231014_163752.jpg
    20231014_163752.jpg
    90.7 KB · Views: 9
  • 20231209_164008.jpg
    20231209_164008.jpg
    98.7 KB · Views: 6
  • 20231210_155544.jpg
    20231210_155544.jpg
    89 KB · Views: 6
The peaces are welded and sand down. After that, a woodgrain is made, to make it look like teak
 

Attachments

  • 20231213_155429.jpg
    20231213_155429.jpg
    98 KB · Views: 6
Also a new stainless samson post is made. Is slides over the old one en is fixed with glue en screws
 

Attachments

  • 20231229_133209.jpg
    20231229_133209.jpg
    85.7 KB · Views: 7
  • 20231230_110357.jpg
    20231230_110357.jpg
    110.7 KB · Views: 10
  • 20240105_155839.jpg
    20240105_155839.jpg
    77.8 KB · Views: 8
A new front cabin hatch is installed. Like the new hatch in the aft cabin, this one is also customized with a solar fan
 

Attachments

  • 20240212_164021.jpg
    20240212_164021.jpg
    77.4 KB · Views: 4
  • IMG-20240215-WA0003.jpeg
    IMG-20240215-WA0003.jpeg
    75.8 KB · Views: 5
  • 20240218_123413.jpg
    20240218_123413.jpg
    61.6 KB · Views: 8
  • 20240224_113311.jpg
    20240224_113311.jpg
    114.5 KB · Views: 4
A discision is made to replace the old teak hand railings.
I have used the old one as a bending mold. This way i could coldbent the new stainless in the correct radius
 

Attachments

  • 20240113_152715.jpg
    20240113_152715.jpg
    92.9 KB · Views: 6
  • 20240128_150137.jpg
    20240128_150137.jpg
    111.1 KB · Views: 5
  • 20240128_150147.jpg
    20240128_150147.jpg
    71.3 KB · Views: 5
Its not allowed to weld metal in the hangar. so a temporary welding tent is set up. The stainless is marked and then tackwelded outside in the tent. Then its taken back inside for fitting. After all was good and aligned the railing is taken to my wordshop just around the corner for a complete weld.
Luckely i found a couple of nice hinges with the same outside diameter for a nice clean look
 

Attachments

  • 20240202_114334.jpg
    20240202_114334.jpg
    114.3 KB · Views: 9
  • 20240202_132408.jpg
    20240202_132408.jpg
    123.8 KB · Views: 7
  • 20240205_173229.jpg
    20240205_173229.jpg
    112.2 KB · Views: 7
  • IMG-20240207-WA0008.jpeg
    IMG-20240207-WA0008.jpeg
    90 KB · Views: 7
  • 20240303_153056.jpg
    20240303_153056.jpg
    96.7 KB · Views: 8
  • 20240303_153112.jpg
    20240303_153112.jpg
    79.2 KB · Views: 7
By lack of a correct size bending tool i did some improvising again.
Turned out quit well in the first try
 

Attachments

  • 20240325_174509.jpg
    20240325_174509.jpg
    177.1 KB · Views: 8
  • 20240325_175607.jpg
    20240325_175607.jpg
    184.3 KB · Views: 7
  • 20240325_185232.jpg
    20240325_185232.jpg
    144.9 KB · Views: 7
  • 20240325_184618.jpg
    20240325_184618.jpg
    117.5 KB · Views: 11
  • IMG-20240329-WA0005.jpeg
    IMG-20240329-WA0005.jpeg
    81.2 KB · Views: 7
Some scrap material where found, some aditional projects where born.
And 2 flagpoles where made
 

Attachments

  • 20240308_141137.jpg
    20240308_141137.jpg
    188.6 KB · Views: 8
  • 20240308_141210.jpg
    20240308_141210.jpg
    170.1 KB · Views: 4
  • 20240308_172949.jpg
    20240308_172949.jpg
    77.9 KB · Views: 6
  • 20240308_155105.jpg
    20240308_155105.jpg
    214.8 KB · Views: 8
  • 20240308_172958.jpg
    20240308_172958.jpg
    79.2 KB · Views: 6
  • 20240329_163257.jpg
    20240329_163257.jpg
    93.4 KB · Views: 7
  • 20240309_145019.jpg
    20240309_145019.jpg
    114.2 KB · Views: 4
  • IMG-20240329-WA0003.jpeg
    IMG-20240329-WA0003.jpeg
    88.8 KB · Views: 4
Some more scrap materials where found, hahaha
And made somthing usefull out of it
 

Attachments

  • 20240325_205910.jpg
    20240325_205910.jpg
    102.3 KB · Views: 9
  • 20240326_143726.jpg
    20240326_143726.jpg
    110.8 KB · Views: 5
  • 20240326_143806.jpg
    20240326_143806.jpg
    96.3 KB · Views: 5
By lack of a correct size bending tool i did some improvising again.
Turned out quit well in the first try
For bending 1" SS I use an appropriate bicycle wheel. You must pad the wheel well or the spoke ends will print into the SS. One BIG tip - be sure the weld seam is not at the "side" of the bend. It could flatten at that spot. Inside the curve is best
 
Hatch in the aft cabin is installed
 

Attachments

  • 20240224_125605.jpg
    20240224_125605.jpg
    148.3 KB · Views: 6
Found some photos from last year. I made a new stainless mastfoot and mast. Cant find photos of the complete project. I will post them later.
For the old mast to fold down, fist i had to fold down the bimini to the front, fold the mast foreward and then the bimini to the aft. This setup both mast and bimini fold backwards, mutch quicker and more room at the helm
 

Attachments

  • 20230226_151452.jpg
    20230226_151452.jpg
    106.4 KB · Views: 7
  • 20230301_162330.jpg
    20230301_162330.jpg
    90.6 KB · Views: 8
  • 20230301_183801.jpg
    20230301_183801.jpg
    147.2 KB · Views: 5
  • 20230301_195930.jpg
    20230301_195930.jpg
    141.1 KB · Views: 7
  • 20230301_210909.jpg
    20230301_210909.jpg
    128.4 KB · Views: 8
  • 20230301_212513.jpg
    20230301_212513.jpg
    125.8 KB · Views: 6
  • 20230305_121813.jpg
    20230305_121813.jpg
    171.5 KB · Views: 6
  • 20230303_134557.jpg
    20230303_134557.jpg
    154.5 KB · Views: 7
  • 20230305_131220.jpg
    20230305_131220.jpg
    118 KB · Views: 8
  • 20230307_192906.jpg
    20230307_192906.jpg
    116.5 KB · Views: 7
.
 

Attachments

  • 20230314_171410.jpg
    20230314_171410.jpg
    79 KB · Views: 5
  • 20230314_132653.jpg
    20230314_132653.jpg
    101.4 KB · Views: 5
  • 20230314_152134.jpg
    20230314_152134.jpg
    94.3 KB · Views: 6
  • 20230314_153208.jpg
    20230314_153208.jpg
    81.6 KB · Views: 7
  • 20230314_171410.jpg
    20230314_171410.jpg
    79 KB · Views: 6
The need for a quick foldable mast in the netherlands is a must ;-)
I think we can call this a 2 inch gap..? (5 cm)
 

Attachments

  • IMG-20230819-WA0006.jpg
    IMG-20230819-WA0006.jpg
    114.8 KB · Views: 9
  • IMG-20230819-WA0007.jpg
    IMG-20230819-WA0007.jpg
    133.7 KB · Views: 8
To keep the mast upright, i use 2 stainless pipes 22mm pointing to the front instead of 4 rigging wires. Nice, sturdy, clean look
 

Attachments

  • 20230611_145953.jpg
    20230611_145953.jpg
    157.1 KB · Views: 10
Last edited:
Back
Top Bottom