OP
OP
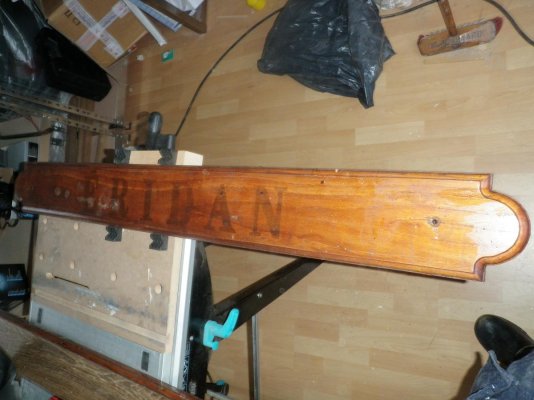
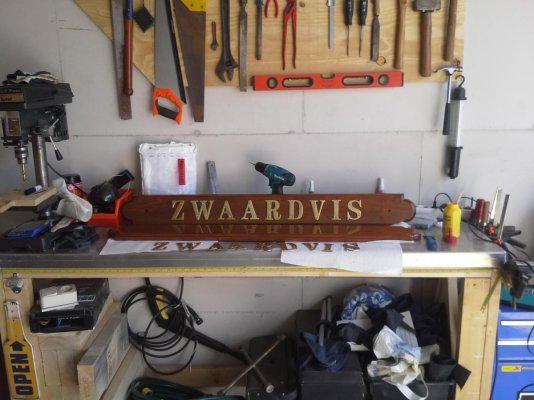
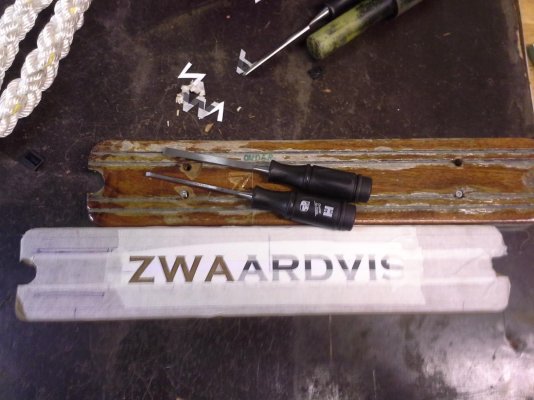
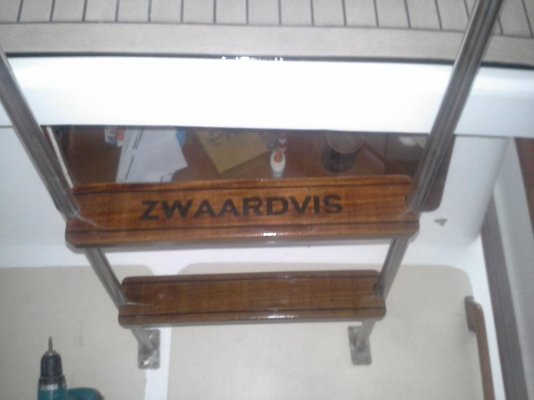
swordfish
Senior Member
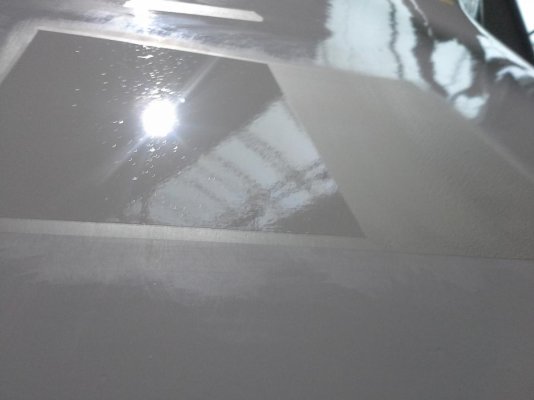
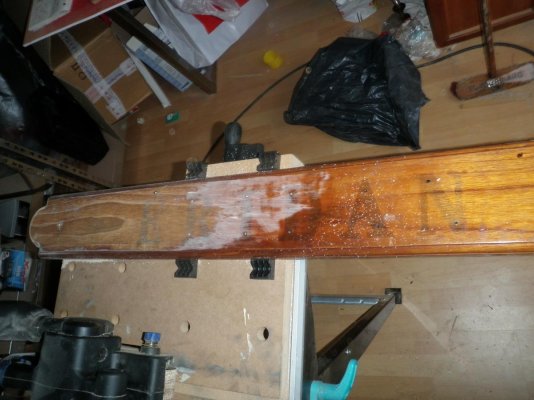
what ever kind of paint i want to use, i have to sand down anyway. and i did some more testing with sigmarine paints.


I have only jyst discovered this thread....what a treat to see someone doing such great work and with good humour! I hope you find the time to keep us posted on future projects.after a motorcycle accident (not me, it was my girlfriend) and a nice holiday there were a few chores to do.
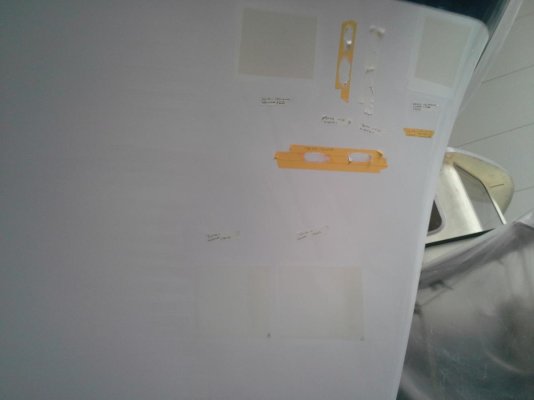
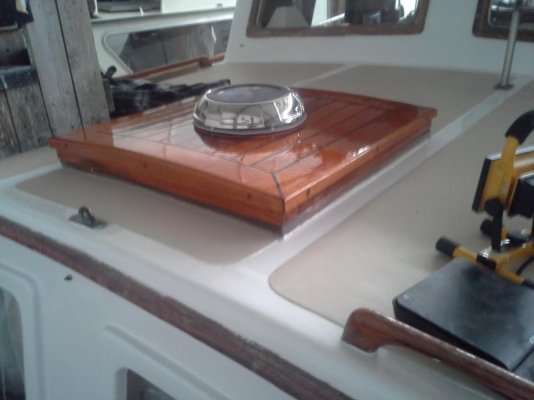
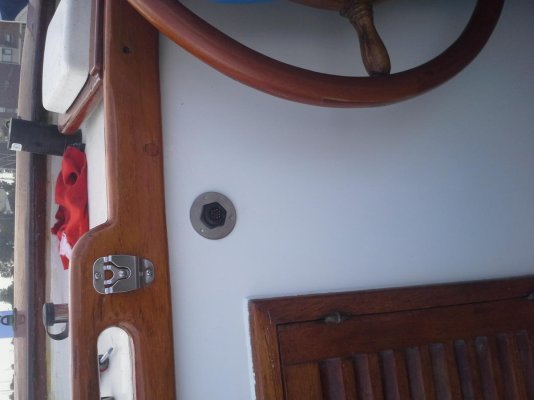
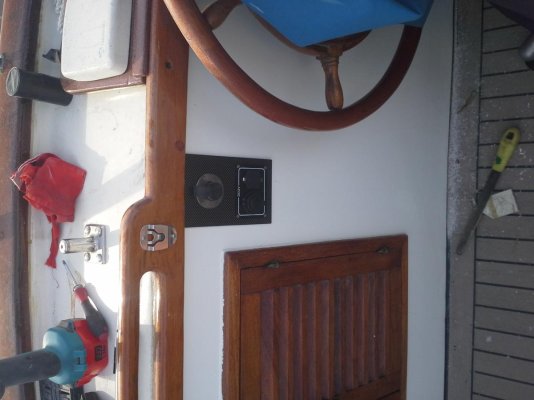
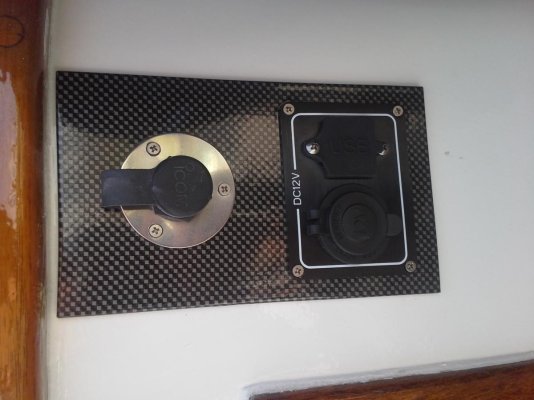
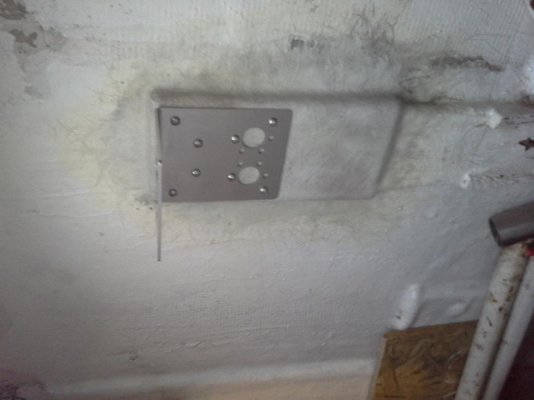
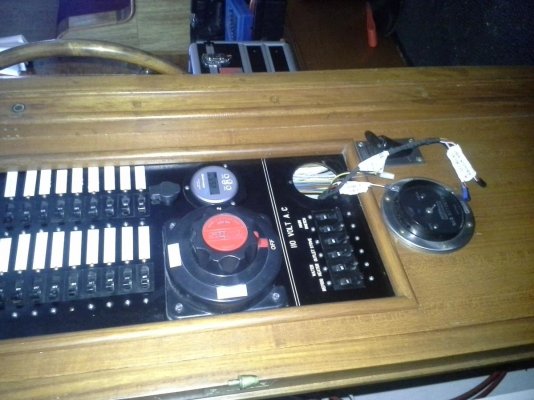
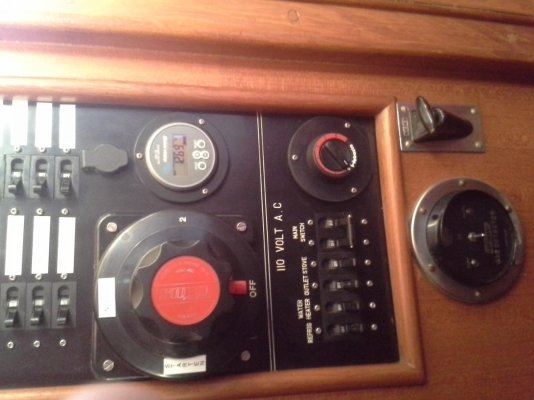
I had no 12V outlet on the bridge.. so I made a backplate to fit a socket, 2 usb ports and the VHF plug.
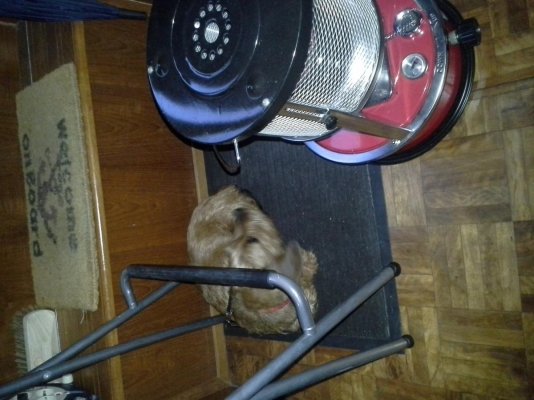
im using a folding barstool.
I would not mix aluminum and brass....unless very well isolated from each other.
I could be wrong but if the brass has enough copper in it....copper and aluminum in a salty environment are mortal enemies with the aluminum cording very fast.
If you can squeeze in a layer of rubber or plastic sheeting...it may be fine.
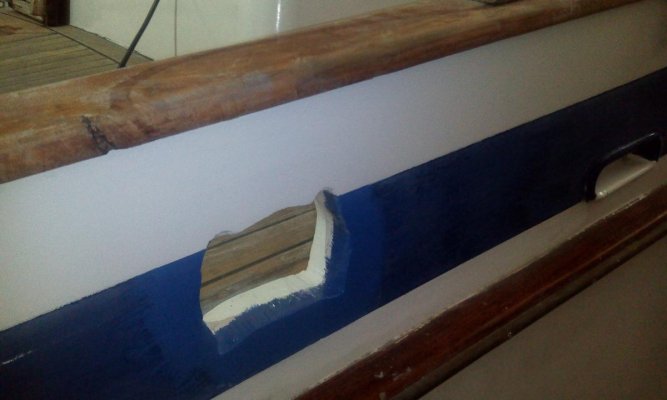
I shaved a half inch off my wooden mast hump, built back up with multiple layers of fiberglass roving and built a dam around the whole thing and filled with epoxy. Still good after 5 years and I use my mast/boom to lift my 200 pound dingy.
Have you finished the sides where the seats were yet?
I just filled where the seat back was and left the rest open.
Put removable black plexiglass panels there and use that area to store fishing rods. Perfect use of space on my boat.


a
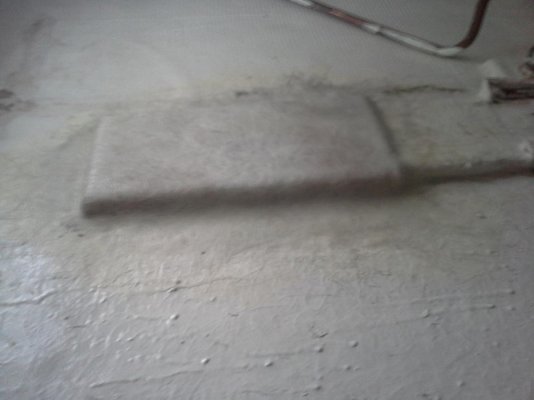
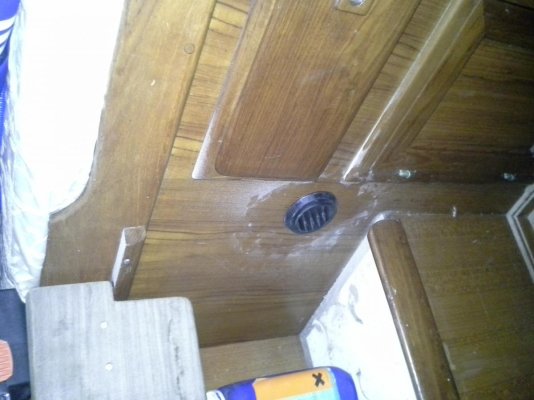
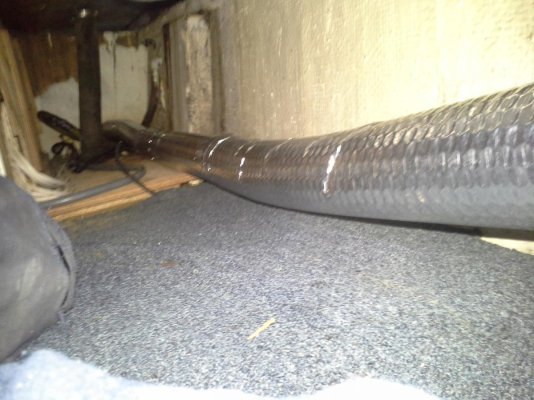
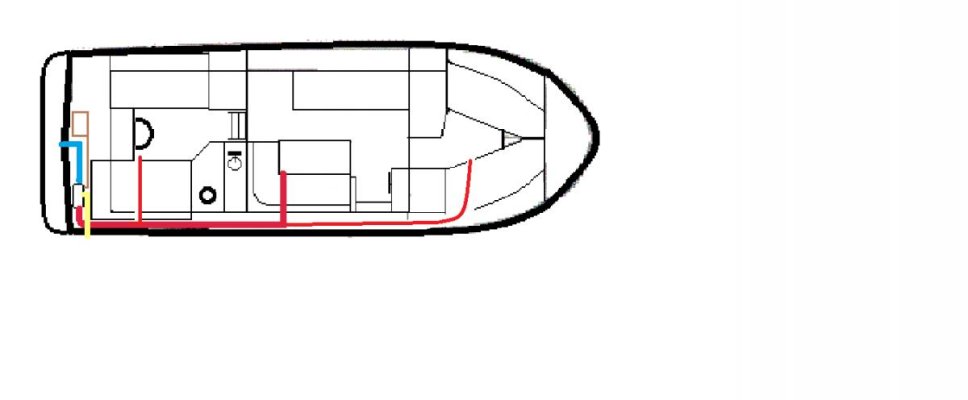
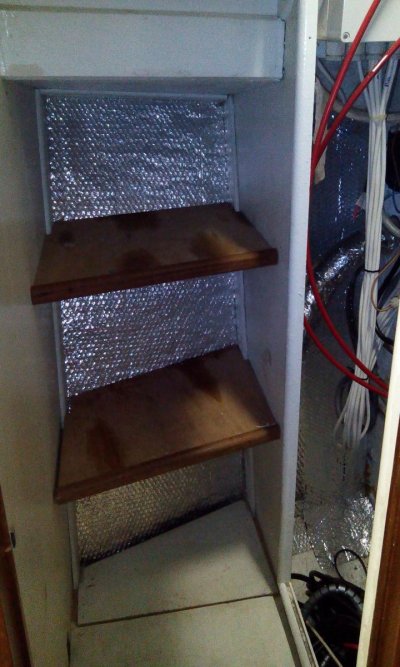
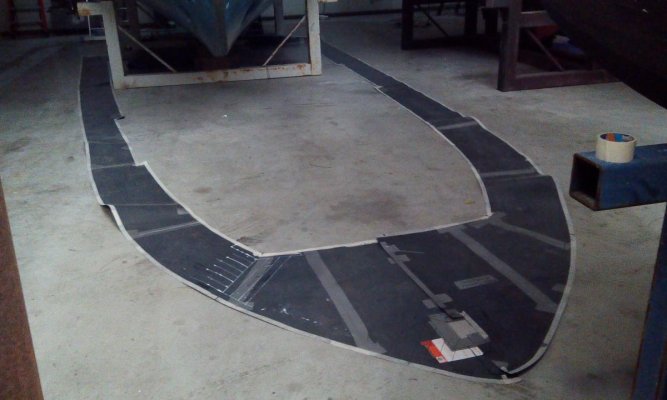
getting started with isolating the hull
Are you isolating for sound or temperature? What product are you using for that? QUOTE]
isolating for temperature. want to keep the heat in, in winter. using a 6mm thick (?1/4 in?) double aluminium layered closed cell insulation.
I can just squeeze it in between. because it is cheap to come by I apply 2 layers where I have enough space